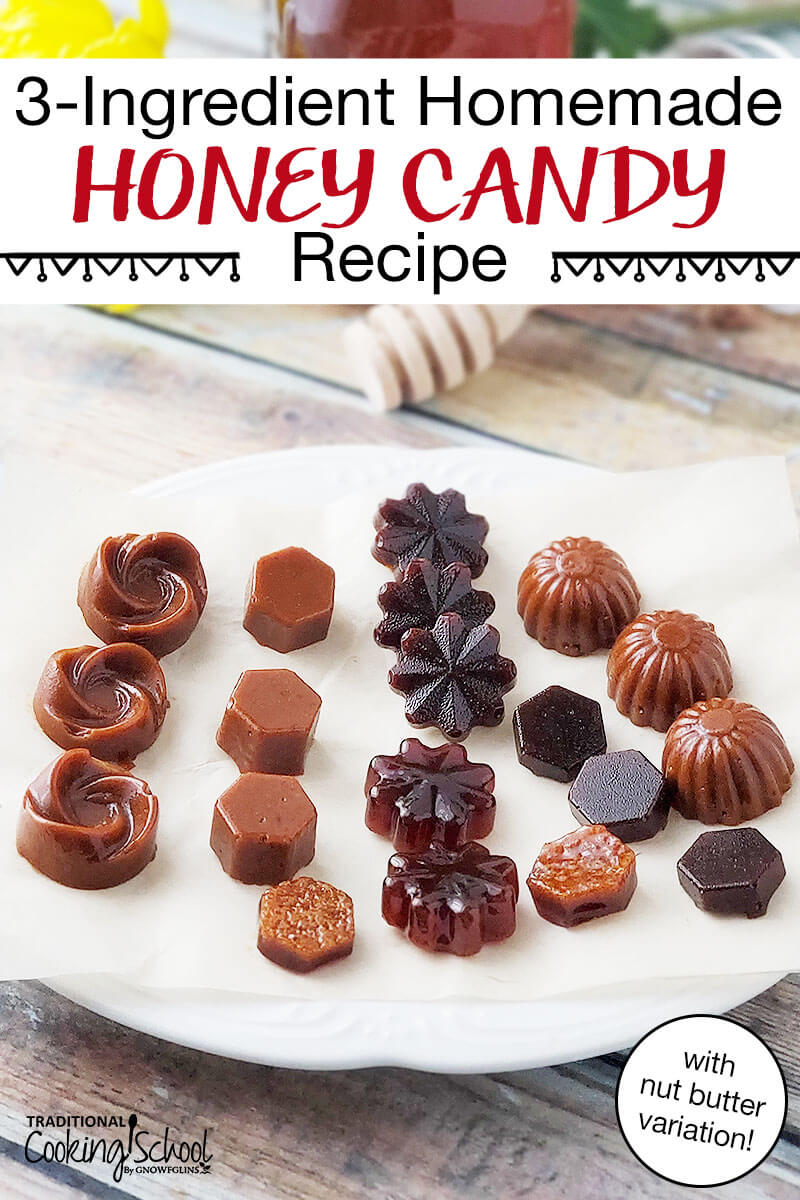
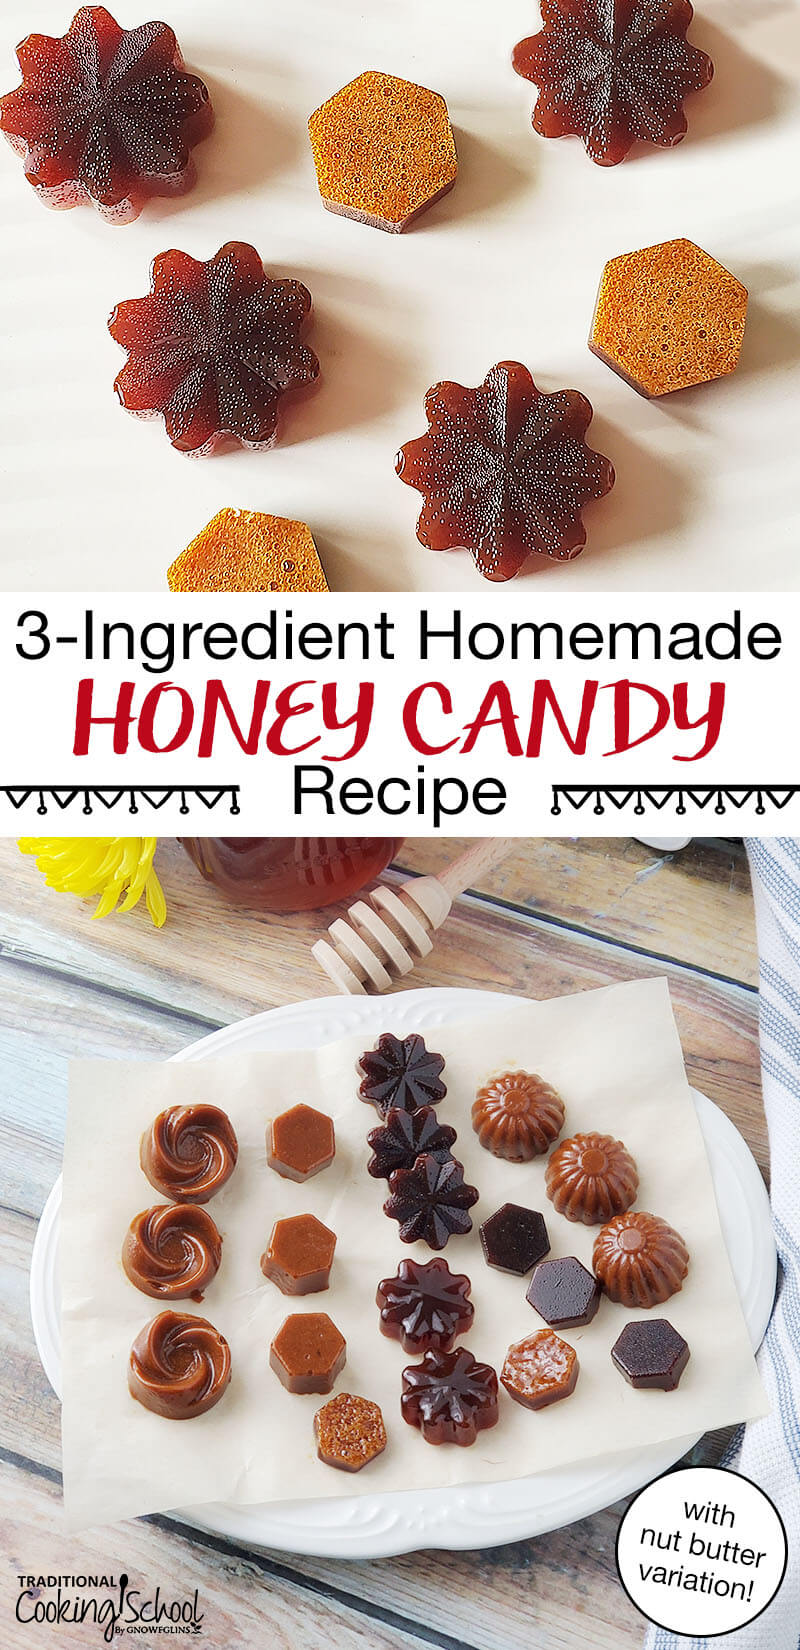
My son’s eyes lit up when he tried my homemade honey candy recipe! With only 3 ingredients and no complicated equipment required, these easy DIY candies are naturally sweetened and delicious.
Candy gets a bad rap, doesn’t it?
What if you made candy from healthy, natural sweeteners? You certainly can do that!
No worries about unhealthy refined sugar in this easy honey candy recipe. I also include a delicious twist to the basic recipe.
Ingredients For Honey Candy
For the basic honey candy recipe, you’ll just need 3 simple ingredients – honey, apple cider vinegar, and pure vanilla extract. That’s it!
If you’d like to make a heavenly delicious nut butter honey candy, leave out the vinegar and add a couple more ingredients. I love cashew butter but feel free to use any nut butter of your choice.
Then add a bit of cinnamon. So simple yet absolutely divine.
The darker your honey, the darker the candy will turn out. Also, it’s possible for the candy to become very dark while cooking, especially if you cook it over too high of heat.
Tools Needed For Honey Candy
Candy making can be complicated but this simple honey candy recipe just takes a few simple kitchen tools. Of course, you’ll need measuring utensils.
You’ll also need a heavy-bottomed sauce pan that’s big enough to keep the boiling honey contained. It bubbles and foams quite a bit.
For the recipe below, I used a 2 quart stainless steel pot.
Since you’ll be stirring boiling honey, you also need a spoon of some sort. I have an adorable set of mini silicone scrapers and mixing spoons. The spoon-like utensil was also perfect for spooning the mixture into molds.
But, any heat-safe spoon will do. I do recommend one with a longer handle though since hot, boiling honey splatters.
You’ll need a way to know when the honey is at the correct stage in the candy making process. There are a couple ways to do this (see below).
Finally, if you’d like pretty shapes for your honey candy, you’ll need candy molds. Do not use the clear plastic type of molds generally used for chocolates, those cannot handle boiling hot liquid!
Fun-shaped silicone molds are great for this honey candy recipe.
Or, simply line a baking sheet or dish with parchment paper to pour in the mixture. When it hardens, simply break off pieces.
Now let’s talk about how to tell when your honey candy recipe is done…
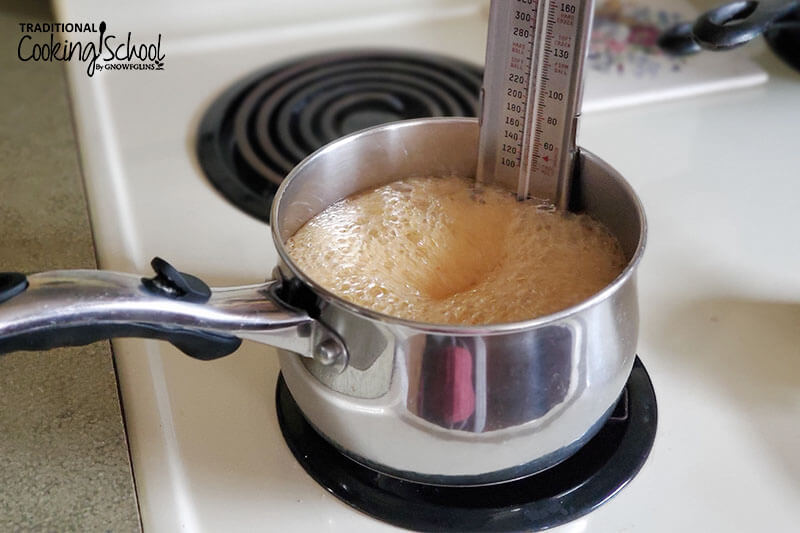
#1 — With A Candy Thermometer
One way is to use a candy thermometer. If it’s a non-digital thermometer, it will have markings for the different stages, such as soft ball, firm ball, and hard crack stage.
If you use a thermometer like this, be sure to check it for accuracy! Do this by boiling water and seeing what the temperature is. My brand new thermometer was 10 degrees off.
It’s possible that your elevation can affect at what temperature water boils. Knowing if your thermometer is off is important when making candy so make a note of the temperature difference and keep that in mind when using the thermometer.
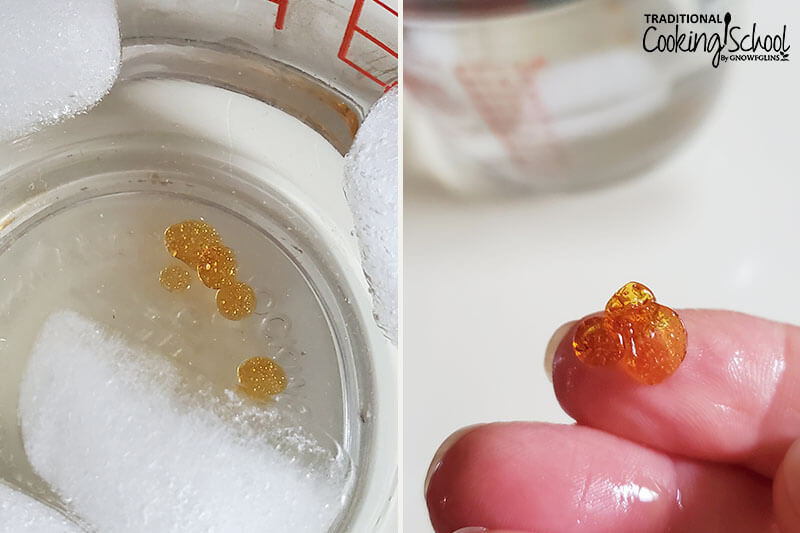
#2 — With Cold Water
The other way is testing a drop of the honey candy mixture in a glass of cold water.
It takes some time for the honey mixture to get to the proper temperature (around 20 minutes for me). Periodically dropping a bit of the mixture into cold water will help you determine what stage the candy mixture is in.
Candy Making Temperatures To Know
Different types of candies and other sweets require different temperatures. Your candy thermometer should be marked with the various stages, but if you have a digital thermometer or dial type that isn’t marked, here are the stages you need to know when making candy (in degrees Fahrenheit).
Each name describes how the mixture behaves when performing the water test.
- Thread Stage (223 to 235) – Forms soft threads in the water, good for making candied fruits and nuts.
- Soft Ball Stage (235 to 245) – Forms a soft ball in the water, a fudge consistency. The ball will flatten when you take it out of the water.
- Firm Ball Stage (254 to 250) – Forms a firmer ball in the water and holds its shape when you remove it. This stage is good for caramels.
- Hard Ball Stage (250 to 266) – The ball holds its shape well. It’s sticky but easy to mold.
- Soft Crack Stage (270 to 290) – In this stage you can form firm threads that are still pliable when you pull on the candy. Brittles, toffees, and other candies are cooked to this stage.
- Hard Crack Stage (300 to 310) – The candy will form brittle threads, you can not mold it in this stage. Suckers and other hard candies are cooked to the hard crack stage.
How To Make Honey Candy
First, gather your utensils and ingredients.
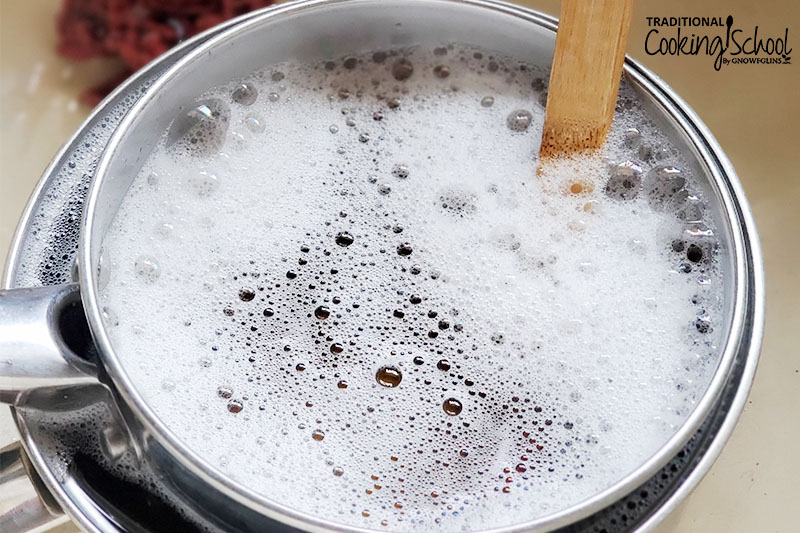
Next, fill your sink with hot, soapy water. When the honey candy hardens, it’s hard to remove!
But, if you immediately put your pan and spoon (and especially your candy thermometer) into the soapy water it cleans up very easily! By the time you’re done with the candy the soaking pot and utensils will simply wipe clean.
Need more tips for cleaning stainless steel cookware? We’ve got some!
Measure your ingredients into the sauce pan, stir and heat until boiling. Turn the heat down a bit so you don’t scorch the honey.
Once the mixture begins to foam, make sure you stay near the pot and stir frequently. This should keep the mixture from boiling over.
Keep an eye on the thermometer, or start water testing the mixture after around 15 minutes. You want to get the honey candy mixture to at least 275 degrees Fahrenheit.
For a harder, crunchier candy, let it go to the hard crack stage, or 300 to 310 degrees Fahrenheit. This will take about 30 minutes, from start to finish.
Remove from heat, then carefully add the vanilla (and nut butter and cinnamon, if using). See the cautions below for safety information!
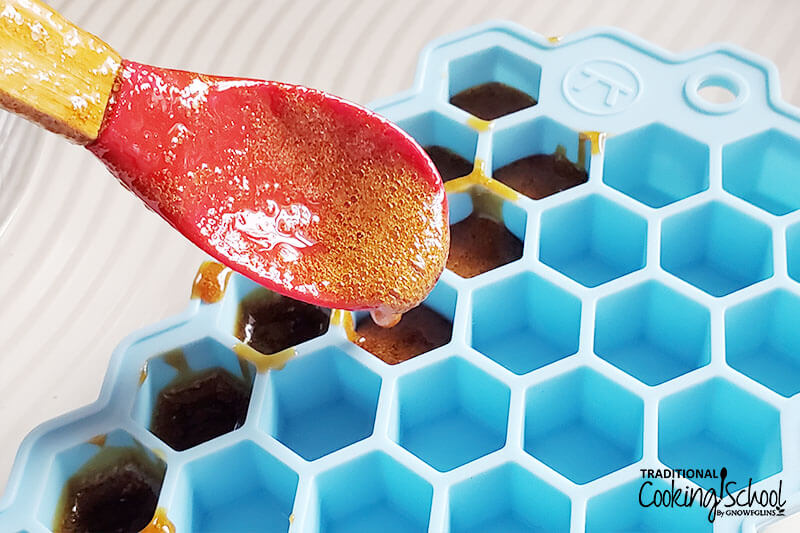
Carefully pour the mixture into silicone candy molds, muffin liners, or a parchment-lined baking dish or sheet pan. Refrigerate or freeze for 30 minutes or until hardened.
Cautions On Heating Honey
The boiling honey mixture is, well, boiling hot! It can splatter while cooking so keep littles away from the stove.
You’ll add the vanilla (and nut butter, if using) after cooking the honey BUT make sure to let it cool a bit first.
Add the vanilla a little at a time. It will foam and spatter but adding it in about 1/4 teaspoon amounts keeps the spattering to a minimum.
The candy mixture stays hot for a good bit but it cools the longer you keep the pan off the burner. It will begin to thicken so if pouring into molds, work fairly quickly.
If the mixture becomes too cooled and thick, gently warm it on the stove again until the mixture is more liquid and easy to handle.
Honey Candy Recipe Add-Ins
While I did not add anything extra to this honey candy recipe, that doesn’t mean you can’t! Here’s a few suggestions on additional ingredients to add to your delicious candy.
For nuts and most seeds, it’s always best if they’re soaked and dehydrated first.
- Chia seeds
- Sunflower seeds
- Peanuts
- Almonds
- Cashews
- Pistachios
- Walnuts
- Pecans
- Shredded coconut
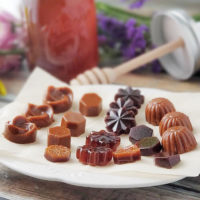
Homemade Honey Candy Recipe
With only 3 ingredients and no complicated equipment required, these easy honey candies are naturally sweetened and delicious.
Ingredients
- 1 cup raw honey
- 1/4 cup raw apple cider vinegar
- 1 teaspoon vanilla extract optional
Instructions
-
Add the honey and vinegar to a sauce pan and heat it to a boil.
-
Reduce heat so that the ingredients are still boiling, but not scorching.
-
Check the temperature with a candy thermometer.
-
When it reaches 275 degrees Fahrenheit, turn the burner off and remove the pot from the heat.
-
Let sit for a minute and then add vanilla in small amounts (important so the vanilla doesn’t scorch).
-
Stir the candy to combine.
-
Pour candy into a silicone candy mold, or a baking tray lined with parchment paper.
-
Place in the refrigerator or freezer. Depending on how large the candies are, they will probably take about 30 minutes in the freezer to cool.
Recipe Notes
Nut Butter Variation
- 1 cup honey
- 1/3 cup cashew butter or other nut butter
- 1/4 teaspoon cinnamon
Bring the honey to a boil over medium high heat. Reduce heat to medium, stirring frequently to prevent it from bubbling over, and cook until it reaches the desired temperature range or if doing the cold water test, gets to the stage you desire.
Remove from the heat and allow the pan to sit for a couple of minutes to cool slightly. Carefully add the cashew butter, cinnamon, and vanilla and stir well.
This mixture is thicker so you'll need to work quickly to get it into molds. Or, spread onto a parchment paper lined baking sheet or dish. Freeze or refrigerate until cold and hardened.
To store, wrap each piece with parchment paper strips or layer on sheets of parchment paper, without the candies touching, in an air tight container. Freeze or refrigerate.
How To Store Your Healthy Homemade Honey Candy
When I first made these, I was thrilled at how well they turned out. Since I didn’t have time to take photos of them right then, I popped them back into the freezer until I had the time.
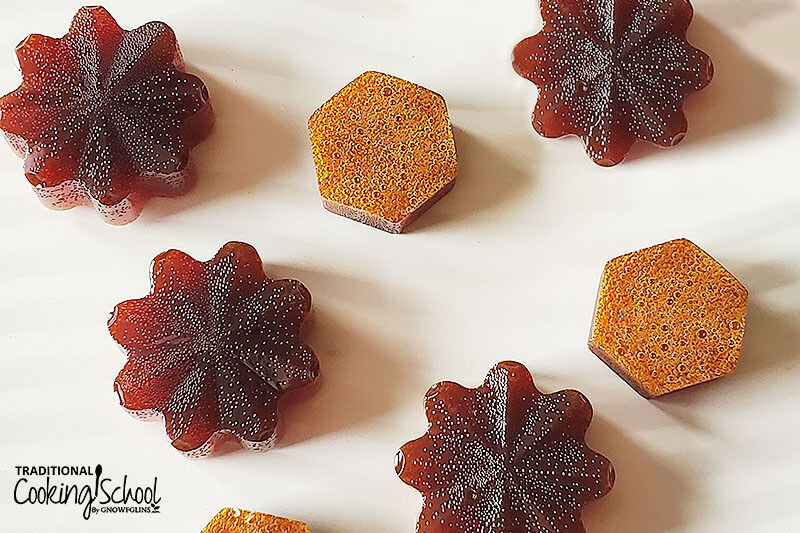
When I pulled them out again, they had changed a bit in appearance. They were still in the lovely shapes of the molds, but with softer, less defined edges.
The nut butter candies hold their shapes better, but will still lose a bit of definition on the edges if not stored in the fridge or freezer.
Also, both versions are very sticky! You’ll want to store these candies in a single layer or layered between parchment paper sheets, in an airtight container in the fridge or freezer. Wax paper may work, but I’m afraid it will stick to the candy and be hard to remove.
If left at room temperature, they may start to melt somewhat if you did not get to the hard crack temperature range. At 275 to 280 degrees Fahrenheit, you’ll still get a hard candy but it’s more likely to melt a bit at room temp.
The hard crack range results in candy that keeps its defined edges better.
I tried several batches with different temperatures and the candy still ends up being very sticky no matter what temperature I cooked it to.
For gift-giving, I recommend wrapping the pieces individually with parchment paper. Be sure to let the recipient know to store them in the fridge or freezer.
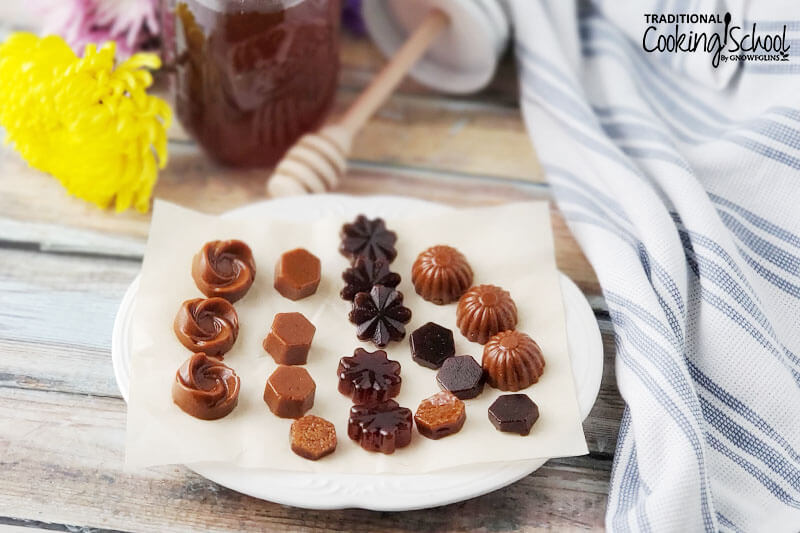
Homemade Candy The Whole Family Will Love
My son’s eyes lit up when he tried a piece. He gave me the thumbs up sign and said it tasted great!
My kids are no different than most, they enjoy sweet treats. It’s such a comfort to know that I can easily make healthy candy for them.
The honey and vinegar candy has a fairly strong honey flavor. They’re great to slowly enjoy, like a lozenge.
They may even help soothe a sore throat. Thankfully, we rarely get sore throats so I haven’t had the chance to test that theory.
They are also a bit chewier once you start chewing on them.
My daughter does not like honey for some reason. However, she loved the nut butter version. It doesn’t taste much like honey, though.
It’s crunchier and reminds me almost of a butter toffee. The hint of cinnamon just really makes it lovely!
While this version of honey candy is crunchier to start with, it will end up more chewy as you chew on it. If left out at room temperature for a long period, they are not as crunchy and more like a taffy or caramel.
Whether you make this candy to enjoy at home or give as a gift, everyone will love it!
What handmade gifts do you love to give and receive? Will you try this honey candy recipe?
This post was featured in 52 No-Junk Candy Recipes.
Looking for More Naturally Sweetened or Sugar Free Candy Recipes? Try These!
We only recommend products and services we wholeheartedly endorse. This post may contain special links through which we earn a small commission if you make a purchase (though your price is the same).


These candies are really cool. I’ve never made candy before, but I’m wondering if you could add some essential oils to make cough or throat drops. I’ve been sick lately and the Burts Bees drops are working, but I’m really not feeling great about the undisclosed ingredients and would love to make my own.
Thanks so much for your comment. I totally understand your concerns with the packaged drops today and yes I feel that you could add essential oils to your drops. I am actually planning to do the same for my husband. If I add essential oils to mine, I believe that I will eliminate the vinegar and just add a tsp of butter while it is heating on the stove which will help keep the foam down and then you would add the essential oils once it has been removed from the heat and has had a chance to cool down just a bit. I am considering using Thieves and/or Lemon and/or Eucalyptus. I hope this helps and I hope you enjoy. Homemade candies are the BEST in my opinion and they are so easy to make. God bless you and yours… <3
a lot of essentials oils should not be used for consumption. Please check before you take it by mouth…..
Only 3 ingredients!! I think I can do it 🙂
Tanya go for it!! I LOVE making homemade candies. It is fun and they are favored in our house. I’ll have to share my Mint Patties sometime. Blessings to you and yours. <3
Ooh! I’m due to have my baby any day now, they say hard candy is good for dry mouth during labor but I would never use store bought, the honey will be great!!
Auyverda is against heating honey can you use maple syrup instead
Hi Sara,
I apologize for my delayed response. Our family has been fighting the flu. Funny you should ask about using maple syrup instead. My girlfriend was working on a post covering just that. You can pretty much do things the same, but I will provide you with a link to her post because her pouring methods are a bit different and if you have children, could be a fun project. You can check out her method here: http://www.theselfsufficienthomeacre.com/2014/02/how-to-make-jack-wax-and-hard-maple-candy.html. If her method of pouring is not what you are looking for, you can certainly use my suggestions as well with the maple syrup.
Thank you so much for stopping by and I hope this was helpful for you.
Blessings to you and yours!
Tam <3
Thanks for sharing the link to my post about maple candy, Tammy! You’re so sweet 🙂
The link has expired is there a new page where I can find this info?
I’m so bummed out. My honey candies did not harden. They satiated gooey. I suspect my honey is not real, or I didn’t boil it long enough! Can you give me some insight? Please!!!!
Thank you , I love your posts!!!!
I have tried to make cough drops with honey. When I removed it from heat at 250*, the drops never hardened. I think it needs to heat to 300* to “hard crack” stage, but I’ve tried twice and scortched the honey both times. I’m looking for a solution. Someone suggested maybe using a double boiler.
Mine didn’t harden either, really bummed!
Buy honey from a local producer.
What kind of honey do you need to use to make the honey candies? I have creamed honey– will that work? Also wondering when to use the shape cutters… Do you wait for the honey to cool on the parchment paper for 5 or 10 minutes before cutting it? I’m looking forward to trying this since I suspect that my daughter might have sucrose intolerance and I need some substitutes for candy.
Creamed honey is just honey that has been crystallized. The crystals will liquify when heated.
Can you use other types of vinegar for this recipe? Or just apple cider? What is the purpose of using the vinegar?
These look yummy. I love that fact that they have only three ingredients. I am on a modified SCD and FODMAPS diet for SIBO treatment and honey is the ONLY sweetener I can have. Thanks for posting this. I can’t wait to try the recipe.
Mine didn’t Harden either. They were delicious. But I poured my note on wax paper instead of parchment paper. Is there a difference? They taste awesome. And I need a little bit bigger pot and just a saucepan.
Mine did not harden either. When I have made hard candy in the past it has always been taken to 300F. I don’t think this recipe can work in it’s current form?
I am trying to make a hard candy with honey. The receipe and method I used as follows.
Sugar 280 gms Honey 120 gms Water 125 mls. I boiled Sugar and water and added honey and boiled upto 147 deg C. The I add Fresh Lemon juice to taste. Every thing came out well.
But the candy instead of HARD came out SOFT.
What should I do?
Thanks
Balasubramanian
Can I use a different vinegar such as white or rice vinegar. My granddaughters can’t have anything with fruit in it.
Is it possible to use this recipe and add lemon zest or juice and a bit of cinnamon for a sore throat? My family has always done hot toddies or virgin hot toddies for the kids and I was thinking this could work as well.
Hi! I’ve been wanting to learn how to turn our fresh honey into lollipops for a long time and today I finally attempted it. I tried using several recipes similar to yours but each time my lollipops tasted burned. I make sure not to exceed the 300 degree limit (in fact, I usually stop at 297 degrees) but it’s not helping. It starts smelling burned by 240 degrees. Any insight would be most helpful. THANK YOU!
-Shelly
Delicious recipe, I didn’t know that you can also make honey candy, thanks for sharing this recipe.
Please use a large cast iron ceramic coated to make these. You should not burn if your about medium heat!
I’m grateful for the recipe find! Love less ingredients & no regular sugar! Seeking to create a honey candy for my 2000 road trip. Like to add ginger essential oil or fresh grated ginger w/a pinch of Himalayan salt to magnify the sweet taste. Any thoughts? I also have oat fiber & apple pectin fiber powder … thinking 1/8 t. to add some fiber & thickening in case the ginger upsets that natural process. Thanks ahead of time!
This candy is a great pressure reliever. You don’t need expensive or elaborate ingredients to make delicious homemade candy at home. All it takes is your imagination and these three ingredients, which you may already have in your kitchen.