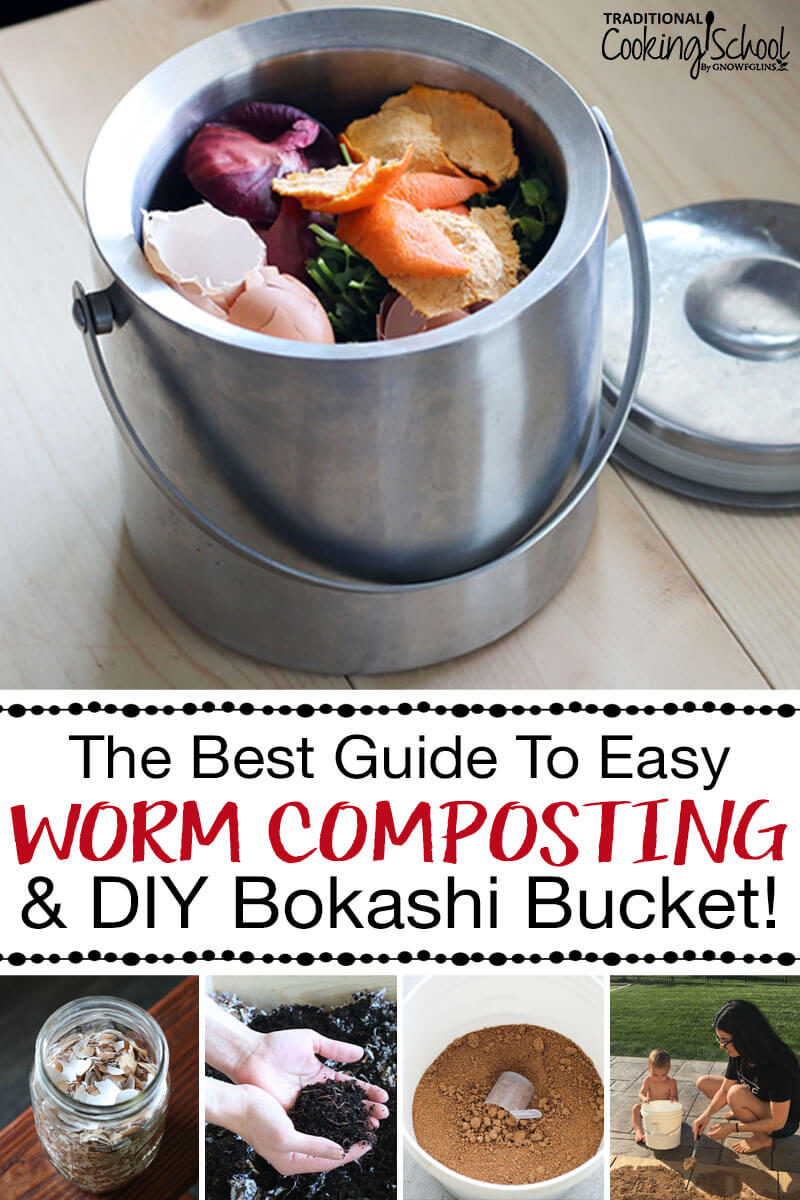
I grew up with an honest-to-goodness compost pile out by the barn.
No, taking out the food scraps was definitely not my favorite chore… my brother usually did it. Yes, you never knew when you were going to run into a raccoon or skunk if you ventured outside by the compost pile at night.
I guess I took the transformation of stinky leftovers into black, rich soil for granted. I didn’t realize that I actually missed composting until I got married and moved into an apartment in the city!
For the past three years, I’ve cringed every time I throw food waste into the garbage. I didn’t know I could compost in an apartment, though, so I didn’t do anything about it.
What changed? I fell in love with houseplants, and didn’t want to have to buy potting soil and fertilizer for the rest of my life!
It also felt like a big disconnect to be striving for sustainability and frugality in my kitchen… yet be throwing away a significant portion of the food I bought every week.
So I decided to learn how to compost!
Table Of Contents
What Is Bokashi Composting?
The bokashi system is technically a method of food fermentation. Isn’t that fitting for Traditional Cooking School? 🙂
To successfully bokashi compost, you must buy or make bokashi bran (wheat bran + molasses + effective microorganisms + water) which you then combine with food scraps in a bucket to anaerobically ferment.
The bran, inoculated with lactic acid and phototropic bacteria as well as yeast, acts as the starter culture (source). You’re essentially pickling your kitchen waste!
Although most anaerobic fermentation smells foul, the specific microorganisms in bokashi bran produce only a sour fermenting smell (source).
It’ll take a week or two to fill up your bucket, and all the while you drain off the liquid that collects. This liquid, called “bokashi tea” or “compost tea”, makes wonderful fertilizer for plants (if heavily diluted) or many people use it to clean out their drains since it is highly acidic.
After you fill your bokashi bucket, you let it sit for a few weeks. During this time, the microorganisms in the bran continue to ferment the food waste into a mixture known as “pre-compost”.
This pre-compost must then be turned into actual compost — either by burying it in your backyard (away from plant roots — it is still too acidic), in a bucket of soil in your house, or by slowly adding it to your worm bin. I’m focusing on the latter in this post.
You can buy bokashi bran and buckets, or make your own (instructions below!).
Benefits Of Bokashi Composting
- You can compost even citrus, meat and dairy.
- There’s virtually no smell — only a sour, fermenting smell if you open the bucket.
- The liquid that drains off can be used to fertilize plants and clean drains.
- If utilizing two bokashi buckets, you can create a continuous system.
- It can be done in a small space such as an apartment.
What Is Worm Composting?
Worm composting, also known as vermicomposting or vermiculture, enlists the help of earthworms to turn food waste into compost.
Since worms are living creatures, vermicompost requires a bit more finesse than the bokashi composting process. In essence, you feed your worms a balanced diet of carbon (straw, newspaper, dry leaves, etc.) and nitrogen (food scraps).
Carbon sources provide energy for the worms to grow, whereas nitrogen sources provide protein building blocks for the worms to proliferate.
Unlike bokashi composting, the worms’ diet is more restrictive, and they are also more sensitive to their living conditions (temperature, moisture, ventilation, and acidity).
That said… worms are forgiving and it’s easy to learn how to care for them.
After about six months, your worm farm will yield vermicompost.
Benefits Of Worm Composting
- It doesn’t require access to soil. Great if you live in an apartment without a backyard or you live in a cold climate where the ground freezes in winter.
- If done properly, there’s virtually no smell — only a slight “soil” smell.
- Worm castings have less contaminants and a higher concentration of nutrients than the organic matter prior to composting (source).
- It can be done in a small space such as an apartment.
Why Use Both A Worm Bin & Bokashi Bucket?
Many people compost with only a worm bin, or with only a bokashi bucket. What are the benefits to using both?
First, feeding worms pre-compost from the bokashi bucket will result in faster decomposition, since the pre-compost is already partially broken down and inoculated with microorganisms.
Second, if you live in an apartment or small home without a yard or access to soil, you can put your pre-compost in the worm bin to finish the composting process.
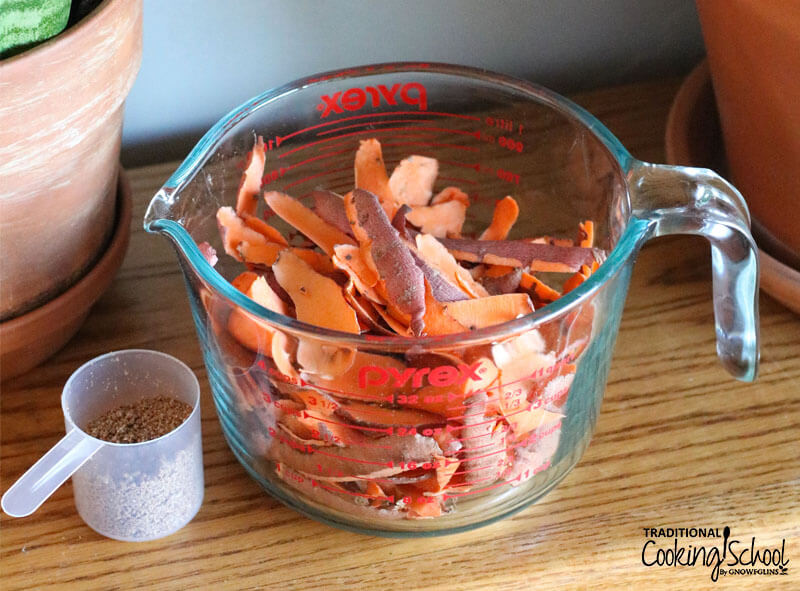
How To Make A DIY Bokashi Bucket & Bran
If you, like me, decided to harness the collaborative power of bokashi and vermicomposting… now it’s time to make bokashi bran and buckets! (Or you can buy them, here.)
You can either make a continuous system, or a solo bucket that you fill up and then wait to use again until empty.
When I started composting, my husband made me a continuous system of four 5-gallon buckets nested together to make two bokashi buckets. However, I’m finding this to be a huge amount of pre-compost to deal with, since my worms can’t eat it that quickly.
In future, I think I will use only one bokashi bucket at a time — and I might even opt for a smaller size, too.
Depending on the size of your family and how much kitchen waste you produce, a continuous system might still be for you, though!
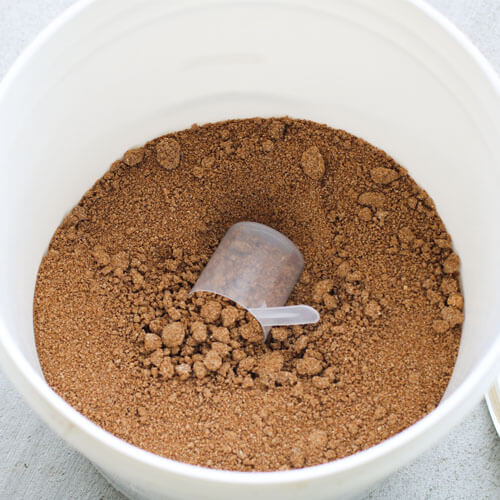
How To Make DIY Bokashi Bran
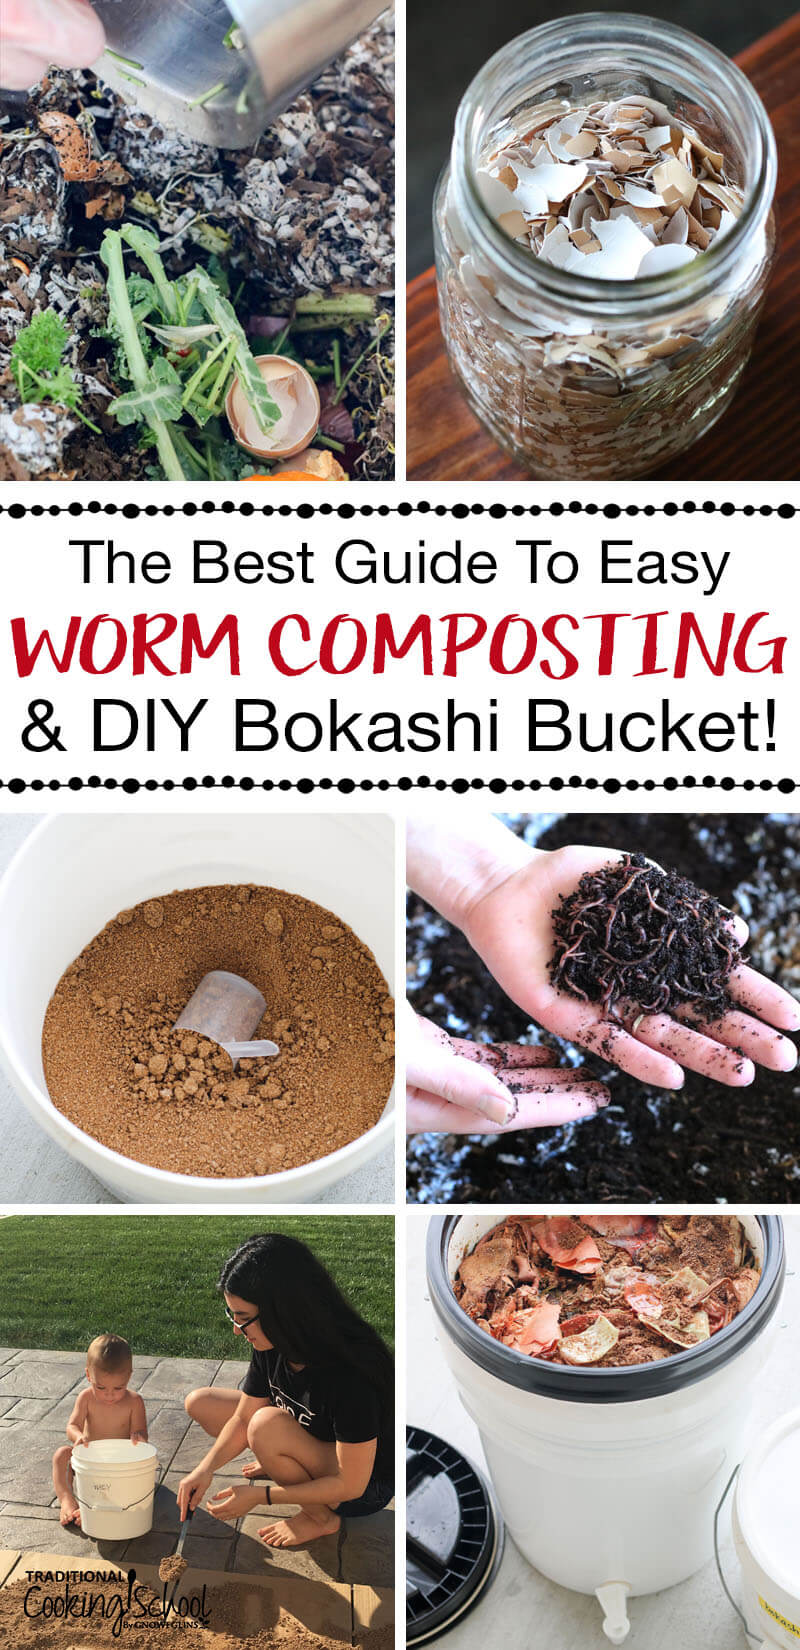
Ready to stop letting food scraps go to waste? Does bokashi composting really ferment bones? Can you feed bokashi pre-compost to your homemade worm farm? In this ultimate guide to easy indoor composting, you'll learn all you need to know about worm composting and the bokashi system, including how to make a worm compost bin, bokashi bran, and DIY bokashi bucket! It's the best resource for kids in a classroom, beginners, and even those who live in tiny apartments!
Ingredients
- 5 pounds wheat bran
- 2 tablespoons EM-1
- 2 tablespoons molasses preferably blackstrap
- 5 cups pure water
Instructions
-
Put bran in a very large mixing container.
-
Dilute molasses with 2 cups water, then add EM-1 and mix together.
-
Add all liquids to bran. Mix.
-
Place in a garbage bag in a cool, dark place for 6 weeks.
-
After 6 weeks, check it. It should have a slight sour smell. It's okay if there's some white mold, but you don't want green or black mold.
-
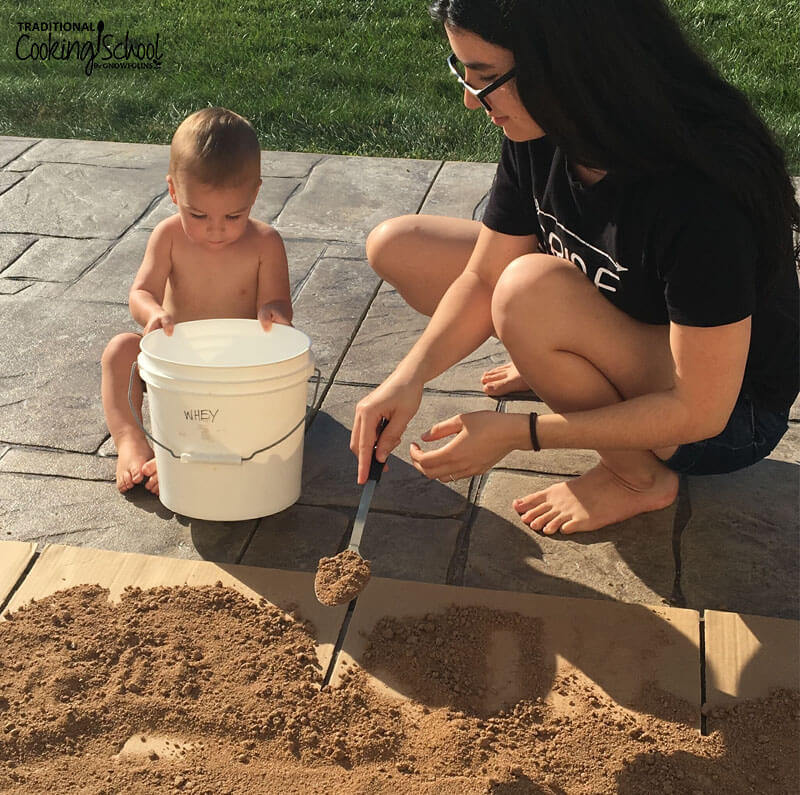
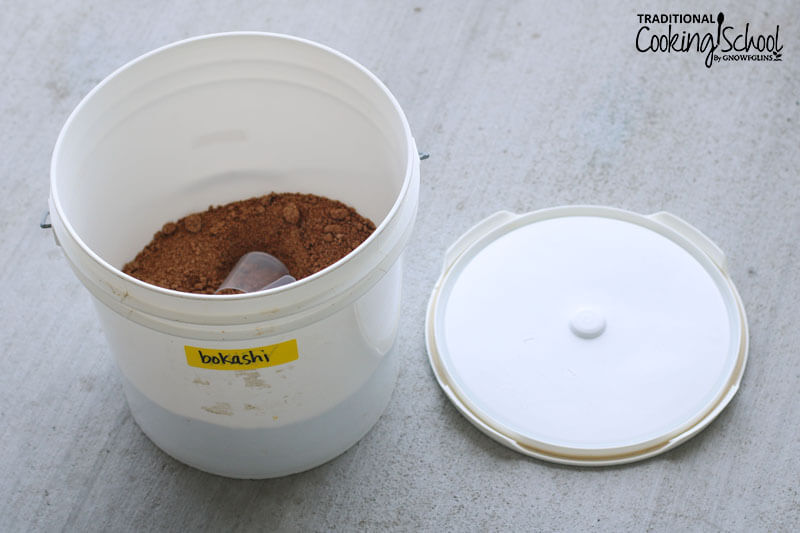
Spread fermented bokashi bran thinly on cardboard and let sit in a sunny place to dry.
-
Store in an airtight bucket once dry.
How To Make A DIY Bokashi Bucket
Ready to stop letting food scraps go to waste? Does bokashi composting really ferment bones? Can you feed bokashi pre-compost to your homemade worm farm? In this ultimate guide to easy indoor composting, you'll learn all you need to know about worm composting and the bokashi system, including how to make a worm compost bin, bokashi bran, and DIY bokashi bucket! It's the best resource for kids in a classroom, beginners, and even those who live in tiny apartments!
Ingredients
- 2 5-gallon buckets
- electric drill
- 1/4 inch drill bit
- 1 spigot
- plumber's tape
- 1 inner tubing of a bike tire
- 1 bucket lid tight-fitting
Instructions
-
Choose one bucket to be the outer bucket of your bokashi system.
-
Drill a hole that the spigot will fit into, on the side of the bucket yet about an inch or so from the bottom.
-
Insert spigot, using rubber washers on either side of the bucket wall to create a water-tight seal. My spigot came with two washers. You can also use plumber's tape if necessary.
-
Cut the bike tire tubing so it's one long piece instead of creating a circle.
-
Slit the tubing lengthwise so it's no longer a tube.
-
Place it over the top edge of the bucket with the spigot, and either overlap the ends or cut them to size.
-
Set aside bucket.
-
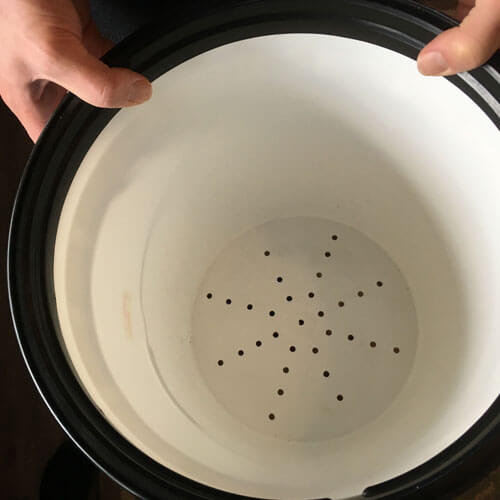
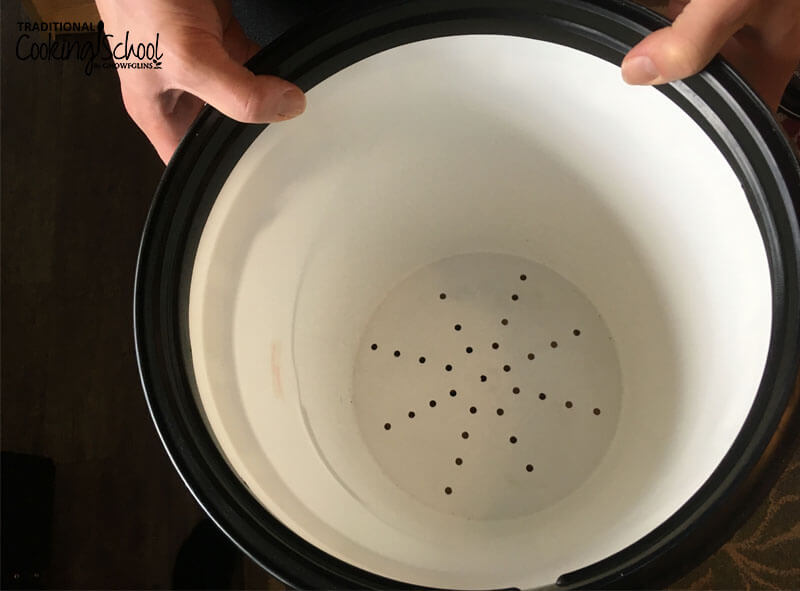
Turn the other bucket over, and drill about 30 holes in the bottom at regular intervals. Dust away any remaining plastic bits.
-
Now nest this bucket inside the bucket with the spigot, adjusting the tubing as necessary to achieve a tight fit.
-
Snap on the lid.
-
Double the hardware above and repeat instructions if you want a continuous system!
How To Compost Food Waste With A Bokashi Bucket
Pretty much any food can go in a bokashi bucket — including citrus, meat and dairy.
The only things you want to limit are moldy foods (they can upset the bacterial balance and make the bin go bad) and excess liquids including oil. (Source.)
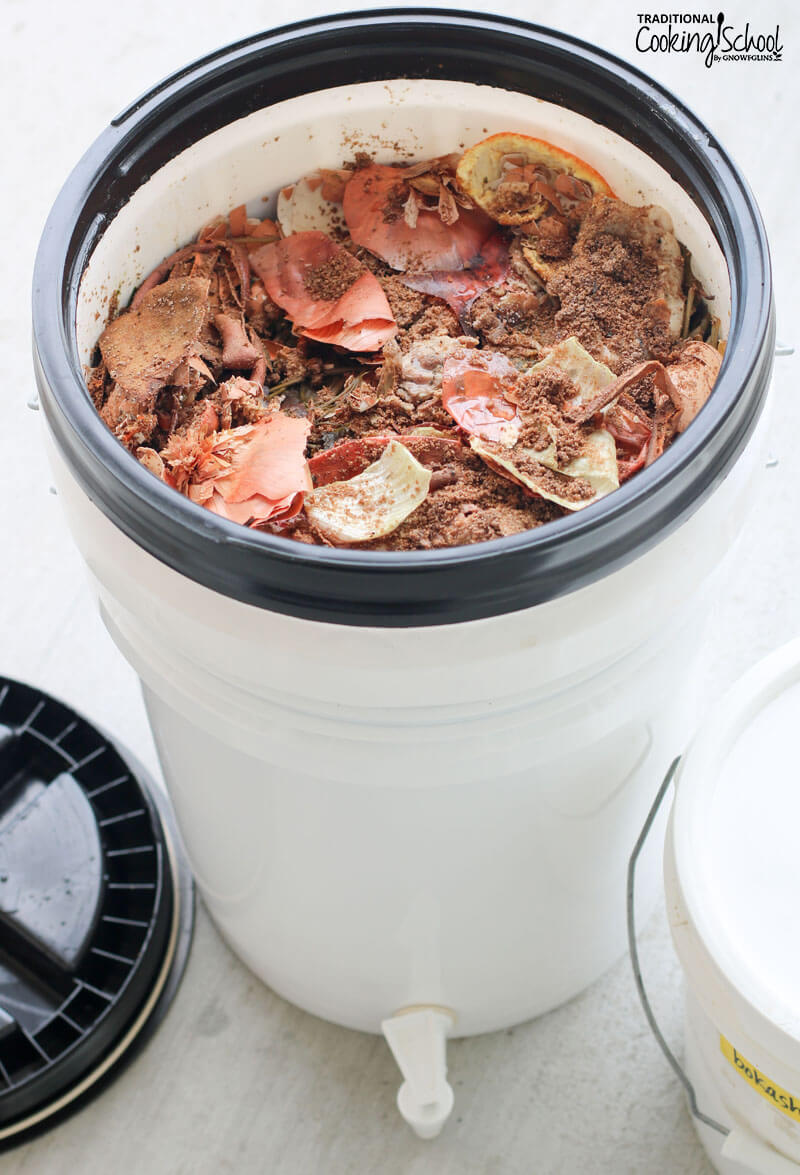
When you’ve collected your food waste, add it to your bokashi bucket, then sprinkle a generous layer of dried bokashi bran over top. Mash everything down (I use my potato masher).
Then screw on the lid.
Every few days, drain off any collecting liquid with the spigot. Use this liquid to clean your drains, or dilute it to fertilize plants (here are the appropriate dilution ratios depending on what you want to fertilize).
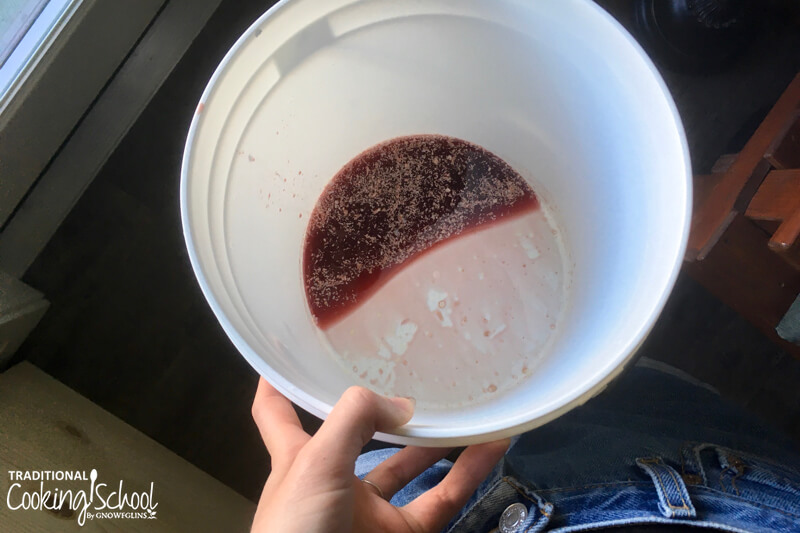
After the bokashi bucket is full, seal it and let it sit for two weeks. This allows everything to fully ferment and yields pre-compost, which can then be buried or added to a worm bin (see below).
If a bokashi bucket ever starts to smell foul rather than fermenting, bad anaerobic bacteria have taken over. You can try adding additional bokashi bran to boost the population of the good bacteria, but you’ll probably have to dump the batch, scrub out the bucket, and start over (source).
5 Things To Consider About Worm Composting
As I mentioned before, worm composting is a bit more hands-on than bokashi. As a result, there are several decisions to make before you can get started.
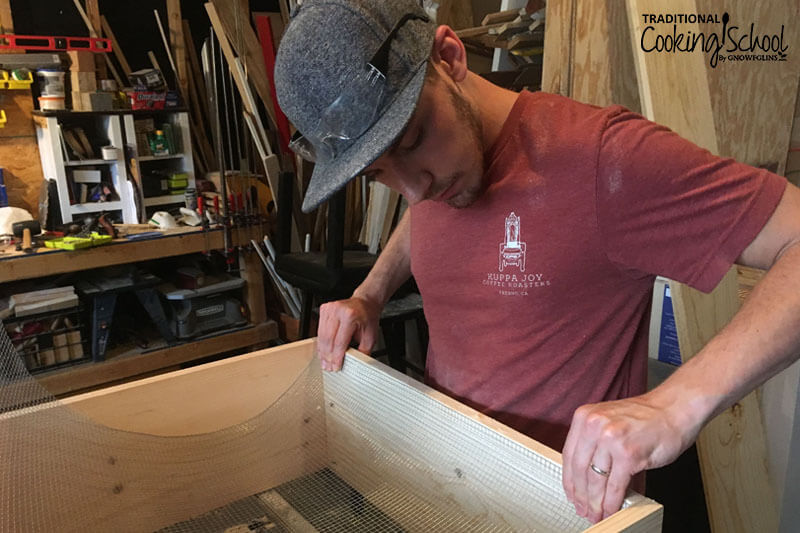
#1 — What container will you use?
Worm bins can be constructed from plastic or wood. I chose wood even though it will degrade after two to three years unless dried out between each use, because I’m trying to limit the amount of plastic in my home!
Whatever you choose, it needs to be…
- big enough to house enough worms to eat your food waste (4 square feet for 1 pound of worms and 1/2 pound scraps per day)
- well ventilated to provide oxygen for the worms and aerobic bacteria present
- shallow (about 12 to 18 inches deep) so bedding doesn’t pack down
- wide so it has a greater surface area
- appropriate for the amount of food waste your family produces (more kitchen waste = bigger worm bin!)
- covered and opaque so it’s dark
If you’d like to make your own worm bin, there are many, many different designs. My husband made ours, following roughly these instructions. Or you can buy worm bin plans, like these.
If you’d like to buy a ready made worm bin, there are many options for you, too! I like the look of this one.
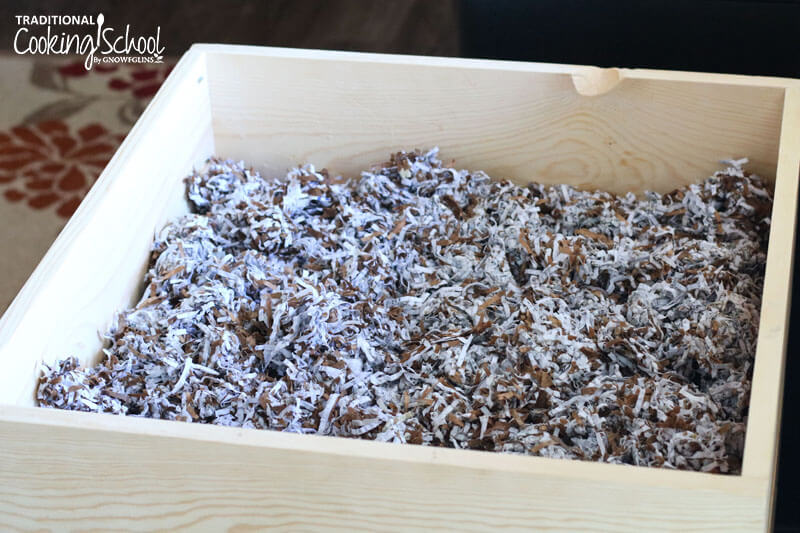
#2 — What bedding will you use?
Bedding is important because it absorbs moisture, buries kitchen scraps, and provides energy for the worms as a carbon source. It needs to be nontoxic, light, and fluffy.
There are many bedding options. I’ve chosen to use shredded paper (black and white only — no colored inks as they can contain heavy metals) because it is readily available and free for me.
Other options include…
- leaf mold (maple leaves especially)
- animal manure
- coconut fiber
- wood chips
- peat moss
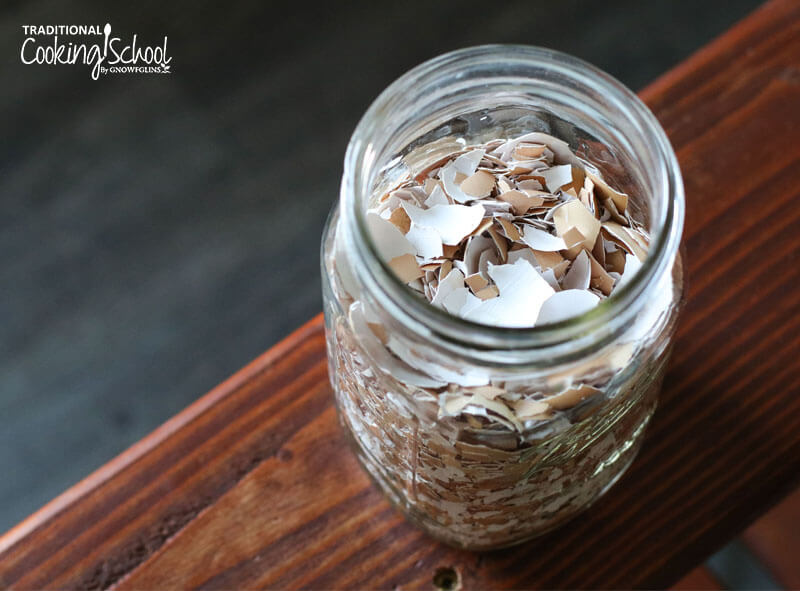
#3 — What amendments will you add to the bedding?
You can add several substances to your worm bin to boost nutritional content of vermicompost, and aid the worms in their work. These include…
- a handful of soil (provides grit* and inoculant of microorganisms)
- crushed egg shells (provides grit)
- sand (provides grit and trace minerals)
*Worms don’t have teeth, so small pieces of abrasive material like dirt and sand help them grind up their food.
#4 — What worms will you use?
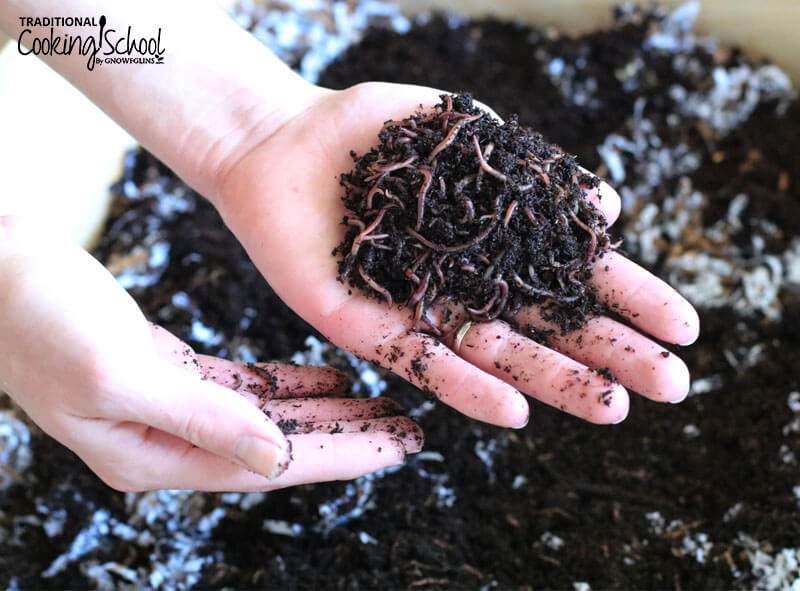
Eisenia fetida, also known as red worms or red wigglers, are the ideal candidate for a worm bin. They are tough, reproduce quickly, and can process large amounts of organic material.
They also feed upwards, which is why stacking compost bins work so well!
You will need 1 pound of worms per 1/2 pound of daily food waste. If you’re not sure how much food waste your family produces per day, simply tally it all up for a week and then divide by seven. (Source.)
I bought my red worms from Uncle Jim’s Worm Farm and couldn’t be happier.
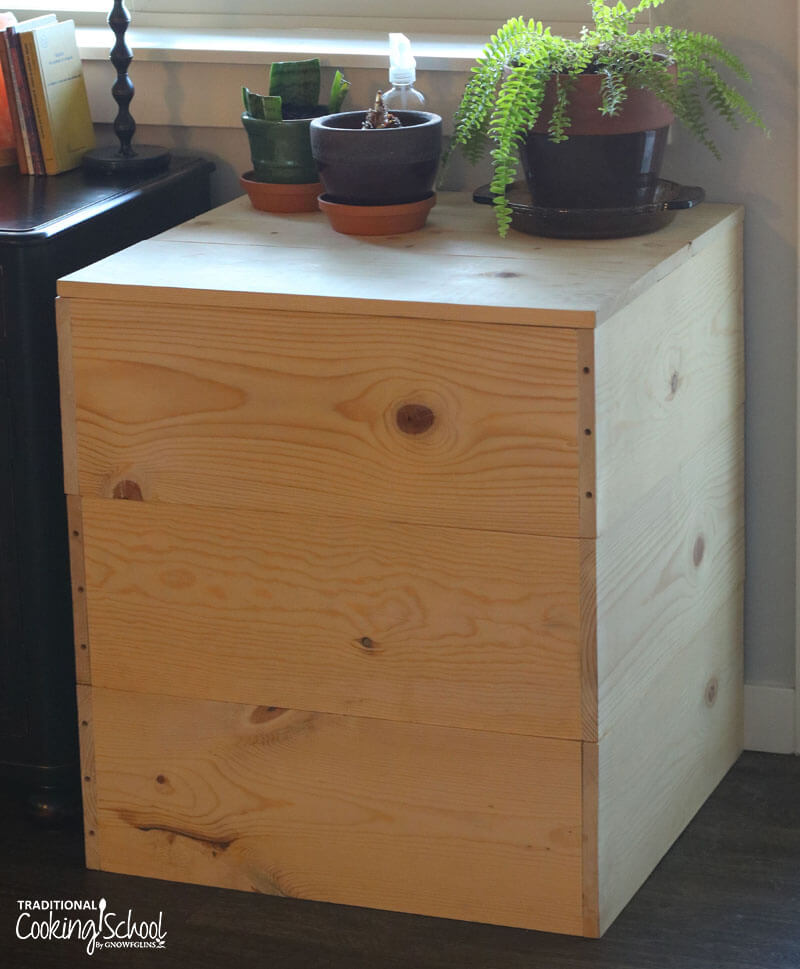
#5 — Where will you keep your compost bin?
Worm bins can be kept inside or outside depending on the season and climate. Just keep in mind that red wigglers work best at temperatures between 68 and 77 degrees Fahrenheit (although they tolerate between 59 and 77 degrees).
Worms are also sensitive to loud noises and vibrations, so keep them away from appliances like the washing machine or dryer.
I have my compost bin in the living room, although many people put theirs in the basement or kitchen. Do what works for you!
How To Compost Food Waste With A Worm Bin
First, order your red worms. Worms can’t live very long in their shipping box, so it’s important to have everything else ready so you can start your worm bin within two days of their arrival.
When they arrive, follow the instructions included with the worms. You may need to hydrate them.
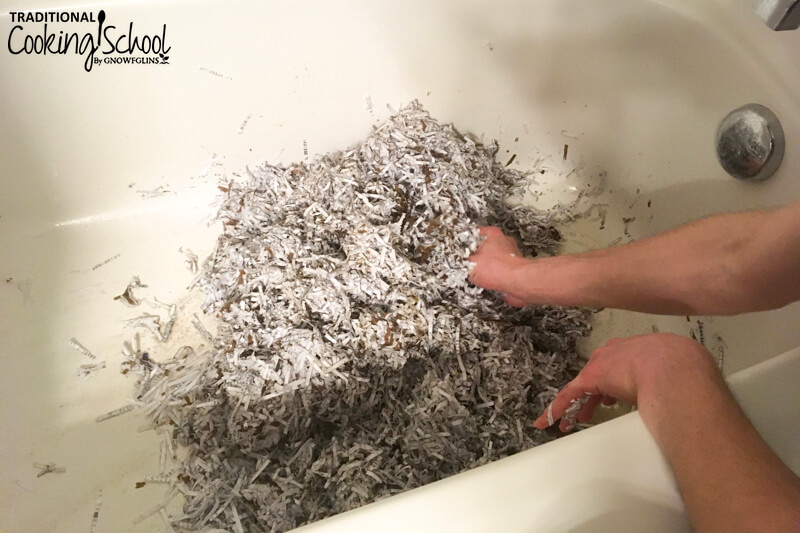
Then prep the bedding. You will need 3 pounds of shredded paper per cubic foot of your worm bin.
You will also need 3 times more water, by weight, than paper. This will yield bedding with a moisture content of about 75% — equivalent to the moisture content of the worms’ bodies.
Place half of the shredded paper in a large mixing container (we used our bathtub).
Add half of the water and amendments — a couple handfuls of soil, crushed egg shells, and sand.
Add the remaining paper and water.
Mix it together until the paper soaks up the water.
Now double check the moisture level of the bedding. It needs to be damp, but not soggy.
Squeeze a handful of it — at most, a few drops should fall out (source). If there’s too much, squeeze out the excess water until it feels like a wrung-out sponge.
Transfer moist bedding into worm bin and spread out.
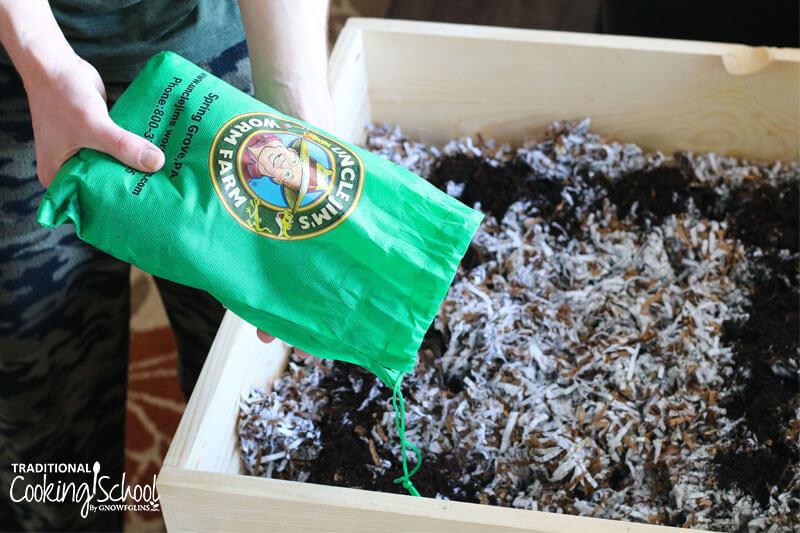
Add red worms, gently spreading out any clumps.
Leave the lights on, or the blinds open, and leave the worms for an hour, uncovered. They will burrow into the bedding and disappear.
If there are any worms left on the surface after an hour, remove them. They are dead or unhealthy.
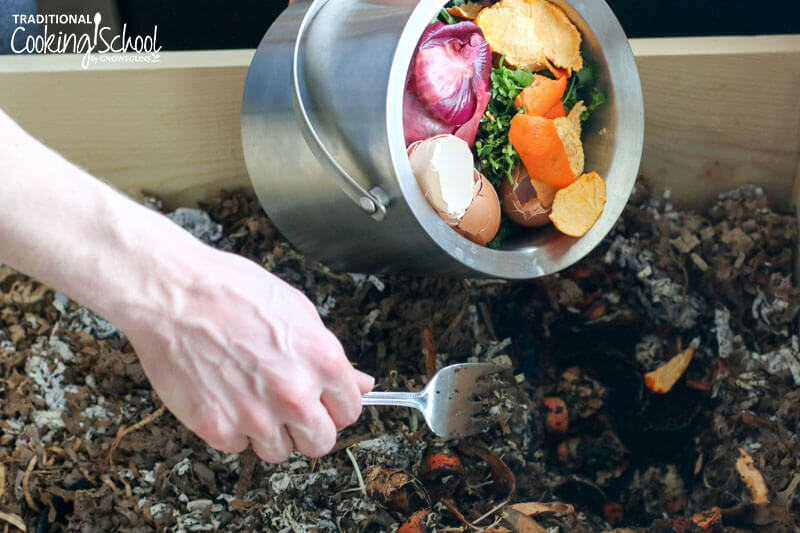
Dig a hole in the bedding deep enough to bury food scraps. This can be bokashi pre-compost, or fresh unfermented kitchen waste.
Cover food waste with one to two inches of bedding.
Cover worm bin with lid.
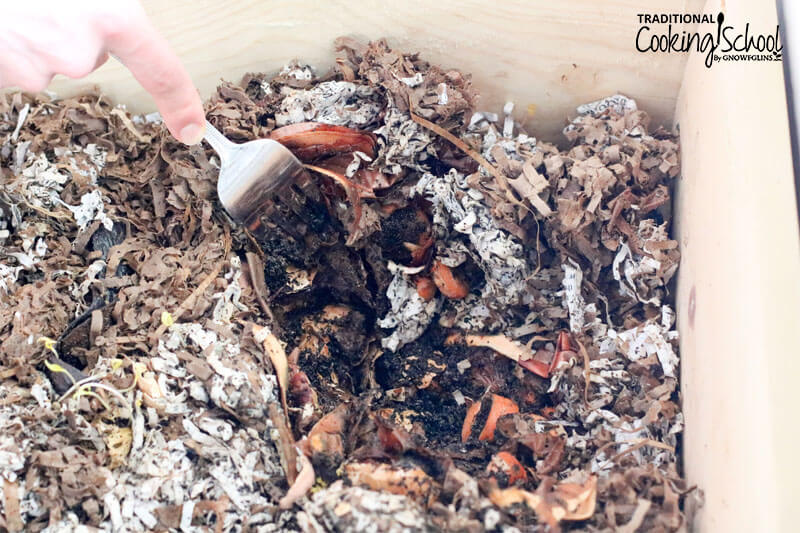
Add more food waste every few days. Make sure you dig holes in an organized fashion so you evenly distribute scraps across the worm bin.
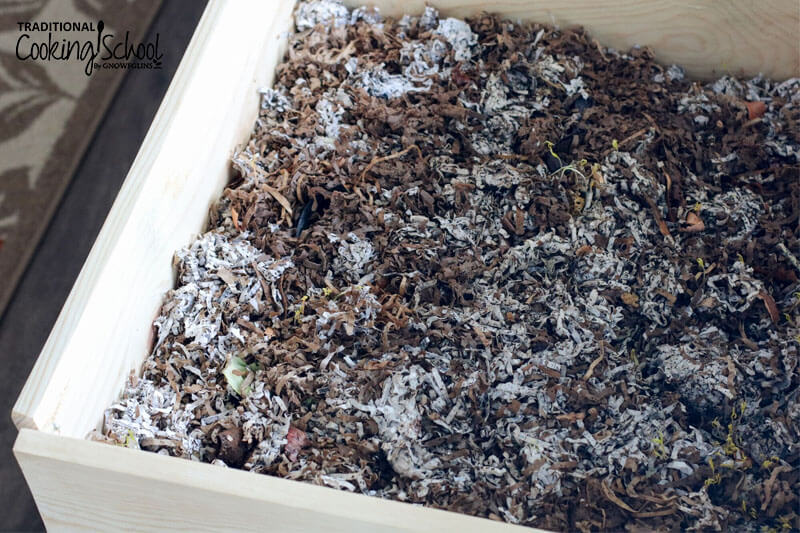
After six weeks, the bedding will look darker and worm castings will be visible.
After about four months, or when the worm bin is full with no more places to bury waste and very little bedding, you will have vermicompost that’s almost ready to be used for your garden or houseplants!
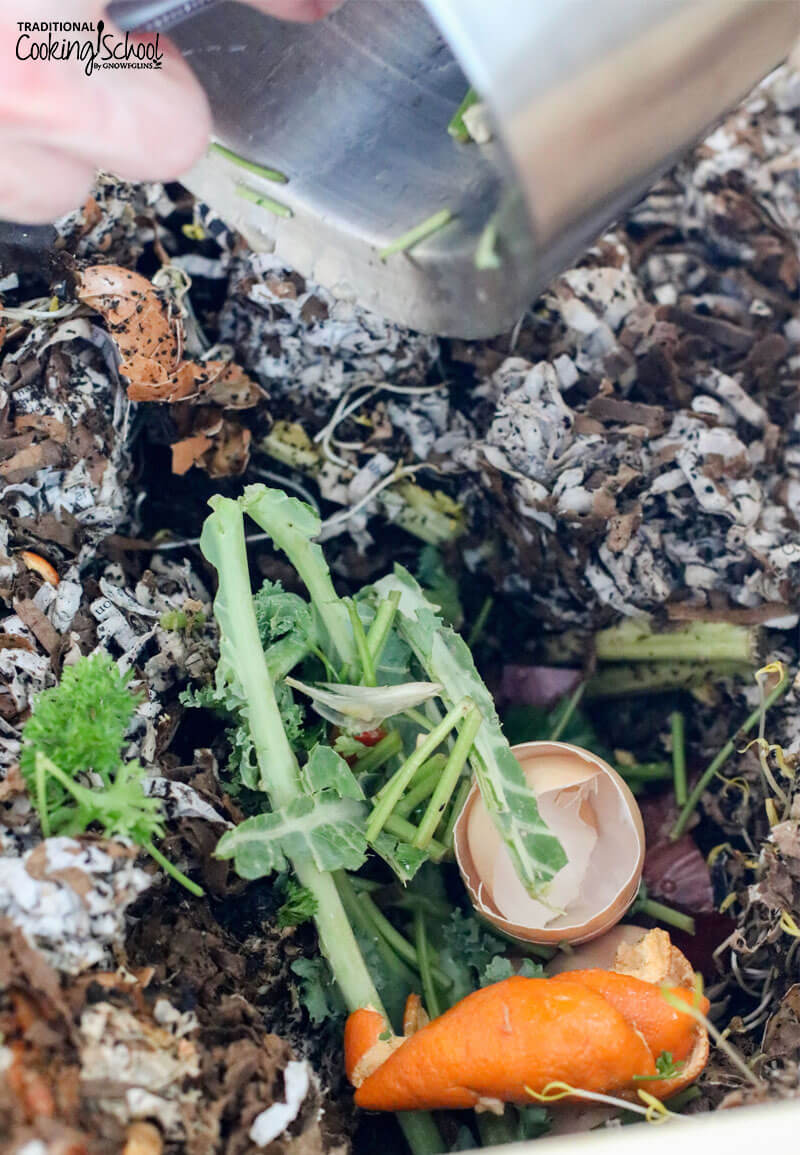
What To Add To Your Worm Compost Bin
This is not an exhaustive list, but it should give you an idea of the wide variety of scraps that can be composted!
- pretty much any raw fruit and vegetable waste, even if it’s moldy
- coffee grounds
- egg shells
- paper coffee filters
- compostable tea bags
What To Add Cautiously To Your Worm Compost Bin
There’s some kitchen waste that should be added cautiously to your worm bin, or kept out all together:
- bokashi pre-compost (in moderation it’s fine — my worms love it!)
- citrus (in moderation it’s fine!)
- leftovers, like the last scrapings of spaghetti or casserole (in moderation, especially since cooked foods like these can be very oily)
- bones (take a long time to decompose, but if you’re okay with that, go ahead)
- meat and dairy (both high-nitrogen foods; can be fine in small quantities; can smell bad in large quantities)
If you do add any of these to your worm farm, keep an eye on your red worms to see how they handle it and adjust if necessary.
Finally, don’t add pet feces or anything non-biodegradable to your compost bin, ever.
A Few Tips For Worm Bin Maintenance
Don’t feed worms too much food waste at a time. It can start rotting, smelling, and attracting flies.
But if you do feed the worms too much at a time and it starts smelling, simply wait it out. The smell will go away once the worms catch up to the excess food.
Your worm population will scale up or down depending on the amount of food waste you’re feeding it. It’s flexible.
Chop large pieces of food (watermelon rinds, etc.) into smaller pieces so they decompose faster.
If you leave on a trip for less than a month, don’t worry about your worms! Set your thermostat to an appropriate temperature (see above) and rest easy knowing that they’ll be fine until you get back.
Add fresh, moistened bedding frequently when adding food scraps.
Or, plastic worm bins in particular can struggle with excess moisture. If that’s the case, simply add dry fresh bedding to the surface of the worm bin every few weeks.
Bokashi pre-compost is highly acidic and should be added slowly until your worms get used to it. However, my worms seemed to enjoy it from the very beginning.
The less you disturb the red worms, the better.
When burying fresh scraps, poke around a little bit to gauge how the worms are doing. Do they seem to be enjoying any food in particular?
Finally, if you see any mold growing in your compost bin, it’s normal and don’t worry!
How To Harvest Vermicompost
After about 4 months of feeding your worms, it’s time to harvest the vermicompost and start afresh.
Vermicompost is comprised of a variety of substances:
- worm castings (worm poop)
- organic material, including humus
- decomposing bedding
- worms and microorganisms
This rich soil does wonders for plants! And the easiest way to harvest it is to let the worms do the work for you.
If you have a stacking worm bin…
Pick any partially decomposed kitchen waste out of the full bin, and place in the empty bin.
Move the full bin to the bottom of the stack, with the empty bin on top.
Prepare fresh, moistened bedding and amendments.
Add it to the empty bin. Bury fresh food scraps as well as partially decomposed ones.
Cover bin and let the worms move up to where the fresh bedding and food are. This will take several weeks.
Let the full bin of vermicompost sit for two to three months to rest and stabilize, becoming finely processed castings with no visible food waste.
If you have a single layer worm bin…
Move worms and vermicompost to one side of the compost bin.
Pick out any partially decomposed scraps, and place in the empty side of the bin.
Prepare fresh, moistened bedding and amendments.
Add bedding to empty side of bin, burying the partially decomposed scraps.
Bury fresh food scraps, too, and let the worms move from the vermicompost to the fresh bedding in search of new food. This will take several weeks.
Cover the fresh bedding side so it stays dark, and let the vermicompost side dry out for two to three months. It will settle and “rest”, becoming finely processed worm castings with no visible food waste.
Finally, after harvesting the vermicompost, what do you do with it? Make some potting mix!
Potting Mix Recipe
Mix equal parts of these substances, and use for plants:
- worm castings (for nutrients)
- peat moss (for moisture retention)
- perlite (for aeration)
- sand or garden soil (for body)
This easy potting mix recipe comes from Worms Eat My Garbage by Mary Appelhof. It’s THE classic composting book that I’ve referenced time and again the past nine months of composting!
If you need more information about any of the above topics, I highly recommend finding yourself a copy and diving in. 🙂
Concluding Thoughts Of A First-Time Composter
In closing, if there’s one thing I’ve taken away from the experience of learning how to compost, it’s this:
Composting requires research and planning to get started, but then it’s best to sit back and let the composting process do its thing.
Worms need care and attention, yes, but mostly they need a dark and quiet place to work. The most common composting mistakes arise due to over-feeding and over-disturbing rather than neglect.
Finally, I haven’t actually harvested my worm castings yet… but I plan on updating this post with more photos and tips when I do!
Do you compost? Have you tried bokashi composting or a worm farm before?
We only recommend products and services we wholeheartedly endorse. This post may contain special links through which we earn a small commission if you make a purchase (though your price is the same).


This is a really informative article! I have a worm farm if my own, but no bokashi yet. Do you have a source of em1?
Thank you! Yes, here’s where I got mine: https://amzn.to/2YXUqSu
I’ve added the link to the post, too!
Hi! I just saw this post and is one the most informative and complete post about bokashi. But I have a question. What if after my bokashi bin is full and fermented for ~2 weeks, I add it to some bin with only soil and let it sit for a month or so. Can I use it later for the plants or not?
Thank you! I’m so glad you found it helpful. 🙂 Yes, once your bokashi pre-compost sits for a few weeks to a month in soil, it should be fine to use for plants!
Thanks for the great post! Super informative and practical. I’ve been vermicomposting for a while but only now getting in to bokashi. I’ll be trying the rice water and milk method instead of EM to start then compare with commercial bran products.
I’m curious though – where did you get the bran? I’ve heard that animal feed bran is the best source but haven’t had luck finding it here in Vancouver. Any suggestions or did you use food grade bran for the grocery store?
Will be checking out your bible based resources as well on your site!
Thanks again for posting and sharing!!