 Confession: I don’t like most pumpkin pie.
I’m very particular about the texture and spices… Most versions are too eggy, or not spiced enough, to suit my taste!
So when pumpkin pie makes its debut on the holiday table, I usually don’t eat it… or make my own (that my entire family enjoys!).
Yet I’d rather have cheesecake any day!
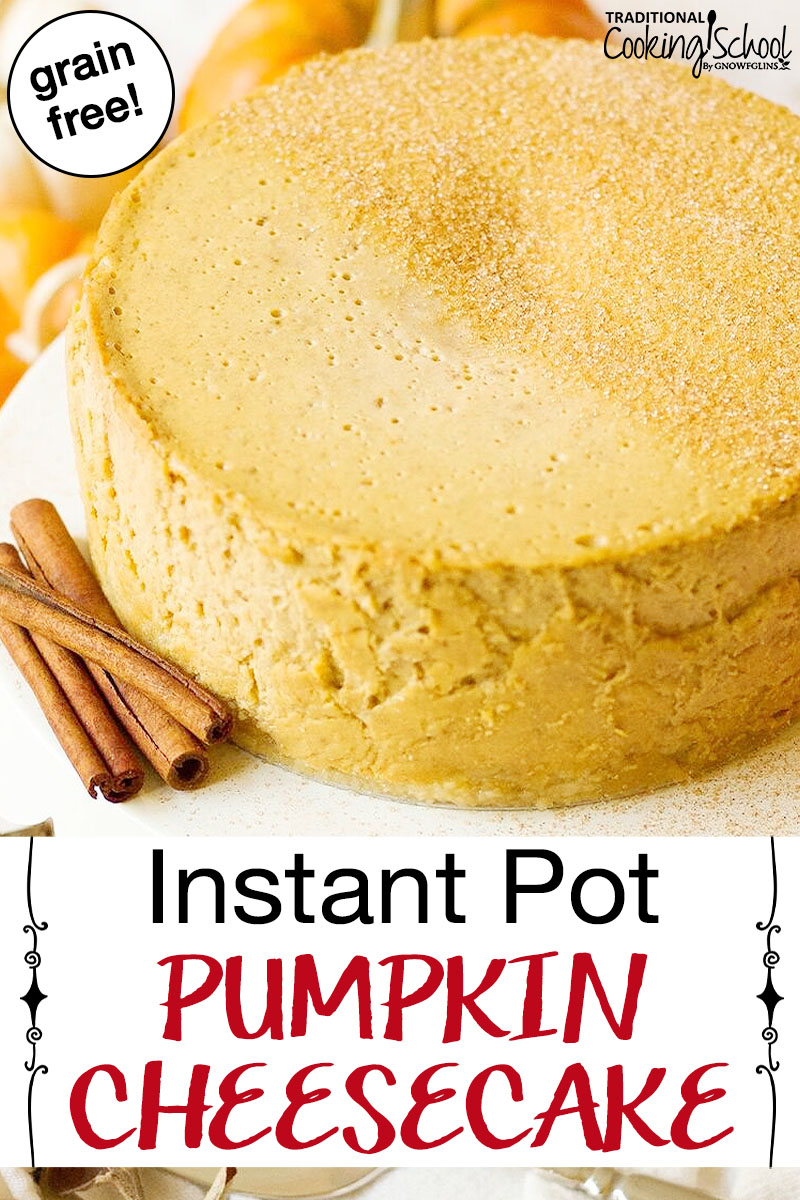
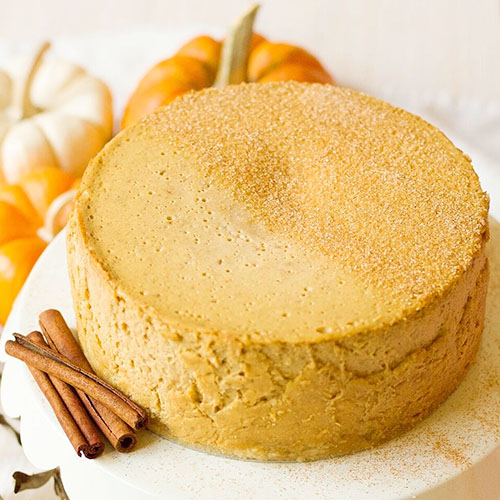
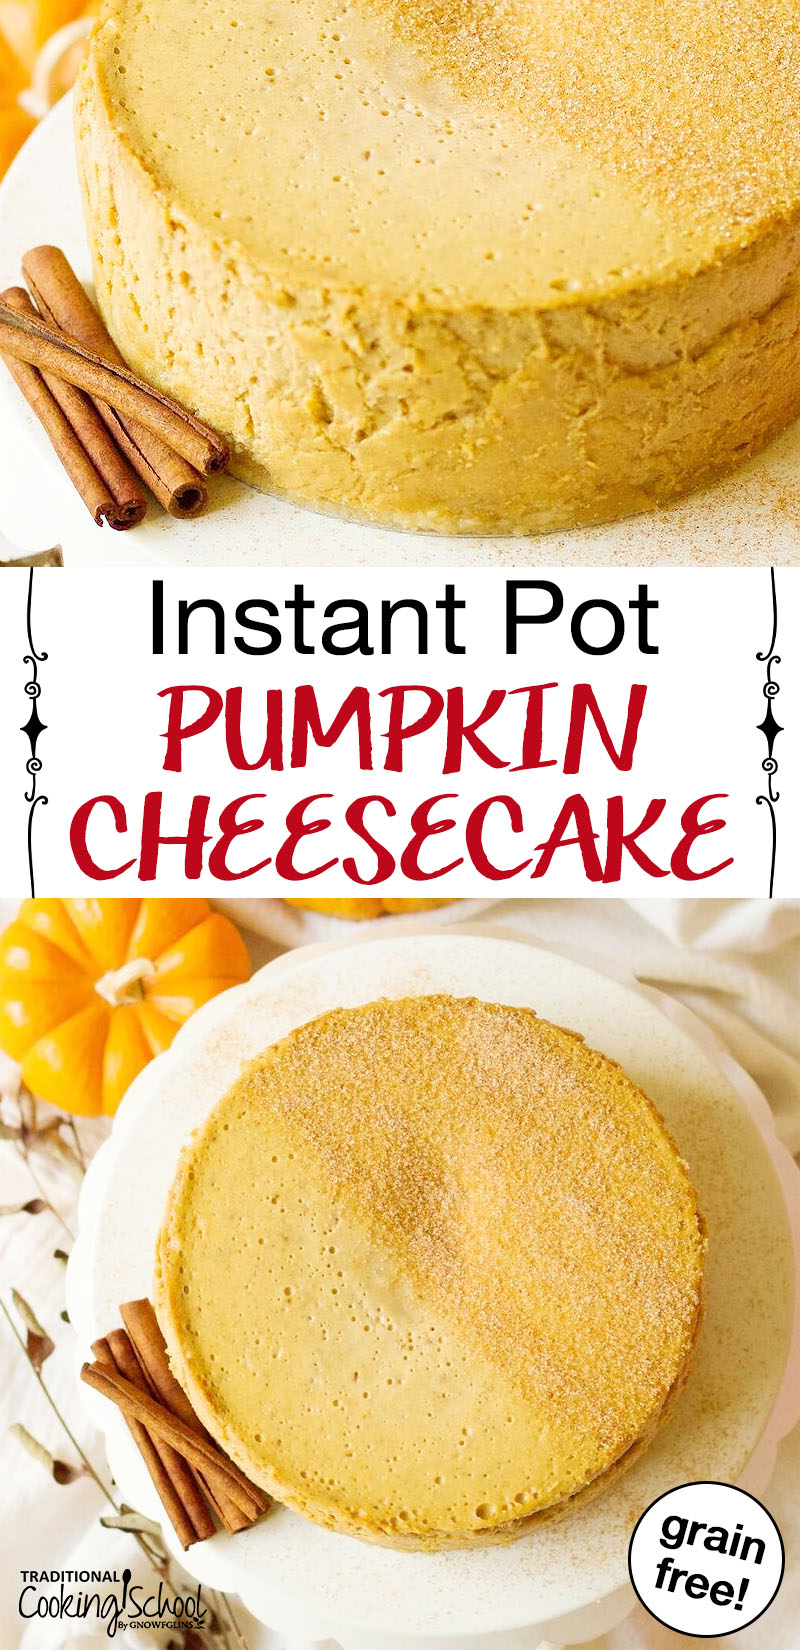
Pumpkin pie fans and cheesecake lovers alike, this Instant Pot Grain-Free Pumpkin Cheesecake is for you!
It’s the best solution to still enjoy those festive pumpkin pie flavors. With a heavenly, creamy texture and super thick bite, it’s oh-so-good.
Isn’t Cheesecake Hard To Make?
Well… the Instant Pot has solved cheesecake’s tedious baking process for us. An Instant Pot cheesecake cooks perfectly every time and it’s so easy to do! (Find out which I recommend, the 6qt vs 8qt instant pot.)
All you need is a springform pan that fits inside your Instant Pot, a blender to toss all the cheesecake filling ingredients into, and a little bit of patience while it chills and sets up in the fridge after being cooked.
It’s never fun to wait hours for a dessert to be chilled, but it’s worth it. Promise.
Pressure cooker cheesecake is creamy and smooth. From classic New York cheesecake, to orange & dark chocolate cheesecake, to chocolate cheesecake with probiotic blueberry sauce, I make them all in the Instant Pot.
I hope you give this delicious Instant Pot Grain-Free Pumpkin Cheesecake a try at your holiday table this year. It’s a nice change from the traditional pumpkin pie, while still honoring those classic flavors.

Instant Pot Grain-Free Pumpkin Cheesecake
Confession: I don't like most pumpkin pie. But... I LOVE cheesecake (especially a healthy Instant Pot cheesecake) and fall flavors! Say hello to this Grain-Free Pumpkin Cheesecake, baked in the pressure cooker so it's as easy as pie (ha, ha). Naturally sweetened with maple syrup, divinely creamy, with a super thick bite and gluten-free crust, it's the best dessert recipe you could ask for this Thanksgiving and holiday season!
Ingredients
For the crust...
- 1 cup cassava flour
- 3 tablespoons maple syrup
- 3 tablespoons grass-fed butter or ghee, melted
For the cheesecake...
- 16 ounces organic cream cheese softened
- 1 cup pumpkin puree
- 2 organic or pastured eggs room temperature
- 1/2 cup maple sugar
- 1 tablespoon cassava flour
- 1 teaspoon vanilla extract
- 1 teaspoon ground cinnamon
- 1/4 teaspoon ground cloves
- 1/4 teaspoon ground ginger
- 1/4 teaspoon ground allspice
- 1 cup pure water
Instructions
-
Grease a 6” or 7” springform pan that fits in your pressure cooker. Set aside.
-
Add all crust ingredients to a mixing bowl.
-
With clean hands, mix until completely combined.
-
Dump the mixture into your springform pan and press down to form a packed "crust" at the bottom. Don't allow too much to go up the sides of the pan.
-
Transfer the pan to the freezer for 15 minutes.
-
In a blender such as the Vitamix, add the cream cheese, pumpkin puree, eggs, maple sugar, cassava flour, vanilla extract, and spices.
-
Mix on low speed until smooth and fully combined.
-
Pour the cheesecake filling into the frozen springform pan.
-
Add 1 cup of water to insert pot of pressure cooker and place trivet inside.
-
Gently place your springform pan in the pressure cooker as well. Cover with a casserole dish glass lid.
-
Cover the pot, checking the seal and components to make sure all is well.
-
If using an electric cooker, set to high pressure for 45 minutes. If using a stove-top cooker, bring to high pressure and maintain for 45 minutes.
-
When cycle is complete, turn off (if electric cooker) or remove from heat (if stovetop cooker).
-
Let sit for 15 minutes to naturally release pressure.
-
Quick release any remaining pressure.
-
Once pressure is released, remove lid and carefully lift the trivet and springform pan out of the pressure cooker. Use oven mitts because they will be extremely hot.
-
Allow the cheesecake to cool to room temperature with the lid still on.
-
Once it has cooled, remove the lid, taking care not to drip any of the condensation on the top of the cheesecake.
-
Gently run a knife around the edges of the cheesecake to loosen it for when you're ready to remove it from the pan.
-
Wipe off all condensation from the lid and place back on top of the cheesecake.
-
Transfer to the refrigerator for at least 6 hours until completely chilled, preferably overnight.
-
Serve chilled as-is or with topped with homemade whipped cream or sprinkled with ground cinnamon. Enjoy!
Recipe Notes
*If you don't have a glass lid, you can cover the top of the springform pan with unbleached parchment paper then top it with foil and secure it around the edges. If condensation forms on the top of the cheesecake after cooking, gently use a paper towel to absorb the liquid.
*1-3/4 teaspoon of pumpkin pie spice can be used instead of the individual spices.
Want other cheesecake inspired recipes?
- Pumpkin Cheesecake Mousse Pie… and more!
- Chocolate Cheesecake Pie (Allergy-Friendly)
- Nourishing No-Bake Peppermint Cheesecake {with a low-carb option}
- THM:S Stevia-Sweetened Blackberry Cheesecake Ice Cream {with a dairy-free option, too!}
- Instant Pot Grain-Free Peppermint Cheesecake
Looking for more recipes featuring pumpkin?
- Soaked Pumpkin Bread
- Soaked Pumpkin Muffins with Cream Cheese Filling
- Overnight Pumpkin Chia Seed Pudding
- Cultured Pumpkin Sourdough Cinnamon Rolls with Cream Cheese Frosting
- Paleo Sugar Cookies with Pumpkin Glaze
- Sprouted Spelt Pumpkin Roll with Cream Cheese Filling
- Sprouted Apple Pumpkin Breakfast Cookies
- Sprouted Pumpkin Spice Coffee Cake
- 32 Delicious Pumpkin Recipes (from Breakfast to Dessert
Will you try this Instant Pot Grain-Free Pumpkin Cheesecake? Have you made an Instant Pot cheesecake before?
We only recommend products and services we wholeheartedly endorse. This post may contain special links through which we earn a small commission if you make a purchase (though your price is the same).


Could you do coconut sugar instead of maple sugar?
Hi Angela, thanks for your patience with my delayed response. I’m just now seeing this. It’s possible you could swap it out for coconut sugar, but honestly I haven’t tried it that way yet. Sometimes coconut sugar does change the color and flavor a bit and occasionally it can change the texture, so that would be my only concern. In the crust I’m pretty sure it would work just fine, but I’m not positive about in the filling. Wish I had a more specific answer for you. If you try it that way, let us know. 🙂
I like your videos on the IP. What’s your recommendation for spring-form pans?