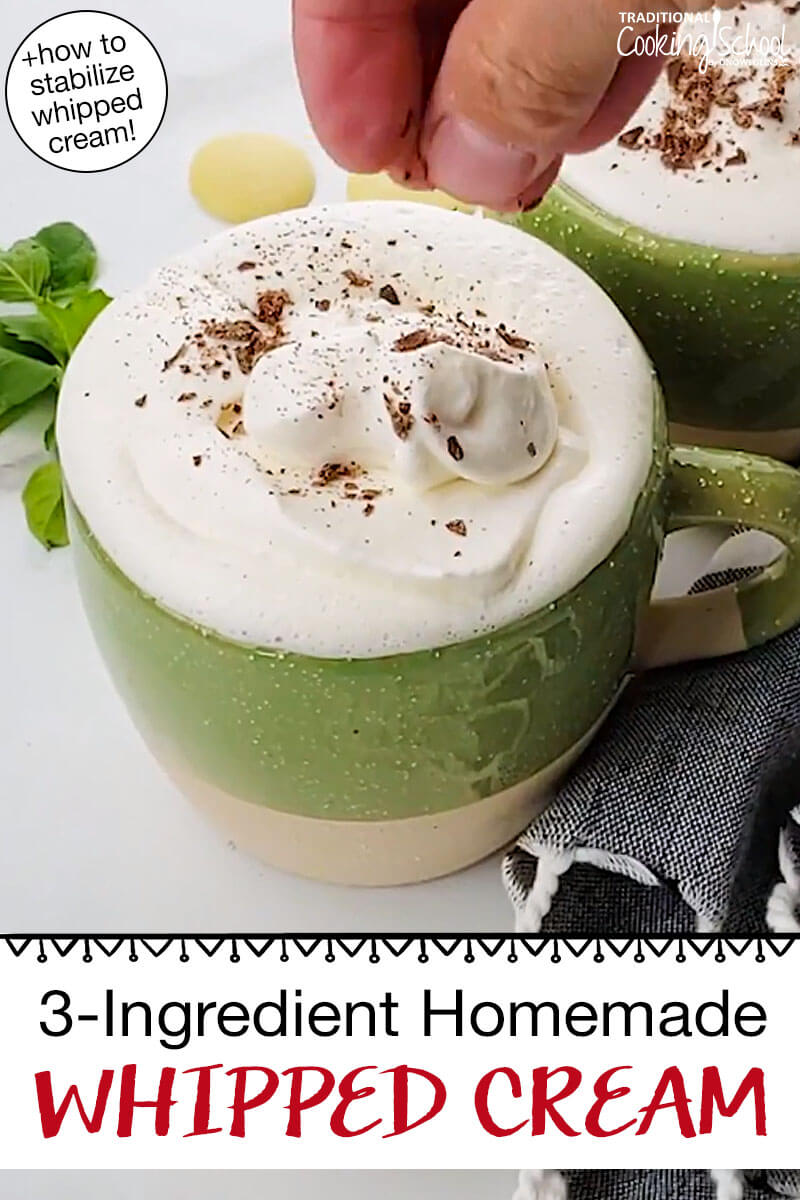
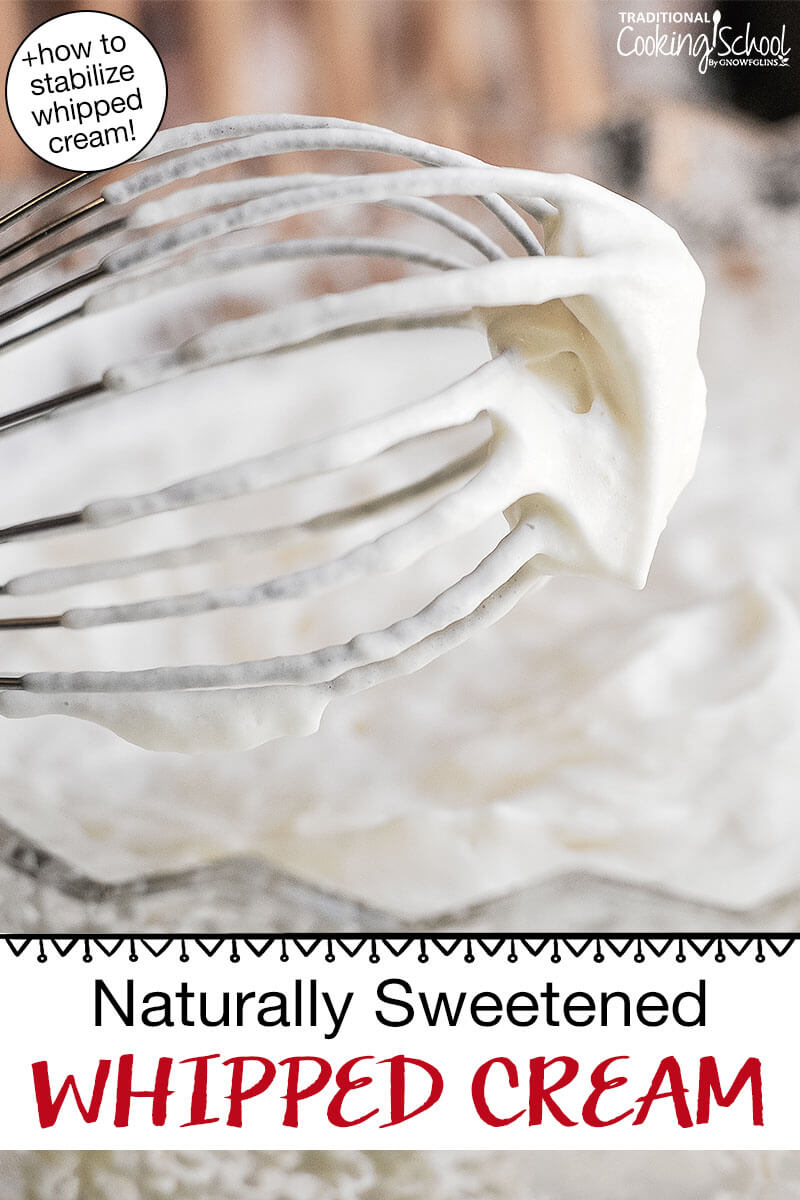
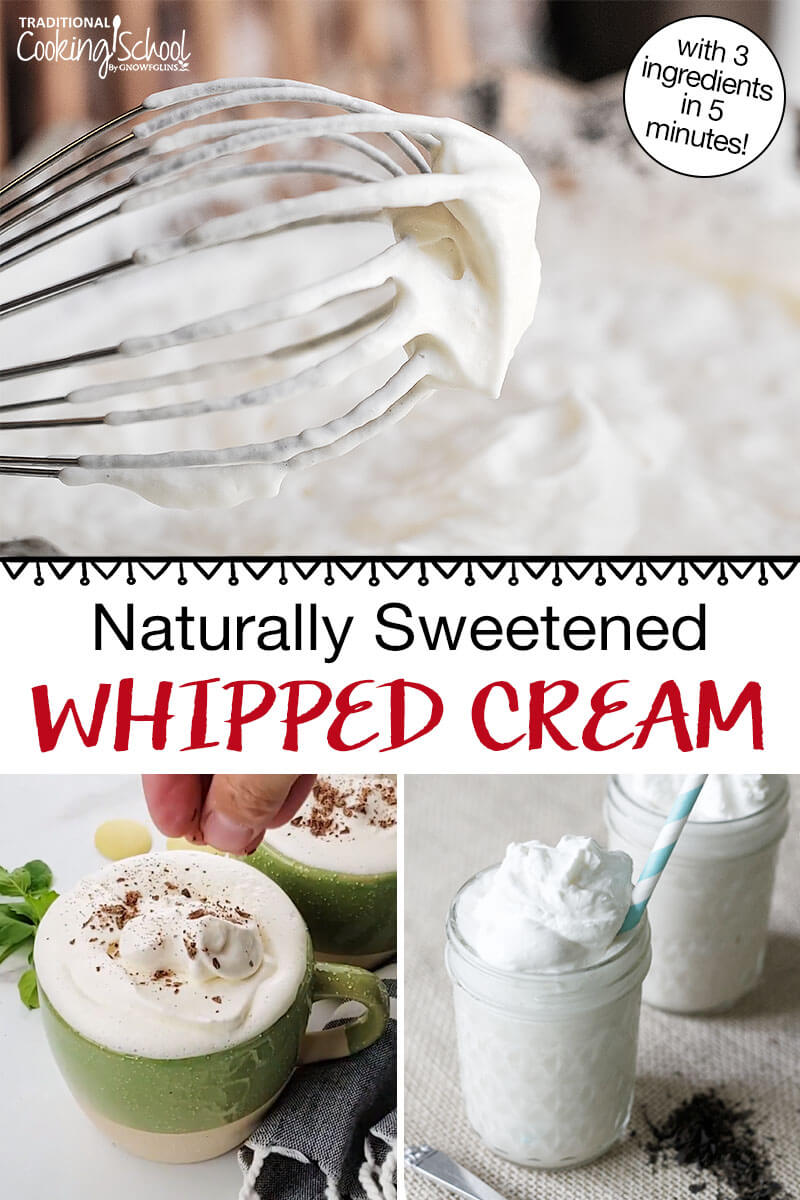
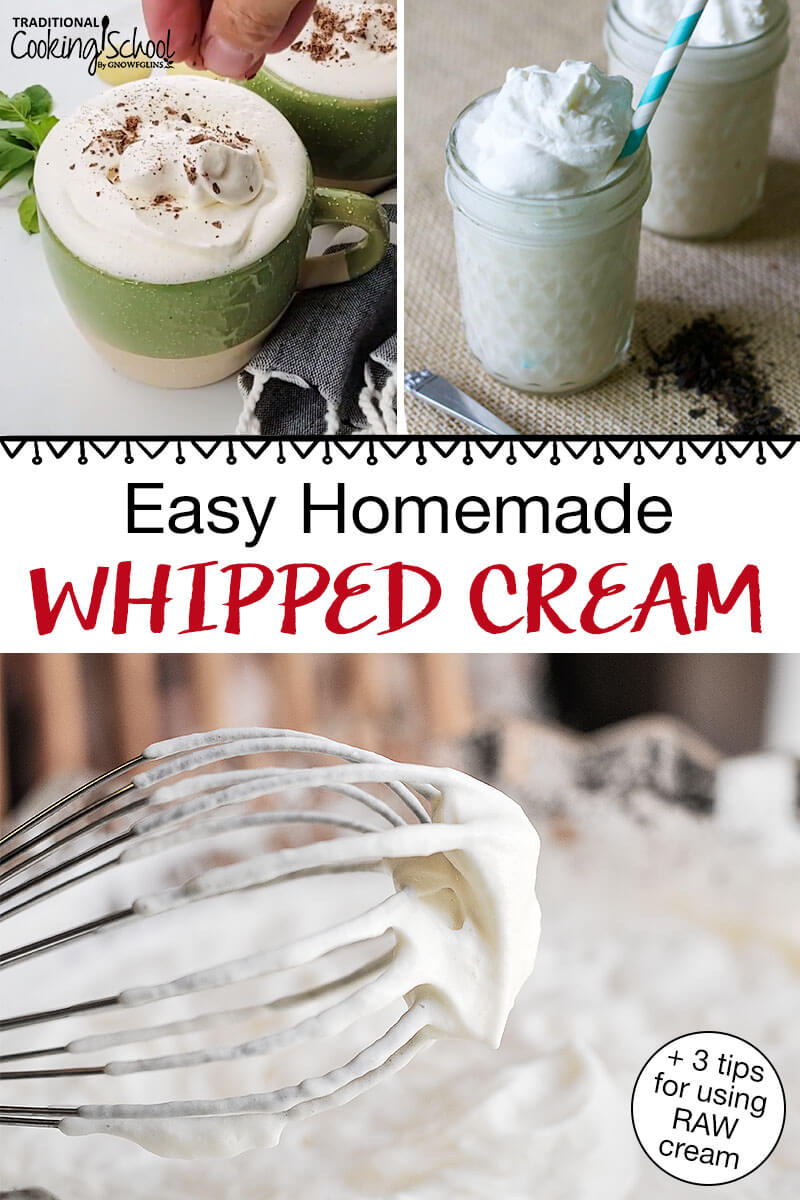
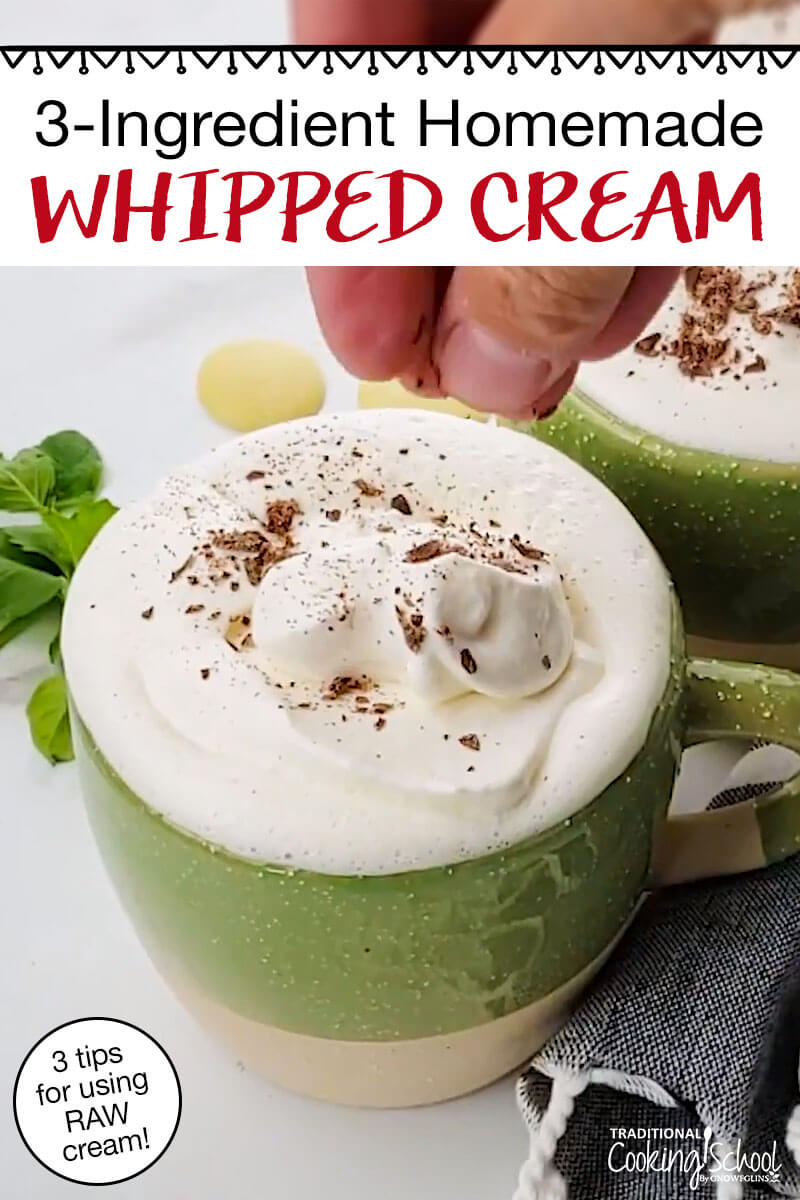
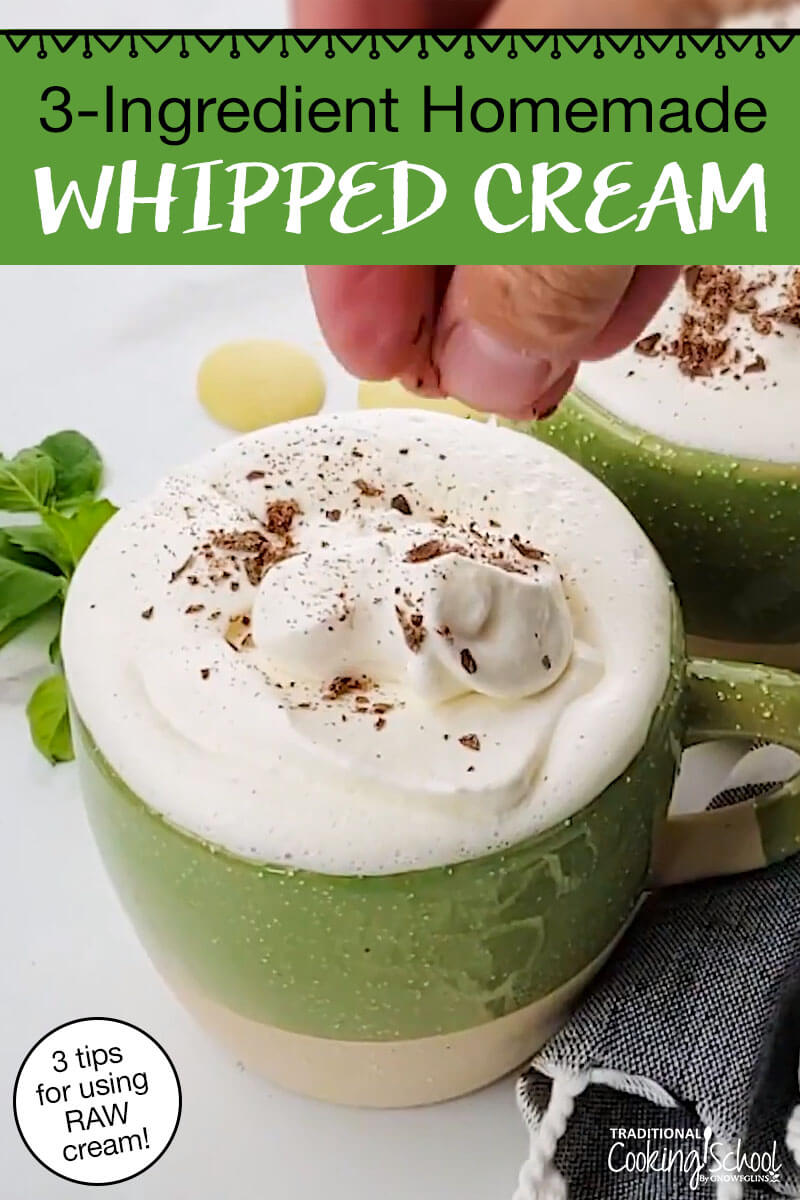
In 5 minutes flat with only 3 ingredients, learn how to make homemade whipped cream for your favorite desserts and toppings. Plus, I share my tips for using raw cream!
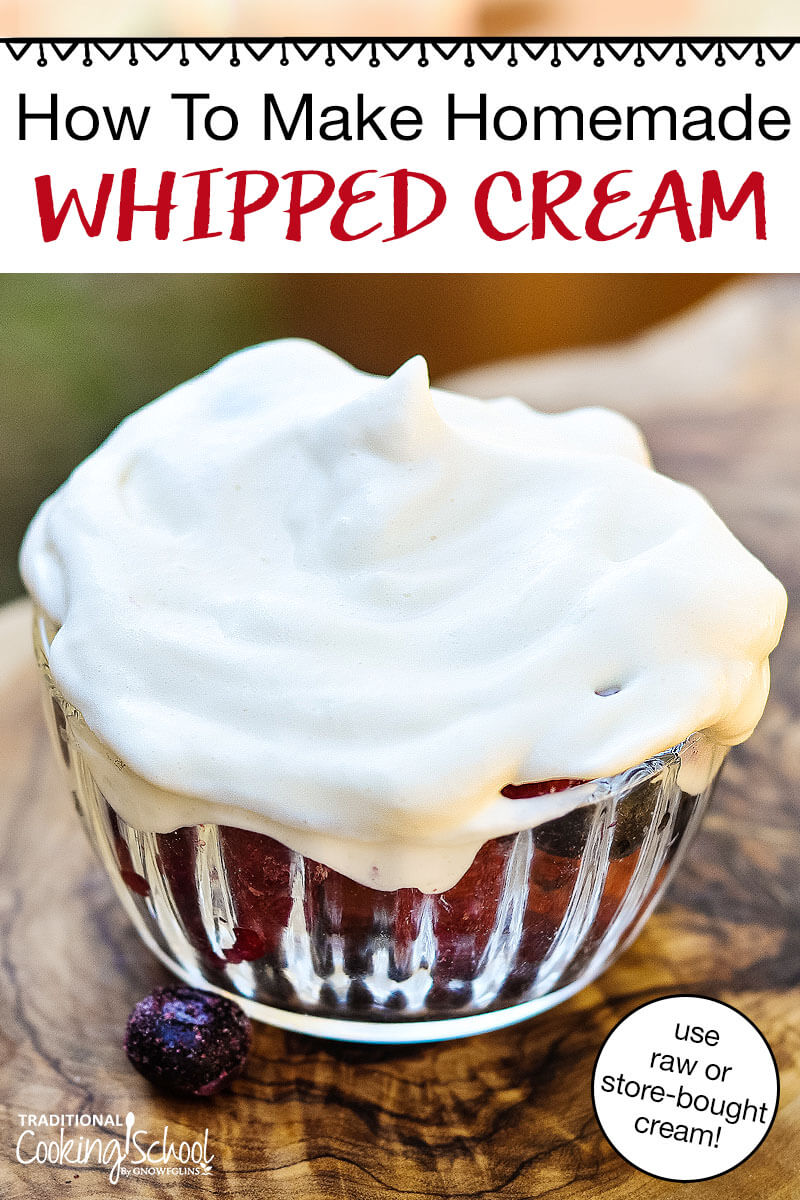
You know you’ve done it… eaten all the whipped cream off your piece of pie before it’s half gone.
Why? Because it’s the best part, obviously!
Today, you’re going to learn how to make whipped cream from scratch in 5 minutes with both raw and store-bought cream.
Once you realize how easy and DELICIOUS it is, you won’t be able to stop making it!
How do Cool Whip and whipped cream differ? Are they the same?
Cool Whip artificial whipped topping isn’t even in the same galaxy as real whipped cream.
That’s because the real stuff has only one main ingredient: cream. Add a sweetener and optional vanilla, and you’re done!
Meanwhile, Cool Whip includes a host of creepy fake ingredients like hydrogenated vegetable oil (including coconut and palm kernel oils), high fructose corn syrup, sodium caseinate, natural and artificial flavor, polysorbate 60, xanthan and guar gums, sodium polyphosphate, sorbitan monostearate, and beta carotene (source).
As you can see, Cool Whip differs enormously from the real thing. But you can absolutely replace real whipped cream for Cool Whip in any of your favorite recipes!
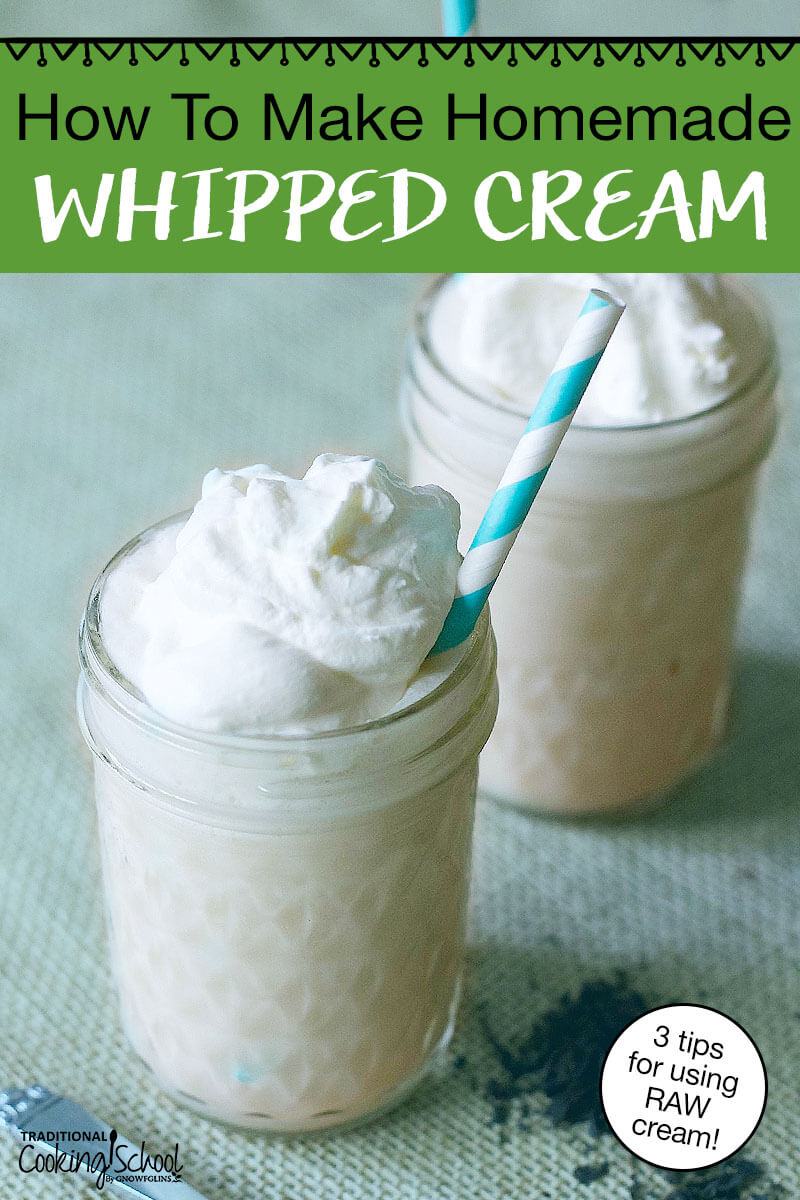
How To Make Homemade Whipped Cream
This recipe is so simple, you can literally ‘whip it up’ (pun intended) in 5 minutes!
You will need…
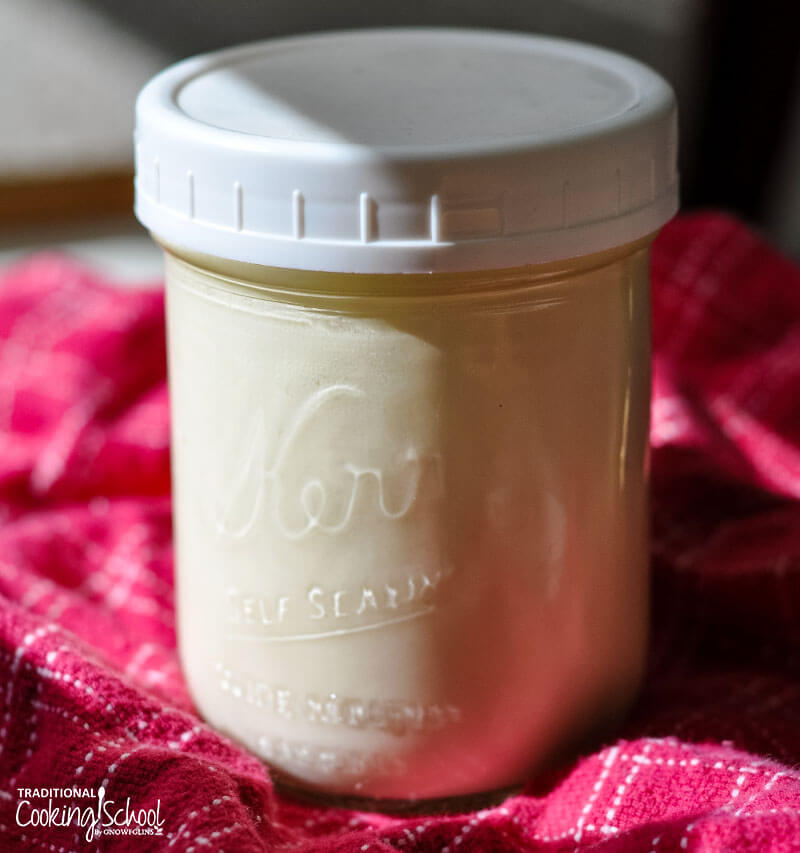
- VERY COLD heavy cream (store-bought, or skimmed from the top of your raw milk)
- sweetener of choice (I’m using maple syrup)
- pure vanilla extract (or other extracts/spices to change up the flavor; learn how to make homemade vanilla extract here!)
One of the biggest keys to successful whipped cream is temperature. The cream must be very cold throughout the process for best results.
To achieve this, whip it the moment you take it out of the fridge. Don’t get distracted and let it sit on the countertop and get warm (guilty as charged).
Another great tip is to place your mixing bowl and beaters in the freezer for 15 minutes prior to making the whipped cream. This isn’t totally necessary, but it helps!
So, once you’ve got your COLD cream ready to go, add it to the mixing bowl and beat on medium speed until soft peaks begin to form.
The best method is to use a stand mixer with whisk attachment, but I don’t have one. A bowl with an electric hand mixer works great, too.
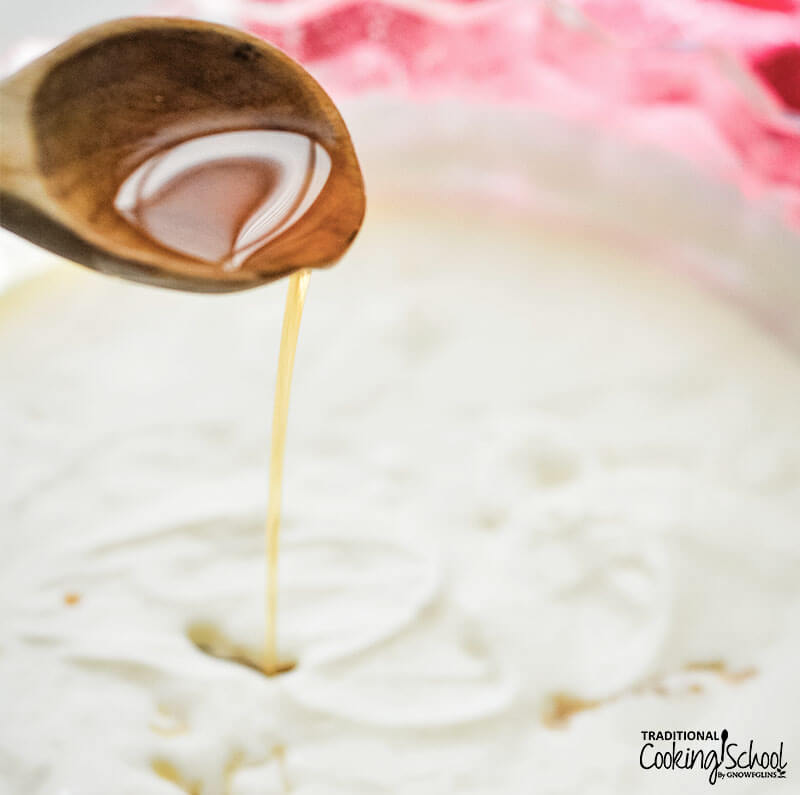
After a couple of minutes, you’ll notice your cream starting to get firm and forming soft peaks. At this point, add sweetener of your choice (a note on sweeteners below) and vanilla extract.
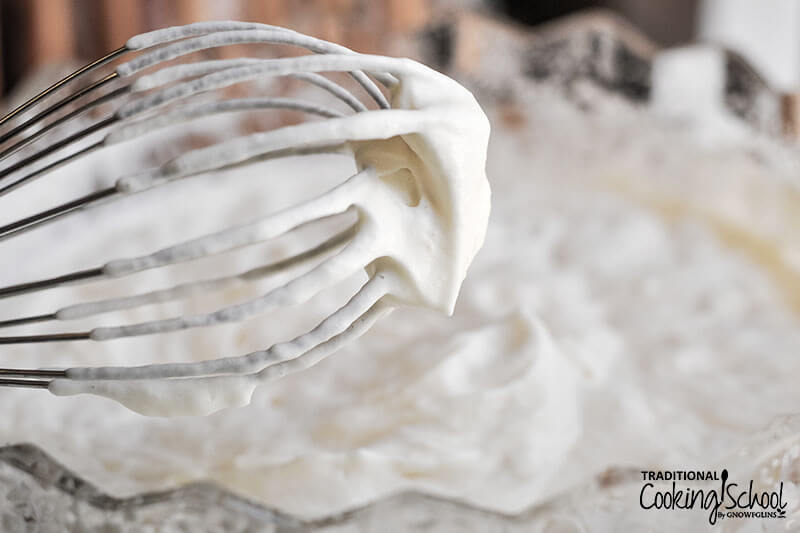
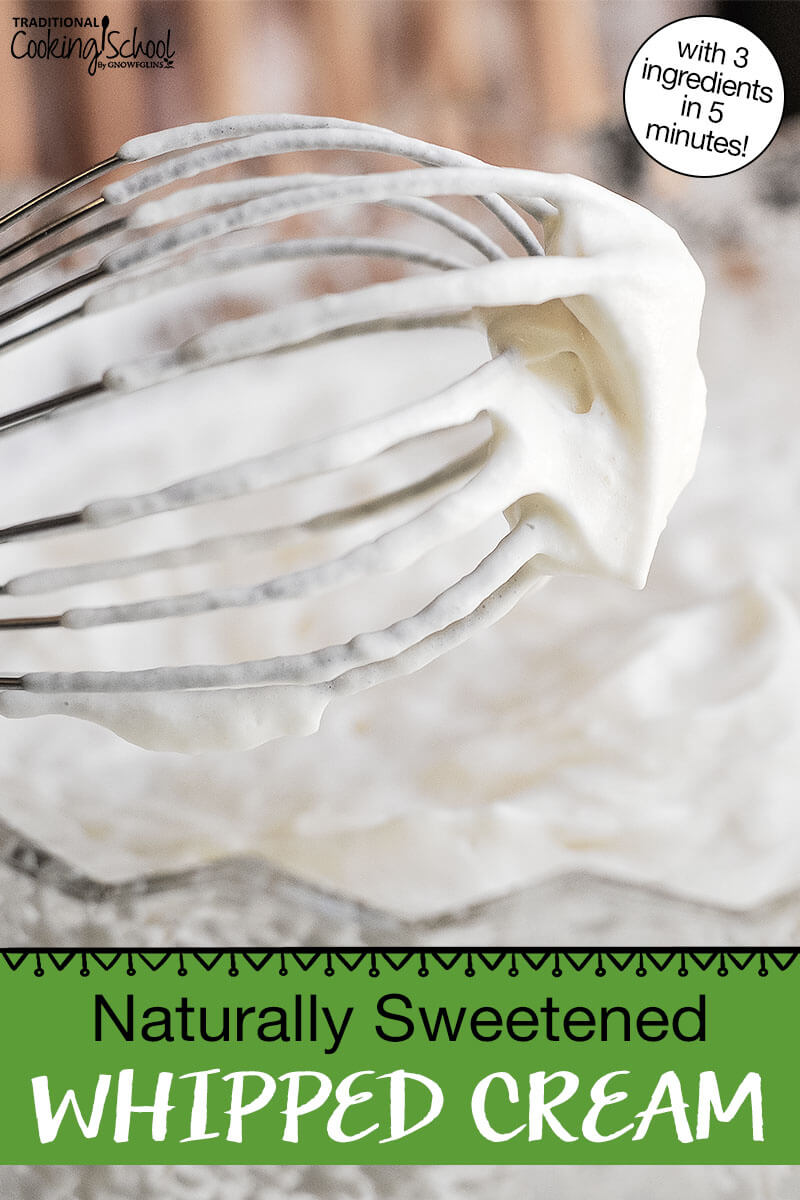
Continue to beat on medium or high speed until medium peaks (peaks that hold their shape and don’t fall over) form.
Don’t over-beat the cream, since it will turn to clotted cream or even butter (which is delicious, of course, but not the result we’re going for). If you do happen to make clotted cream, it is a treat on these Sprouted English Scones With Probiotic Devonshire Cream!
A Note On Sweeteners
This recipe is very versatile. Experiment with any type of sweetener you like!
I always use maple syrup (which tastes amazing), and raw honey or granulated sugar works too. Rapadura/Sucanat or coconut sugar should work also.
If you need to eliminate sugar and carbs, try a small amount of stevia or erythritol instead.
3 Tips On Using RAW Cream To Make Whipped Cream
Yes, raw cream works! But the results might vary a bit.
Here are some notes on how to use raw cream successfully.
1. Remember each batch is different.
Raw cream differs from batch to batch, based on what your cow is eating (and this will likely change throughout the year). Sometimes your cream will have a higher butterfat content (at least 30% or higher is best), which is perfect for whipping.
Other times, the butterfat content will be lower and therefore more difficult to hold its shape.
2. Fully separate the milk from the cream.
If you’re familiar with raw milk, you know that the cream naturally separates from the milk and rises to the top of the jar. It can be a bit tricky to remove just the cream from the surface of the milk, however, since dipping in a spoon to collect it can disrupt the separation.
Here’s one method that works…
Keep your raw milk in a container with a spout at the bottom. After the milk is fully separated (allow to sit still for 24 hours), use the spout to pour the thin milk in to a separate jar.
This will leave just the cream in the bottom of your container.
You can also skim the cream off the top with a spoon, just keep in mind that it might not be quite as “heavy”.
Or, for the easiest way to skim cream, check out the turkey baster method from Wardee!
3. Use raw whipped cream immediately.
Raw cream may not hold its shape as well in the fridge since it hasn’t been homogenized. I find it best to make raw cream on an as-needed basis, and use it immediately instead of storing in the refrigerator.
And YES, it’s worth the effort to make whipped cream from raw milk! Nothing tastes better!
And we all know the benefits of using raw dairy vs. pasteurized!
What’s the difference between whipping cream and heavy whipping cream?
If you opt to use store-bought cream, you might notice that some stores have two separate items — whipping cream and heavy whipping cream. Confusing, right?
The difference lies in the amount of butterfat content in the cream. Remember how I said that cream needs around 30% fat in order to whip properly?
Whipping cream contains 30% butterfat, while heavy whipping cream contains about 36%. The higher the fat content, the better the whipped cream holds its shape.
Good to know!
So using store-bought cream, while not as healthy as raw cream, gives you a more consistent finished result.
How long does homemade whipped cream last?
As previously stated, if you’re using raw cream, it’s best if used immediately.
If you choose to store it in the fridge, you may be able to re-whip if the cream starts losing its shape. Yet since the results are somewhat unpredictable, I don’t recommend storing it.
With store-bought cream, it stays fresh in the fridge for up to 5 days. If you beat the cream until stiff peaks form, this helps it hold shape better in the refrigerator.
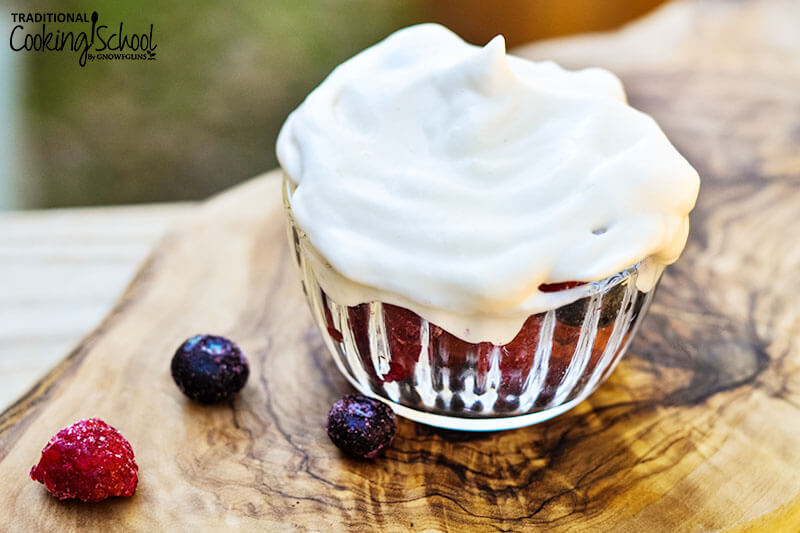
Homemade Whipped Cream Recipe Tips
Start on low. While mixing, you may find it helpful to start the mixer on low speed to reduce splattering of the liquid. Increase speed as whipped cream begins to get firm.
Stabilize whipped cream for longer storage. If you’re storing your whipped cream in the refrigerator and need help stabilizing whipping cream, try adding 1/4 teaspoon cream of tartar while beating the cream.
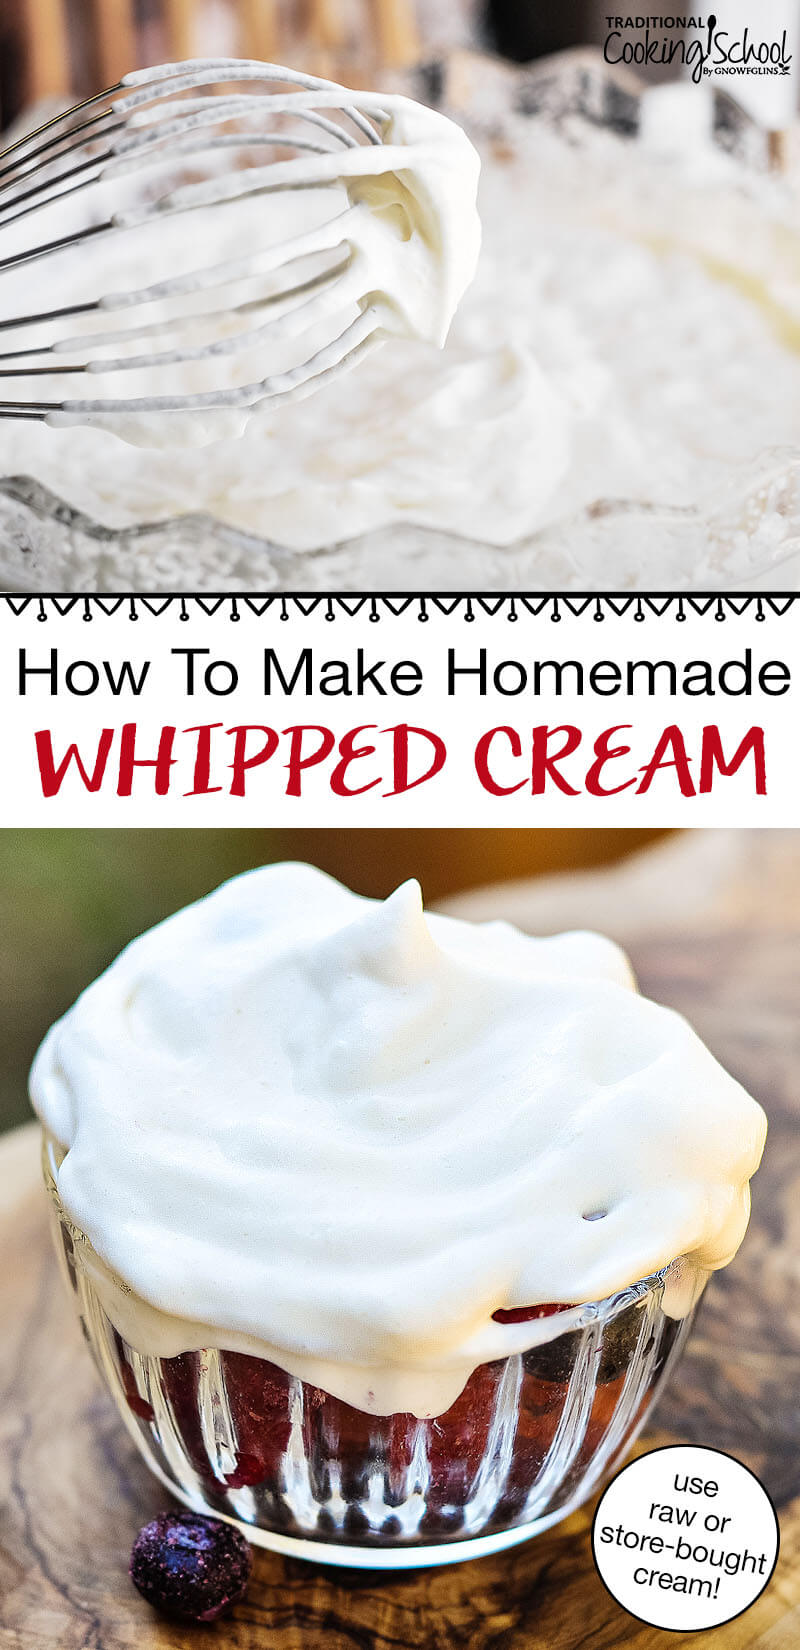
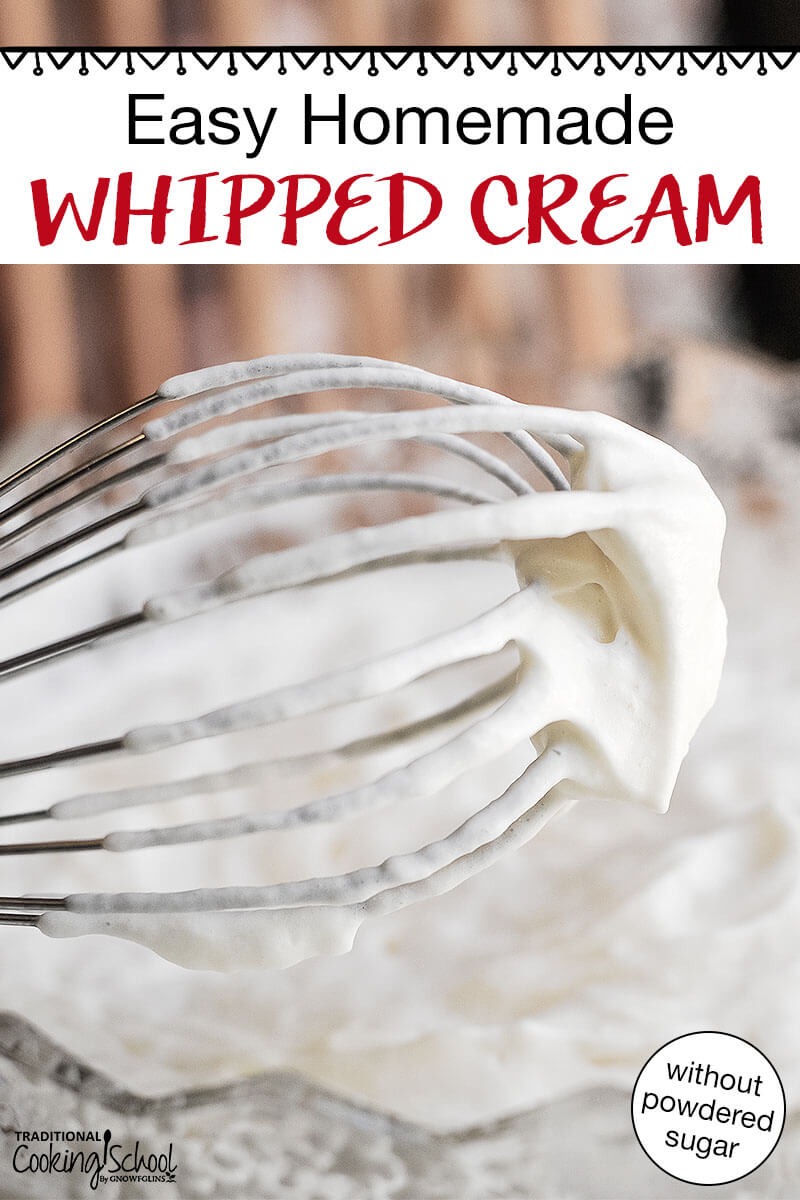
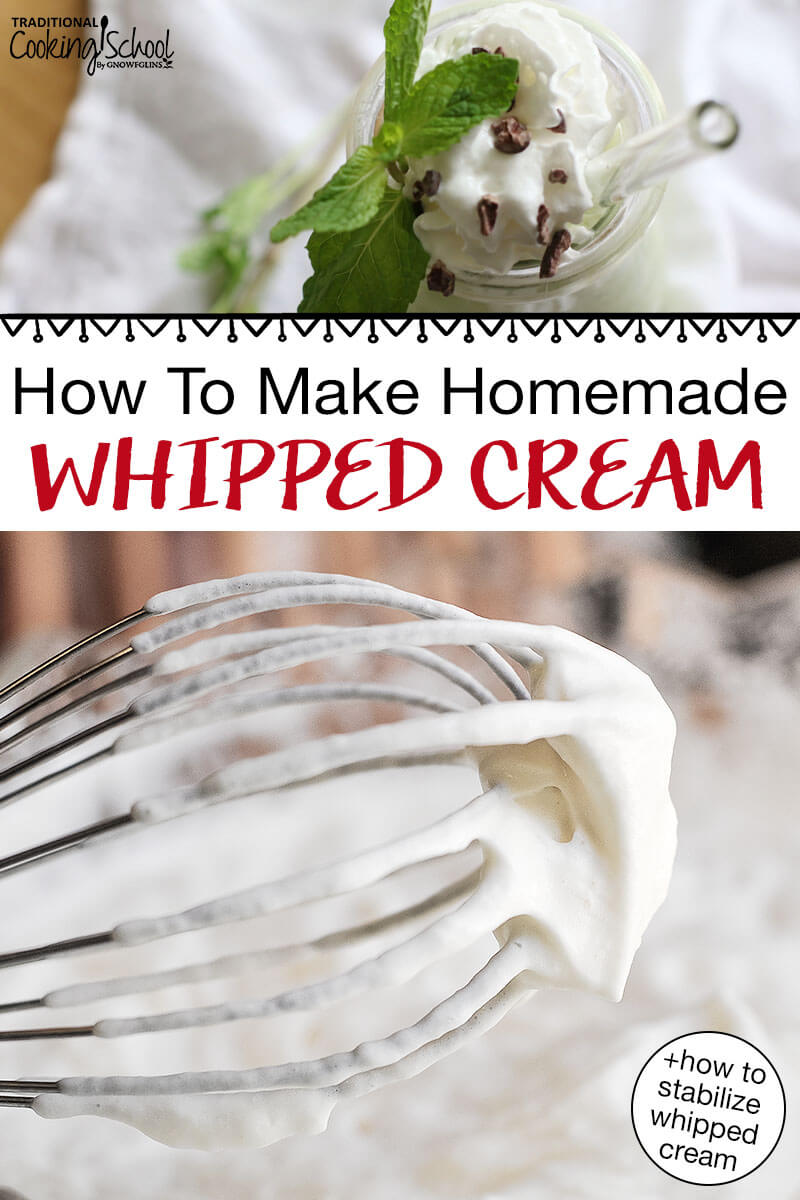
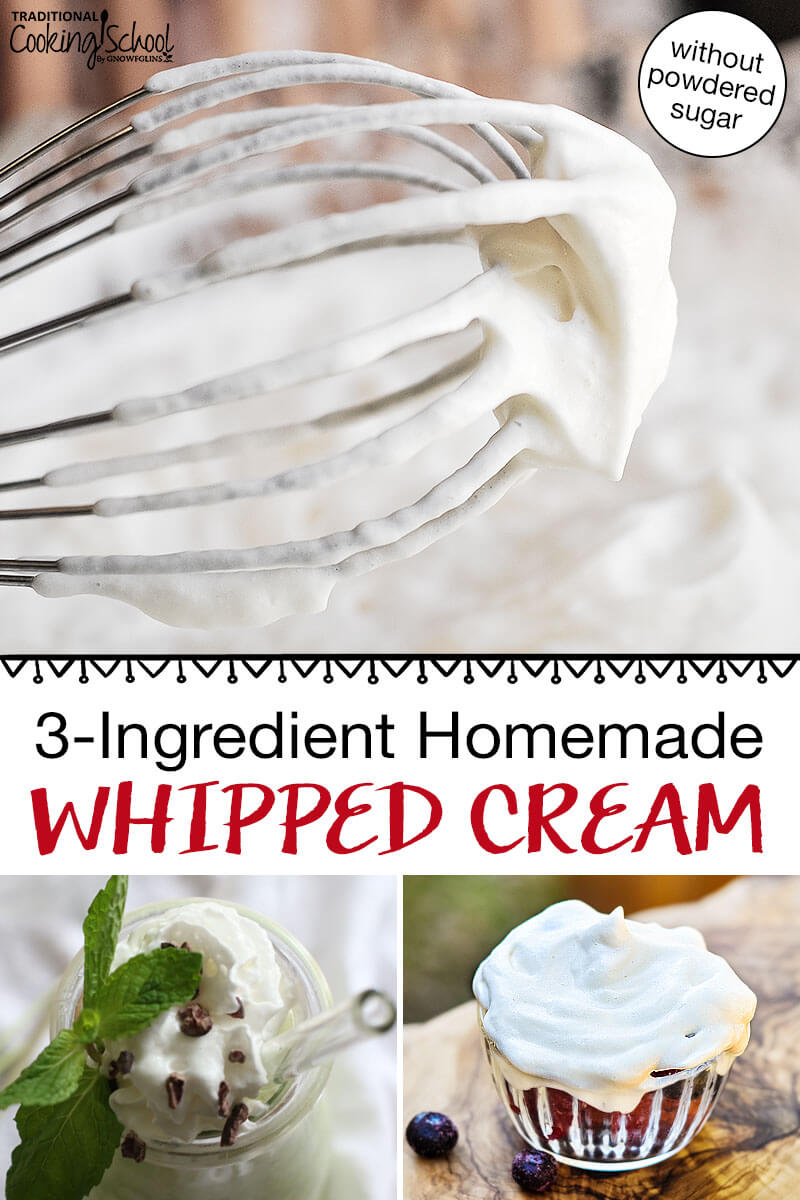
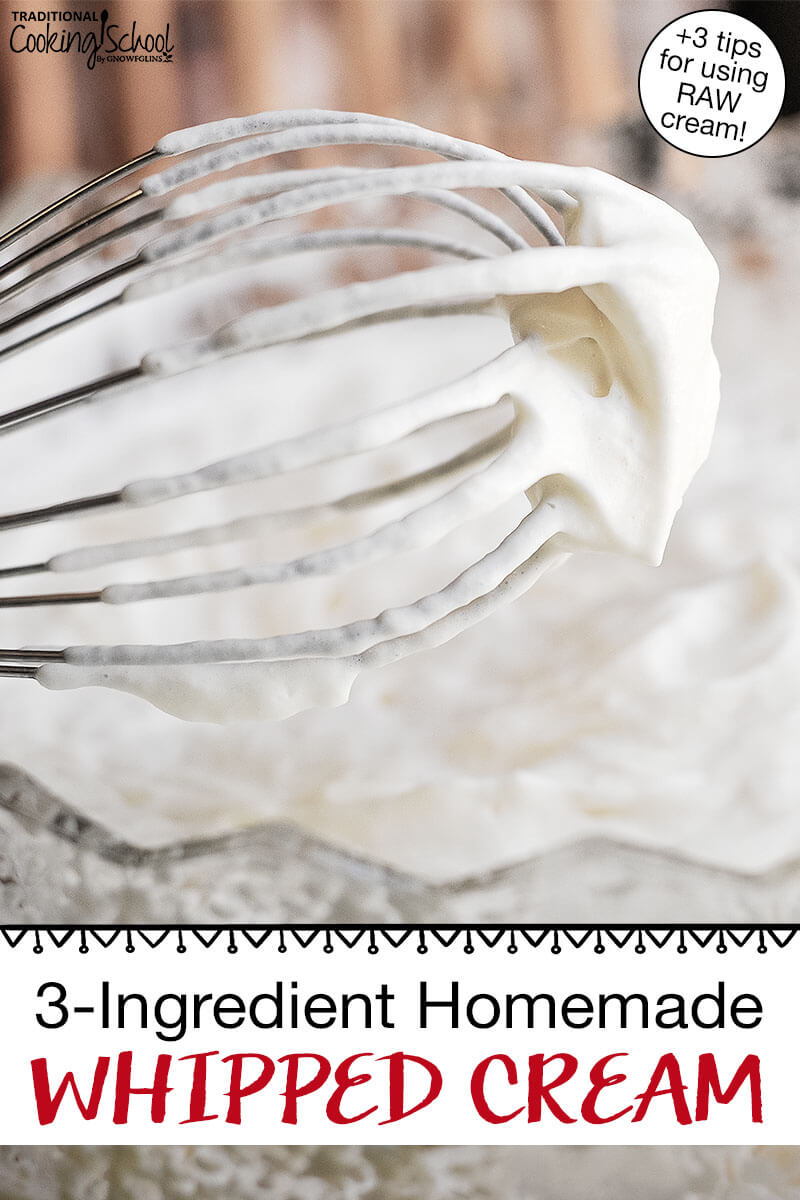
Difference between “peaks”. The rule of thumb is: Soft peaks fall over, medium peaks hold their shape and gradually fall, while stiff peaks hold their shape for a long time.
Homemade Whipped Cream Recipe (with raw or store-bought cream)
In 5 minutes flat with only 3 ingredients, learn how to make homemade whipped cream for your favorite desserts and toppings!
Ingredients
- 1 cup heavy whipping cream VERY COLD, raw or store-bought
- 2 tablespoons maple syrup or other sweetener of choice
- 1/2 teaspoon vanilla extract
Instructions
-
Chill heavy cream completely.
-
Place mixing bowl and beaters in the freezer for 15 minutes before making whipped cream (optional but will yield best results).
-
Add VERY COLD cream to the cold bowl.
-
Immediately whip with an electric mixer (or stand mixer with whisk attachment) on medium speed until soft peaks begin to form.
-
Add the maple syrup (or other sweetener of choice) and continue to whip until medium peaks form. You want the peaks right in between soft and stiff, so it will have a pillowy texture but still hold its shape in the refrigerator.
-
Use right away for best results, or store in fridge for up to 5 days (if using store-bought cream; raw cream doesn't last as long).
Recipe Notes
*If using raw cream:
Keep in mind that results will vary depending on the cows' diet and time of year, which affects butterfat percentage.
Each batch of raw milk is different. Sometimes the cream is heavy, sometimes it's lighter.
It's also best if used immediately and not stored in the fridge, since raw cream tends to separate and lose its pillowy texture.
**Delicious alternative natural sweeteners include:
- 2 tablespoons raw honey
- 2 tablespoons Sucanat, Rapadura, or coconut sugar
- 1/2 teaspoon stevia
- 2 1/2 tablespoons erythritol
What are some healthy dessert recipes to eat with homemade whip cream?
Try these delightful treats and be sure to douse them with plenty of whipped cream!
- Non-Alcoholic Eggnog
- Old-Fashioned Blackberry Cobbler
- Sprouted Strawberry Shortcake
- Applesauce Custard Pie
- Pumpkin Pie
- Real Food Gingerbread Cookie Chunk Ice Cream (w/ dairy-free option!)
- Strawberry Rhubarb French Toast Casserole
What’s your favorite way to eat homemade whipped cream?
...without giving up the foods you love or spending all day in the kitchen!

2 free books:
Eat God's Way
Ditch the Standard American Diet, get healthier & happier, and save money on groceries...
We only recommend products and services we wholeheartedly endorse. This post may contain special links through which we earn a small commission if you make a purchase (though your price is the same).


I’ve been using raw honey the last couple years and am loving the fact that it’s a more natural sweetener, instead of plain sugar I used to use. I would love to try the maple syrup sometime, but not sure how well that would go over…my hubby isn’t a big maple syrup fan, although it might be ok that way who knows. Might have to try it sometime!
I love honey too Deb! The maple syrup flavor is very mild in this whipped cream, your husband probably won’t know the difference 😉
If you over beat your whipped cream, just add a little more cream into your whipped cream and stir in. It will redeem the mixture a bit.
I love that tip, Kris! Thank you for sharing.
May I respectfully point out that you can’t make clotted cream from raw milk? The reason is for cream to clot it has to be heated at medium heat for an extended period of time.
In the same fashion erythritol is not a good sweetener to use with raw milk as it has properties which destroy the healthful enzymes contained in this milk. For store bought milk it’s perfectly fine to use.
In order to keep cream ‘stiff’ just add a little milk kefir to it. Roughly speaking a teaspoon or so for a cup of cream.
For small amounts of cream ie 2 cups or less I prefer to use an ordinary whisk and elbow grease?. It only takes no more than 5 minutes to get to stiff peak stage. It also means I can control it a lot better and not accidentally overwhip the cream, which I have done on more than one occasion… And of course, it saves on electricity, fiddly washing and drying up- nevermind finding all the bits to assemble and clear up. This is the traditional way of making whipped cream decades before the advent of ‘time saving’ gadgets. It actually saves time and money doing it the traditional way…??
Tine, those are fantastic tips! Thanks for clarifying about clotted cream and using heat. And great idea to add some kefir for stiffness! Who knows, if we whipped cream by hand we all might have a few more muscles?
Thanks for sharing awesome article. I’ve just prepared it with the help of my newly purchased hand blender with whipper blades. It’s done like charm, though the time taken was a bit long. Deserve 5 Stars.
Can’t wait to give this a try. Thoughts on adding cocoa powder for “chocolate” whipped cream? Any idea how much?