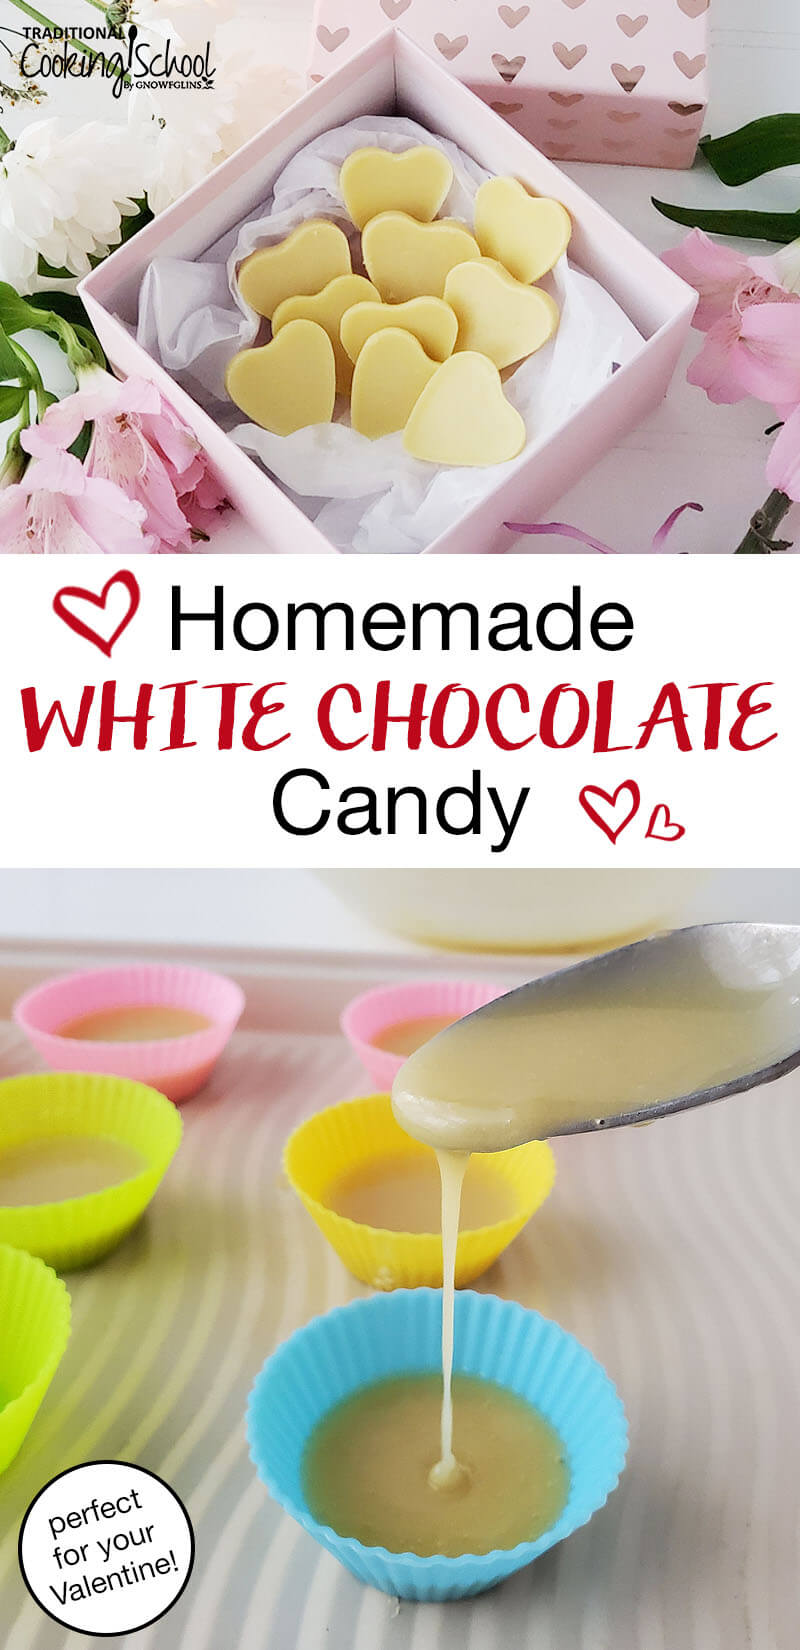
Naturally sweetened or sugar-free, with healthy fats and no caffeine, this quick and easy homemade white chocolate candy recipe is perfect for Valentine’s Day or any occasion. Pour it into candy molds for a special touch, or into a baking tray to make your own candy bar!
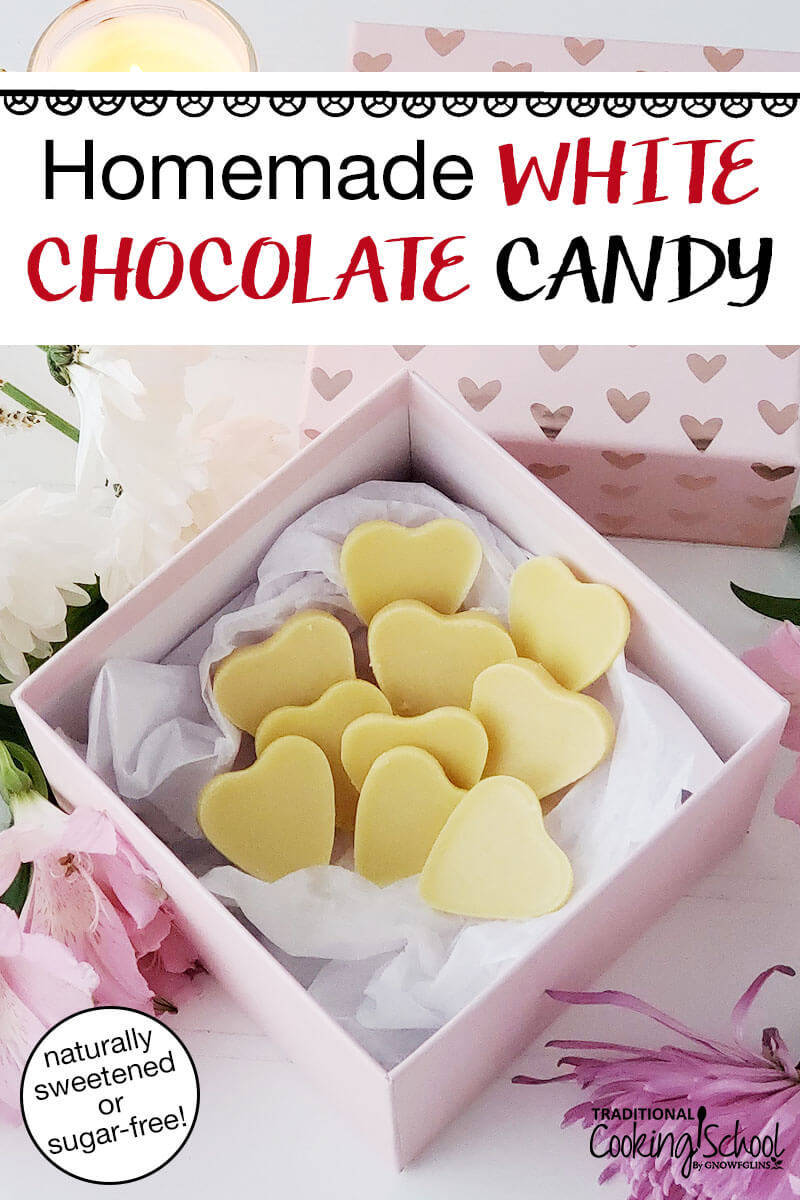
Making your own homemade candy is the best way to enjoy a sweet treat while avoiding unhealthy ingredients.
Did you know you can make your own naturally sweetened homemade white chocolate candy? Plus, if you’re following the Trim Healthy Mama plan (or just want to avoid sugar in general) you can use stevia instead.
First, let’s settle one question:
Table Of Contents
Is White Chocolate Really Chocolate?
Technically, not really.
Cocoa solids and cocoa butter (both parts of the cocoa bean) make up the base of regular chocolate, whereas only cocoa butter forms the base of white chocolate.
Once cocoa butter is extracted from the cocoa bean, cocoa solids are what’s left behind.
Cocoa butter makes up at least 50% of the weight of the cocoa bean. It’s responsible for the lovely melting properties of chocolate.
As opposed to cocoa solids, cocoa butter also has only trace amounts of theobromine (the substance in chocolate, more so in dark chocolate, that is deadly to dogs) and caffeine.
White chocolate sure smells like chocolate, though, and for a lot of people it’s close enough to call it such.
What’s The Difference Between White Chocolate And Cacao Butter?
They may smell the same, but that’s where the similarity ends.
Cacao, or cocoa, butter is simply the base for chocolate. It’s pure fat and no sweetness at all… definitely not that white chocolate flavor we’re looking for!
White chocolate typically has milk solids, sugar, and vanilla added to it. Commercially prepared white chocolate candy also has plenty of ingredients we want to avoid.
Even homemade recipes usually call for not real-food ingredients, such as powdered milk.
So, let’s make our own homemade white chocolate!
The Best Sweetener For Homemade Candy
Of course, the best sweetener is something real food!
I chose honey for this recipe because it’s often fairly light in color. Maple or coconut syrup are also great choices.
Many conventional homemade white chocolate recipes use confectioner’s sugar. Instead, you could try powdering coconut sugar or Sucanat.
However, if you are unable to powder it finely enough your candy could turn out with a grainy texture.
I Need A Sugar-Free Candy Option? What Can I Use?
Pure stevia extract is a great sugar-free sweetening option. A little goes a long way, too.
If your pure stevia extract has a 1/32 teaspoon scoop, start with two and give it a taste. Add more in small increments until it’s a sweet as you like.
I found that three scoops was just right, but four was too bitter. So, a little more than 1/16 teaspoon, but not quite 1/8 teaspoon.
If you have a set of measuring spoons with a “smidgen” spoon, that is 1/32 of a teaspoon.
If you’d like to use a mix of stevia and a sugar alcohol, such as erythritol or xylitol, I recommend powdering it first to avoid graininess. Use a coffee grinder or simply a mortar and pestle to grind it into a powder.
A combination of stevia and a sugar alcohol often gives the best flavor for desserts.
Unsure if erythritol or xylitol are safe (or even real food)? See Wardee’s article on sugar alcohols.
How To Make Homemade Candy (Naturally Sweetened Or Sugar-Free!)
This turned out to be a bit more tricky than I anticipated. But, I figured out a way to make it work.
While this homemade white chocolate candy is not exactly like store bought, it’s still a delicious and nourishing treat.
I did attempt to temper this white chocolate and I’ll just say I need a lot more practice at it. Tempering chocolate is definitely a technical skill!
Tempering gives chocolate a shiny finish and crisp snap, but otherwise the flavor is the same.
One reason why making your own real food homemade white chocolate candy is tricky? Emulsification.
Chocolate manufacturers use things like soy lecithin to get the ingredients to emulsify, or stay together. Not using an emulsifier like lecithin means the cacao butter tends to separate from the rest of the ingredients.
There’s an easy way to solve this problem though! Quickly cool down the white chocolate mixture, while whisking, until it begins to emulsify.
Then, you’ll need to be fairly quick at getting the mixture into candy molds before it starts setting up completely. It’s not instantaneous, but you do need to get the mixture into molds as quickly as you can.
And whether you temper it or not, it all starts with some raw cacao butter. Which smells like chocolate heaven, it just doesn’t taste like it yet.
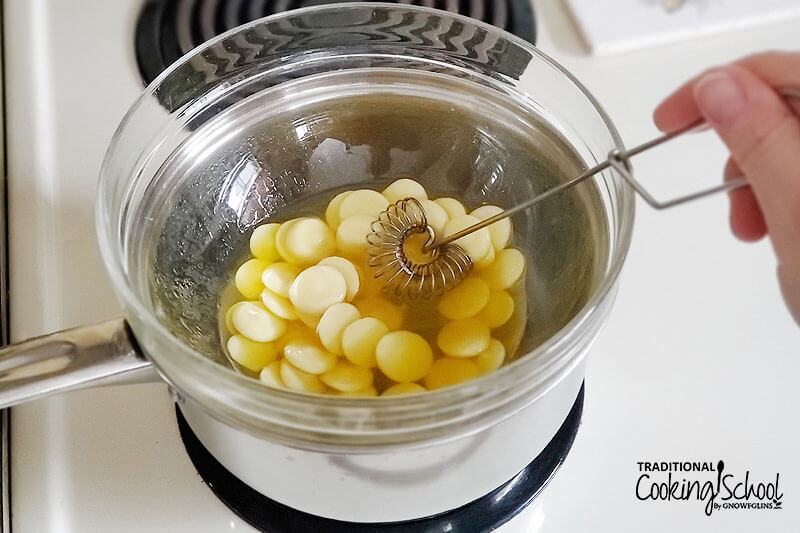
Step 1: Melt the raw cacao butter over a double boiler or similar set-up.
I use a heat-safe glass bowl over a sauce pan with boiling water.
Raw cacao butter comes either in a big chunk or little disks. The little disks are much easier to measure and work with while the big chunk will need to be broken down first.
If you have a big chunk, use a sharp knife to carefully remove pieces of it.
I recommend weighing if you have kitchen scales. It’s sometimes hard to get evenly sized pieces off the big chunk of cacao butter.
Raw cacao butter melts easily and should only take a few minutes.
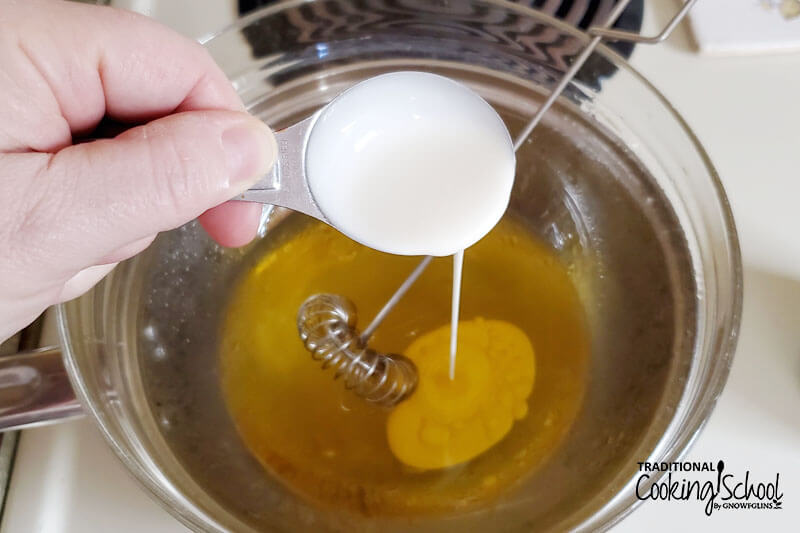
Step 2: Remove from heat and whisk in remaining ingredients.
Place your double-boiler top or glass bowl on a trivet or hot pad. Whisk in the heavy cream, coconut butter, honey (or stevia), and vanilla.
It will turn all creamy white and you’ll think yay! White chocolate!
However, after it sits a few minutes you’ll see the cacao butter separate from the other ingredients.
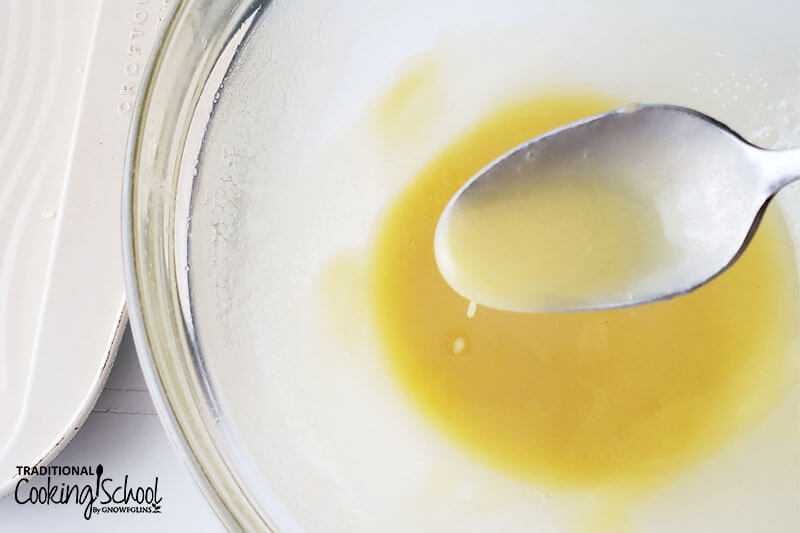
Step 3: Chill and emulsify.
Next, get a bowl of cold water and put a few ice cubes in it (four or five should do). You don’t want the water TOO cold or your liquid white chocolate candy will harden before you can get it into candy molds.
The bowl should be slightly smaller than the double boiler top or bowl you used to melt the cacao butter. The bottom of the bowl should go down into the cold water when you set it on top.
Now, whisk constantly until it begins to emulsify. The consistency will change from very liquid-y to something like very smooth pureed baby food.
This can take a few minutes, so be patient.
Remove the bowl from the cold water.
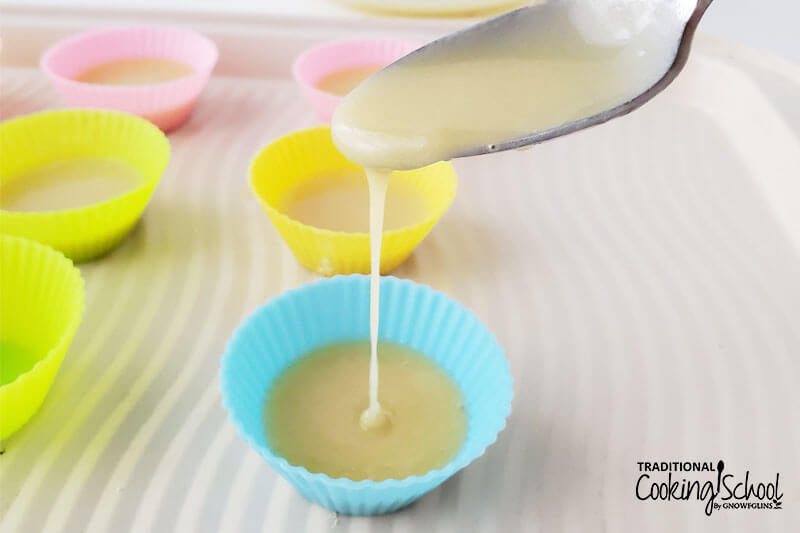
Step 4: Fill your candy molds and refrigerate.
Your candy molds can be elaborate or simple. There are many food-safe silicone candy molds available in all different shapes and sizes.
Or, choose mini silicone muffin cups. I’ve made many chocolate treats in mine, like these simple 4 Ingredient Chocolate Coconut Candies. These easy candies are sugar-free and THM compliant, too.
You can also just pour into a glass baking dish or some other container and break off pieces as you’d like. A homemade candy bar!
If your mixture thickens too much, just spoon dollops of it onto a baking sheet lined with parchment paper for little free-form candies.
Finally, pop the molds into the fridge and allow the candy to harden. The time will depend on how thick your white chocolate candy is, but allow at least 30 minutes.
You can also put them in the freezer to speed up the hardening process. Just know that this can cause an uneven surface on the top of your candy as it doesn’t chill as evenly.
How To Store Your Homemade White Chocolate Candy
Since this recipe is made without preservatives I recommend storing in the refrigerator or freezer. If you have trouble staying out of the candy, store it in the freezer on an inconvenient shelf. 😉
Keep it in an air-tight container. It should last several weeks in the fridge and even longer in your freezer.
Real Food Treats That Nourish Your Body!
Raw cacao butter is a nutritional powerhouse. It’s a perfect healthy fat. Including a reasonable amount of healthy fats in our diets helps our body function well. Making real-food white chocolate candy with it is a delightful way to treat yourself and nourish at the same time!
Homemade White Chocolate Candy (Naturally Sweetened Or Sugar-Free!)
Naturally sweetened or sugar-free, with healthy fats and no caffeine, this quick and easy homemade white chocolate candy recipe is perfect for Valentine's Day or any occasion. Pour it into candy molds for a special touch, or into a baking tray to make your own candy bar!
Ingredients
- 3/4 cup cocoa butter wafers about 4 ounces
- 1/4 cup heavy cream
- 2 tablespoons honey or about 1/16 teaspoon pure stevia extract (adjust to taste)
- 1 tablespoon coconut butter
- 2 teaspoons vanilla extract
Instructions
-
In a double boiler or heat-safe bowl placed over a pot of boiling water, melt the cocoa butter.
-
Remove from heat and whisk in remaining ingredients.
-
Fill a bowl with water and a few ice cubes so that the bowl of chocolate can fit on top and be partially submerged in the water without the water spilling over into the chocolate mixture.
-
Place the bowl of white chocolate on the water bowl.
-
Whisk the white chocolate mixture constantly until it starts to emulsify and thicken. It should be the consistency of a loose pudding.
-
Remove from the cold water and fill your candy molds as quickly as you can. If your white chocolate mixture starts to harden too much before you've filled the molds, place it back over hot water and whisk until it has thinned down a bit. Just be careful not to melt it completely or you'll need to repeat the cold water step.
-
For best results, make in small batches.
-
Place your candy molds into the refrigerator to harden.
-
Chill at least 30 minutes. The thickness of the candy will determine how long it takes to harden.
-
Store in an airtight container in the fridge or freezer.
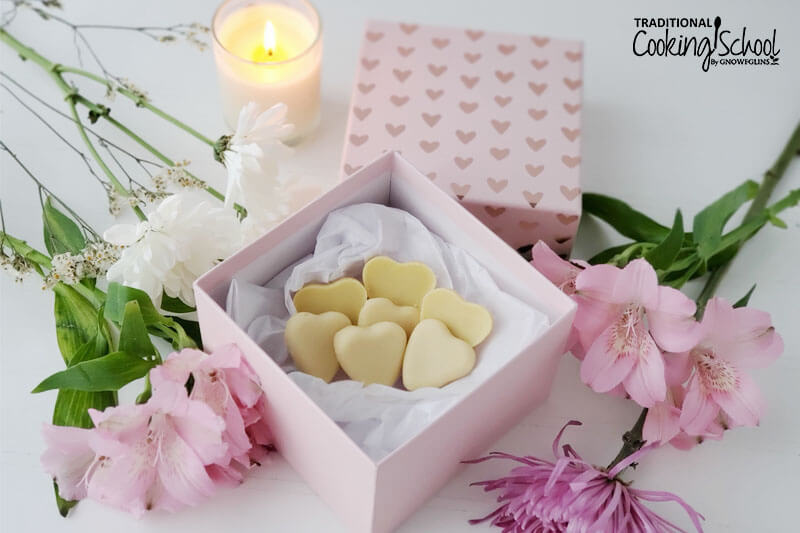
Looking for More Naturally Sweetened or Sugar Free Candy Recipes? Try These!
- Allergy Friendly White Chocolate Peppermint Snowballs
- 4 Ingredient THM Chocolate Coconut Candy
- No Bake Chocolate-Covered Raspberry Cookie Bites
- 3 Ingredient Homemade Honey Candy Recipe
- Hormone-Balancing Bliss Balls for Seed Cycling
- No-Bake Herbal Adaptogen Energy Balls
- Homemade Coconut Butter (+3 flavor options!)
- 60+ Homemade Candy Recipes
Will you try this white chocolate candy? Do you like dark chocolate, milk chocolate, or white chocolate best?
This post was originally published and written by Tammy Trayer in February 2014. It was updated and republished on 2/3/20.
We only recommend products and services we wholeheartedly endorse. This post may contain special links through which we earn a small commission if you make a purchase (though your price is the same).


These were delicious! I’ve made them twice in a week! How would you change this to make dark or milk chocolate?
I am thinking of trying this but adding sunflower lecithin to the mix. How much do you think I will need ?
Can regular butter be used in place of coconut butter? Or is there another dairy substitute?
Curious about this also! Did you try the butter instead of coconut butter? I’m assuming the coconut butter is needed for the texture but I don’t want it to taste like coconut.