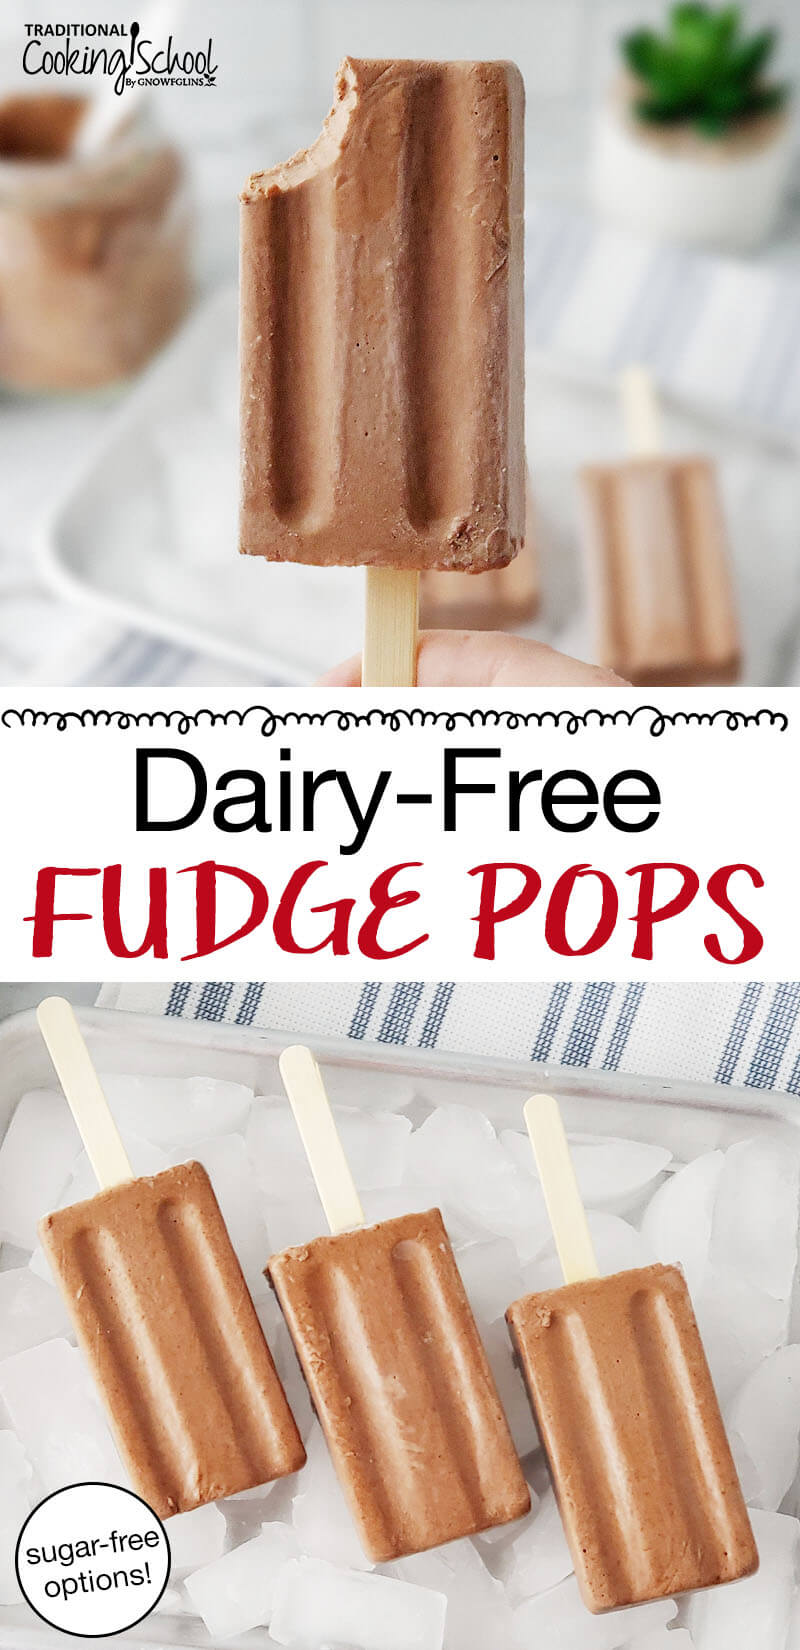
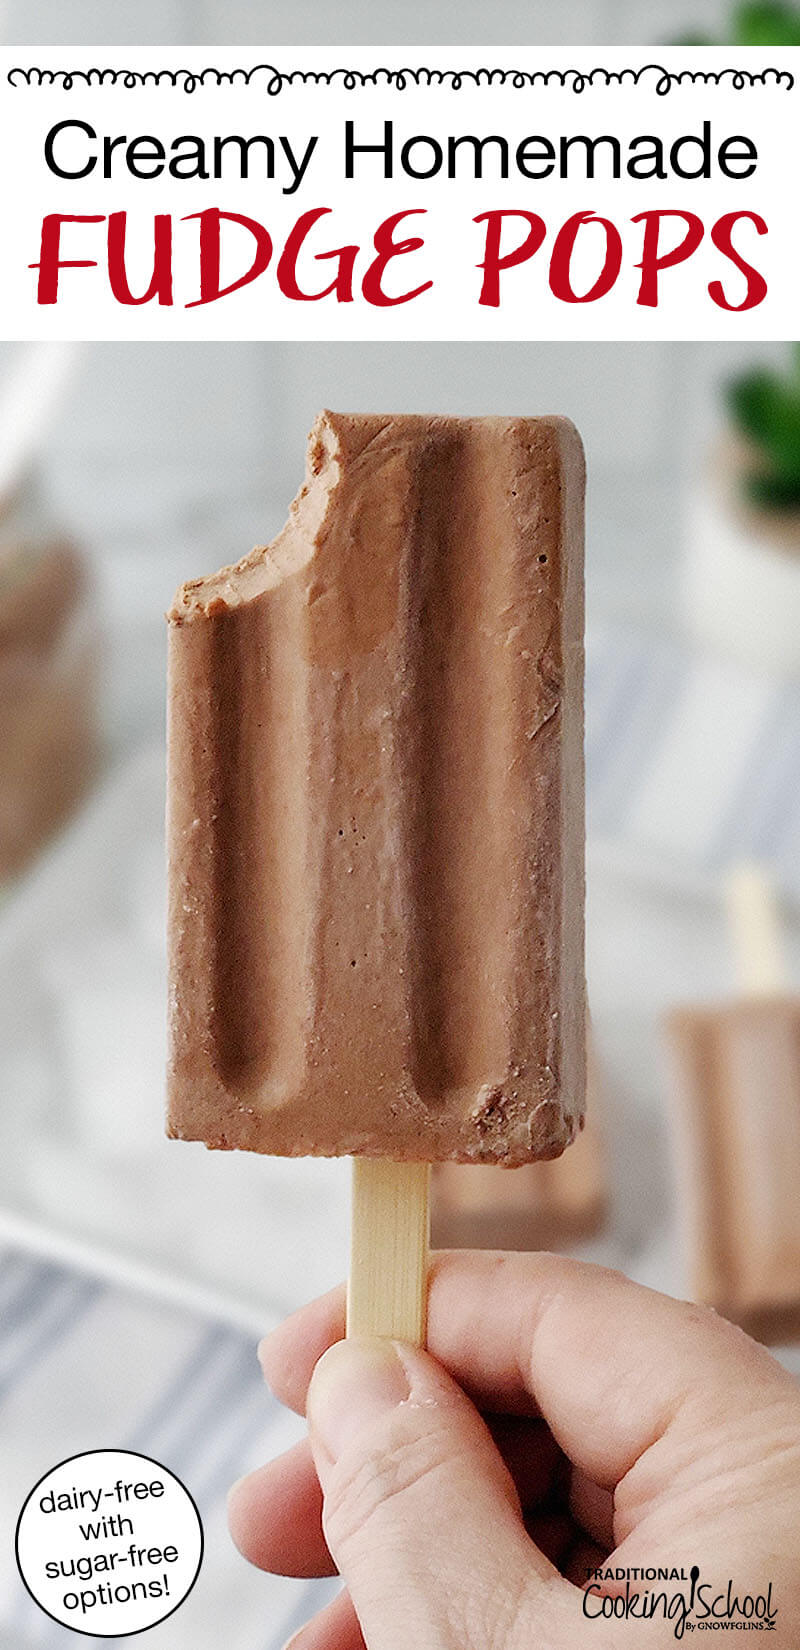
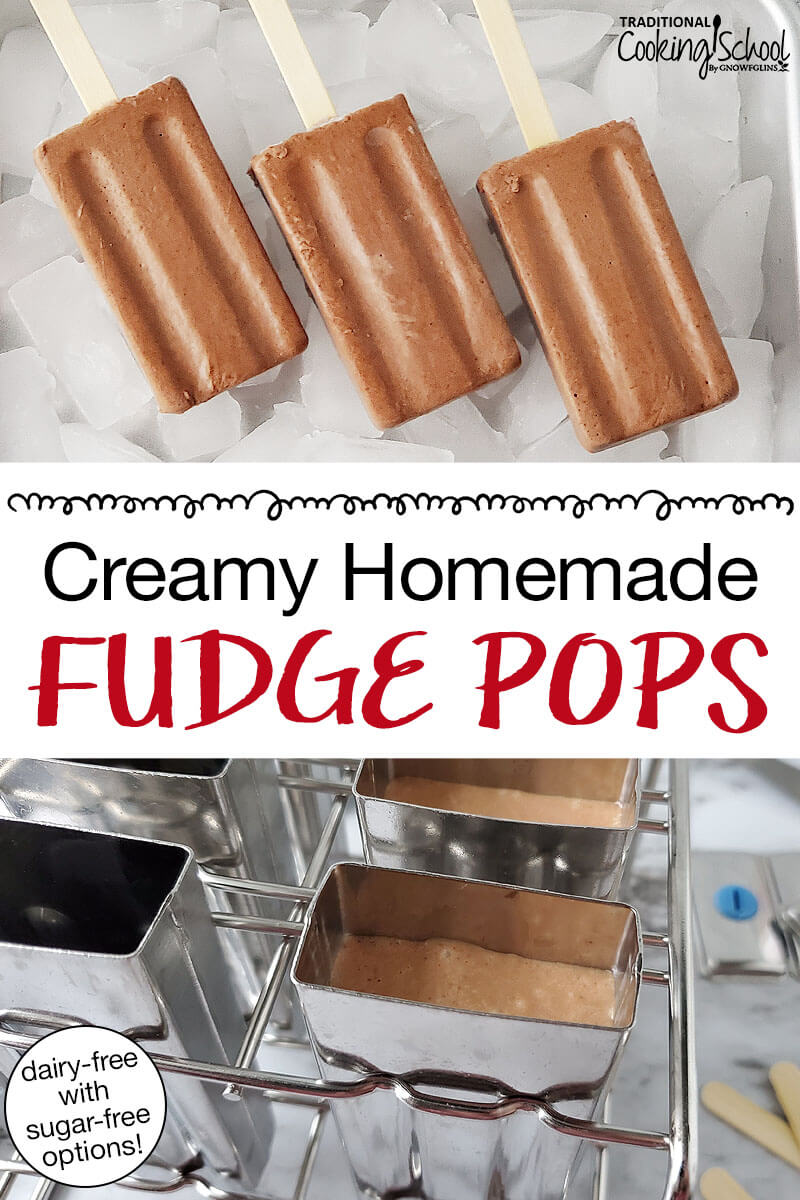
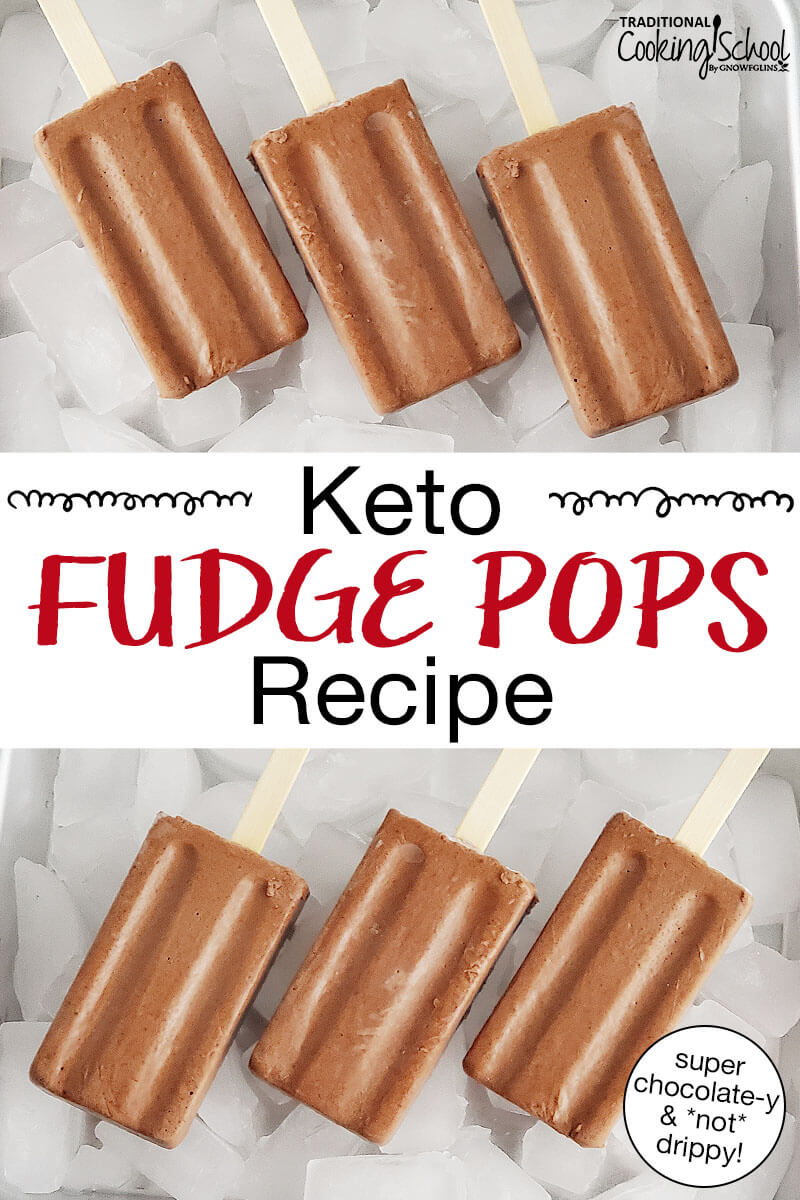
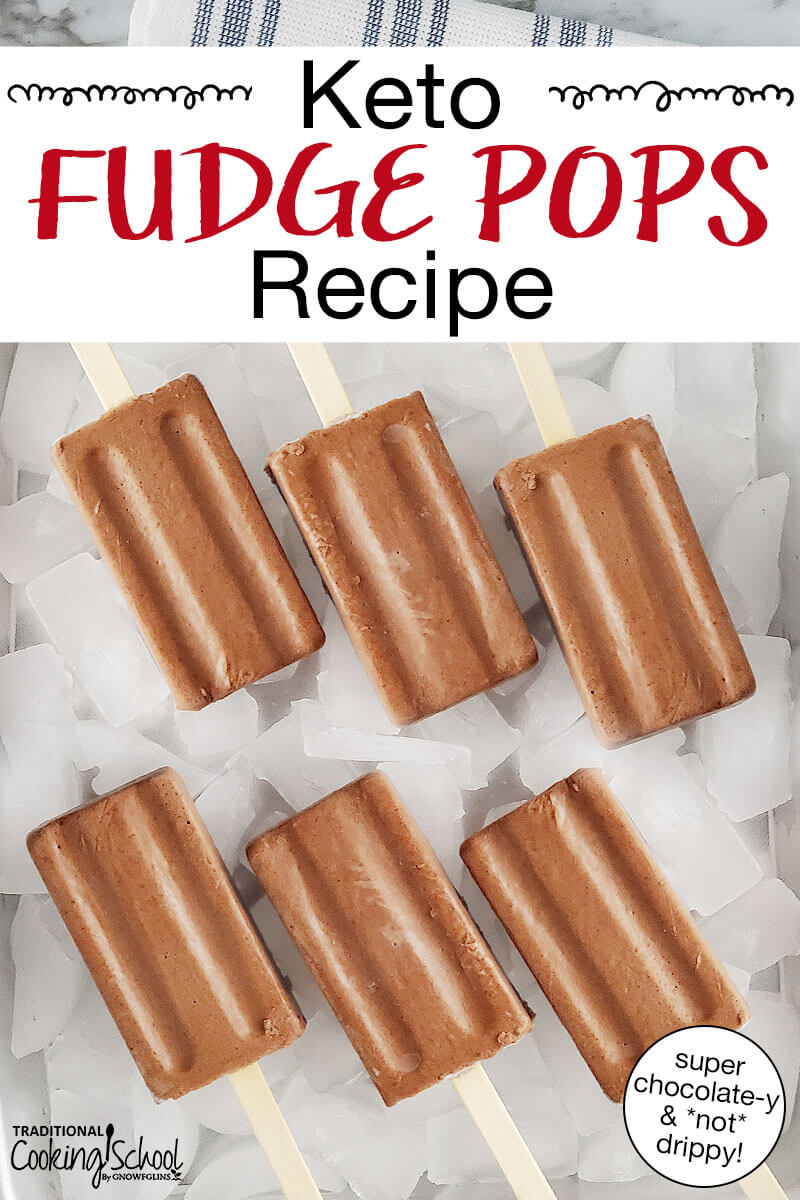
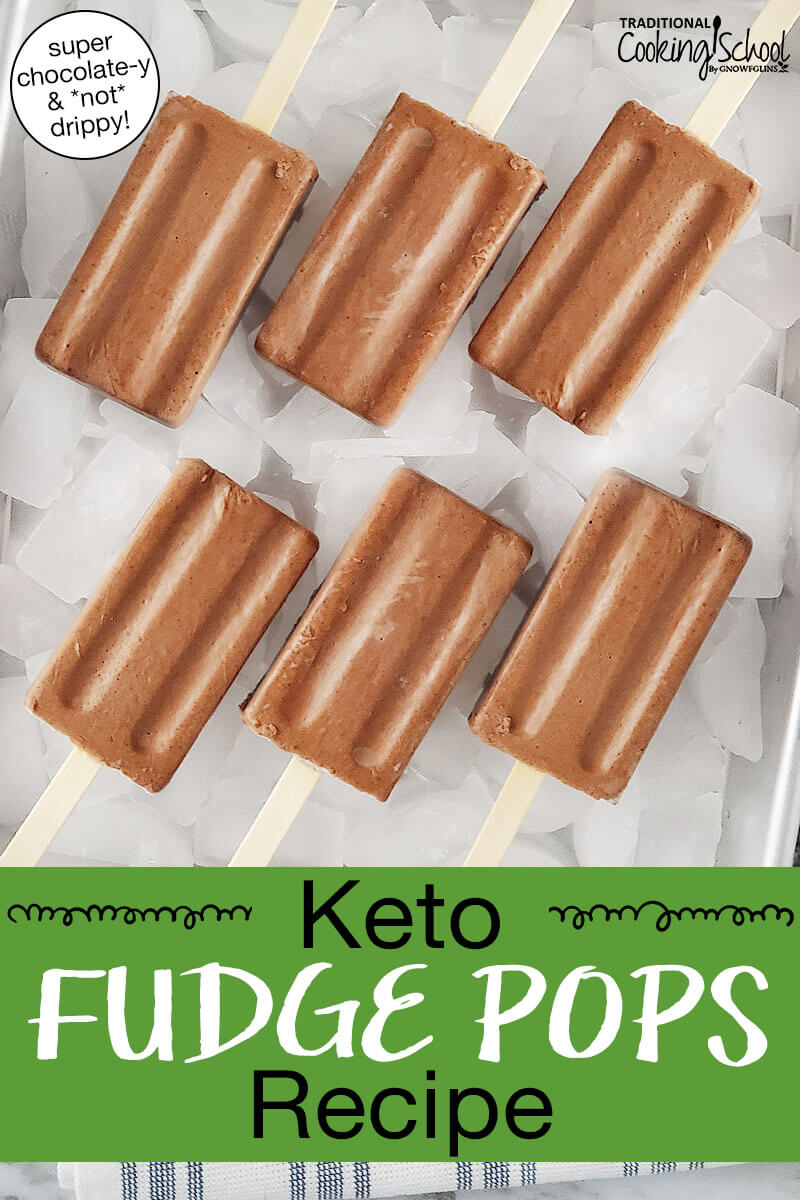
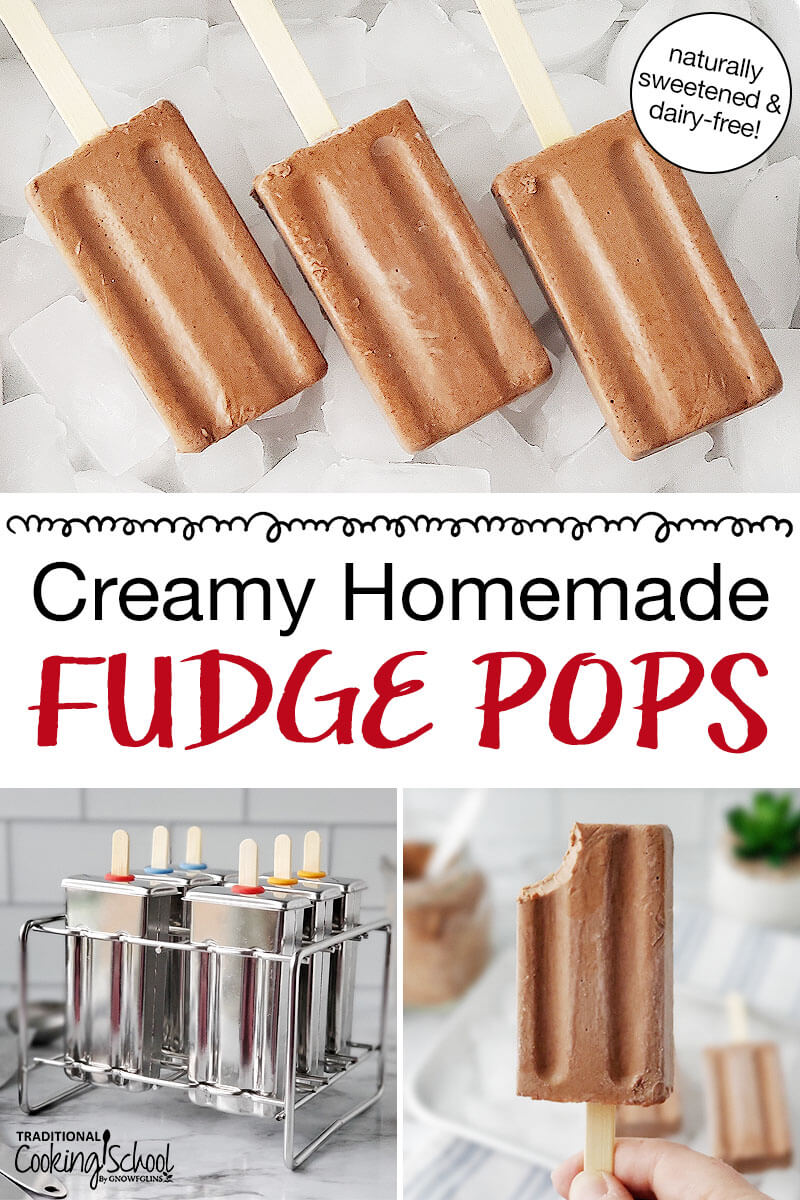
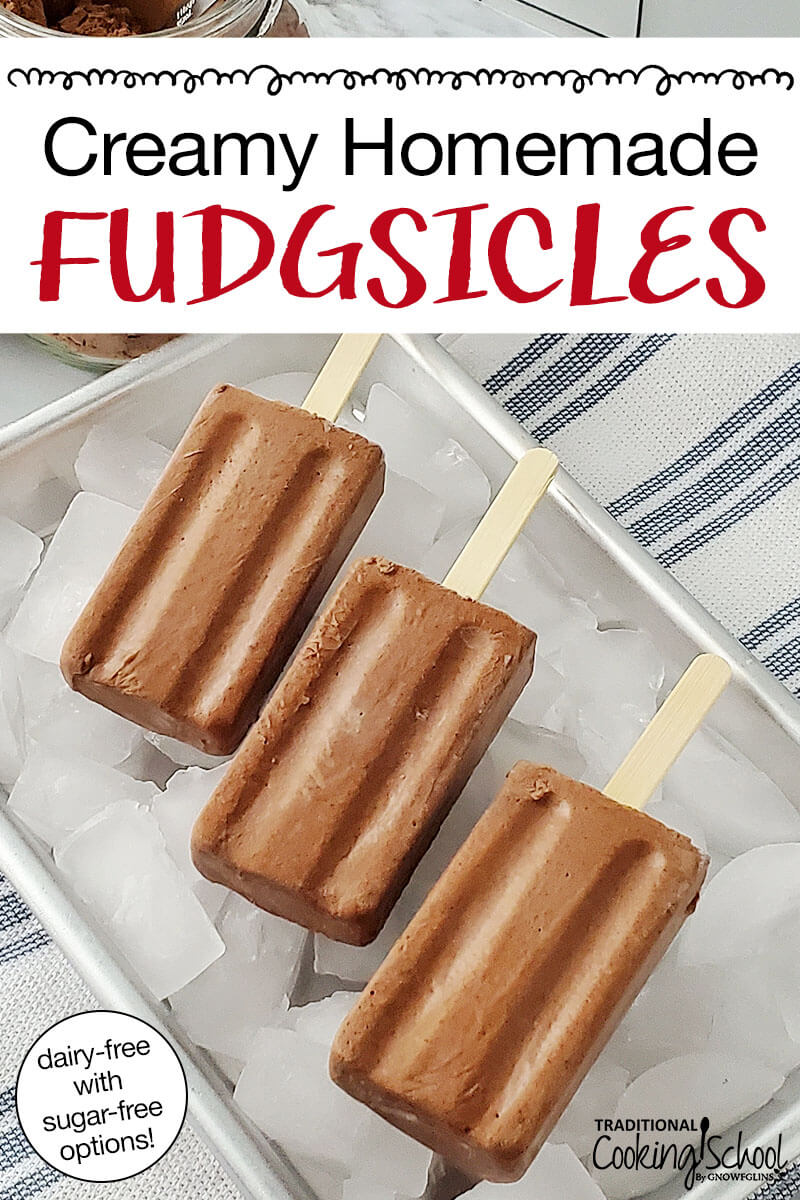
Creamy, naturally sweetened, and above all *not* drippy (perfect for littles!), this homemade fudge pops recipe is a summertime dream best enjoyed poolside! Plus, this dairy-free frozen treat with sugar-free options whips up in only 10 minutes of hands-on prep!
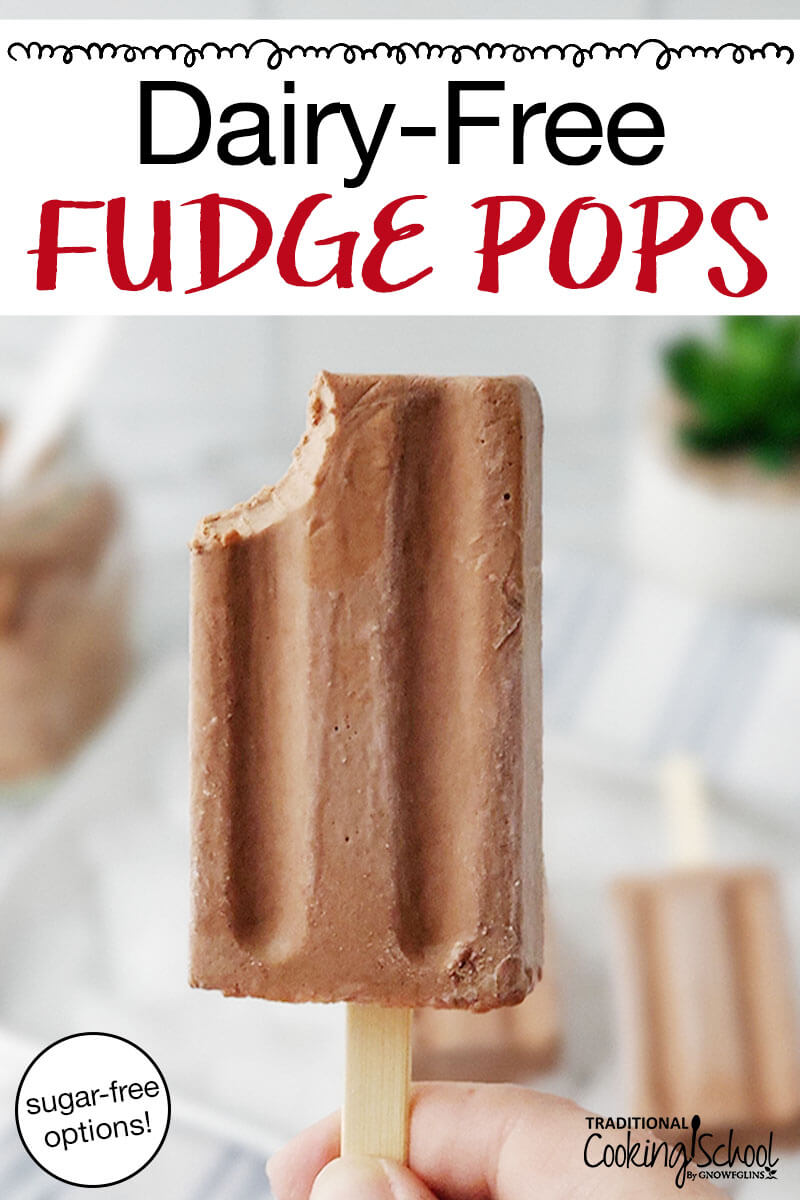
Craving fudge pops this summer? Can’t have dairy?
We’ve got just the recipe for you… with healthy, real food ingredients! This nourishing cold treat for the whole family beats the ice cream truck any day.
Are Fudge Pops Healthy?
Maybe you haven’t always had to skip dairy and you fondly remember store-bought fudge pops as a kid.
If you’re like me, you grew up eating a standard American diet, so those nostalgic freezer treats were full of refined sugars and who knows what else, right?
Not so healthy, really.
Thankfully, it’s super easy to make nourishing fudge pops with real, whole-food ingredients. The recipe below is naturally sweetened but I’ve also created THM-friendly versions sweetened with stevia for those who need to keep their blood sugar stable.
Dairy-Free Options For Homemade Fudge Pops
When choosing dairy-free bases for your pop mixture, keep in mind that the higher the water content, the harder they’ll freeze. They’re also more likely to have an icy texture.
I’ve got a couple of ways to help lessen that, though!
Even if they do freeze a bit harder, they’re still delicious. And, sometimes opting for the leaner recipe is the way to go. But, if you’re wanting close to that classic texture, opt for higher fat instead of lower.
Full fat coconut milk is perfect for making a homemade chocolate fudge pop. It’s already thick and contains healthy MCT oils naturally present in coconut.
Plus, the coconut milk + gelatin version doesn’t melt or drip easily! Perfect for littles (and others who… ahem… tend to be messy…).
If you don’t like (or can’t have) coconut, any non-dairy milk will work. While chocolate is a pretty strong flavor, each non-dairy milk has a unique flavor and may change the final taste of your pops.
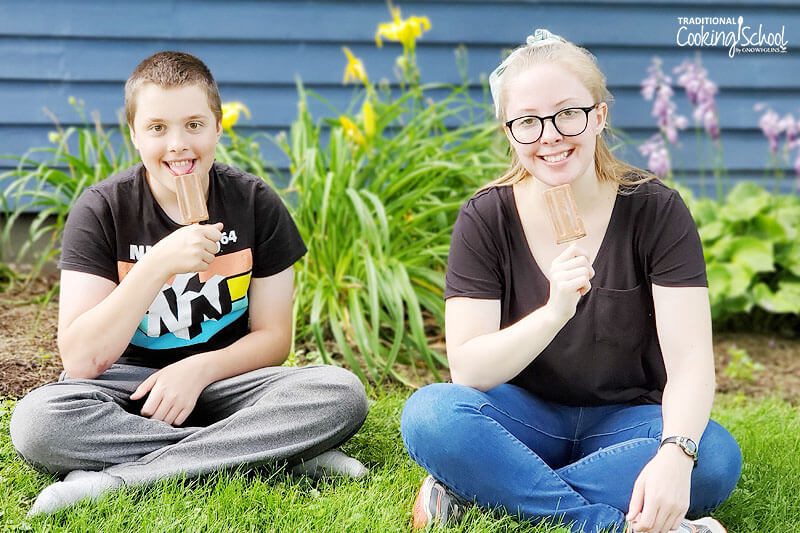
Sweetening Naturally + Sugar-Free Options
Liquid sweeteners such as maple syrup, coconut syrup, and honey are easiest to work with as they mix right into your pop mixture.
If you’d prefer a dry sweetener, such as Rapadura or coconut sugar, separate out some of the pop base and gently heat it to make dissolving the dry sweetener easier.
Then, mix the sweetened mixture back into the pop base before filling your popsicle molds.
Need a sugar free option? Pure stevia extract is perfect!
A little goes a very long way – I found 1/8 teaspoon the perfect amount of sweetness for 6 fudge pops. Of course, feel free to adjust that to your own taste preference.
You can also use a stevia and erythritol blend. Just as with the dry, unrefined sugars though, I recommend heating a portion of the mixture to dissolve the sweetener blend in first.
Want to lower the amount of sugar but not go totally sugar-free? Try using a combination of a natural liquid sweetener, like coconut syrup, and stevia. This helps lower the glycemic impact without a full sugar-free flavor.
Not sure if erythritol or xylitol is for you? Wardee has some great thoughts and advice to help you decide.
Low Fat Options For Homemade Fudge Pops
As I mentioned above, full-fat coconut milk gives the best results. This is due to its high fat and low water content.
However, sometimes you need to lighten things up a bit, right? If you follow the THM plan, then you know it’s important to balance meals and snacks containing liberal, healthy fats with those lower in fat.
Lower fat options include nut milks such as almond and cashew. Cashew milk tends to have a creamier texture than almond milk and makes a great choice.
Nut milks are higher in water and will freeze harder — resulting in a fudge pop with an icier texture. But, when made sugar-free they’re a great lower fat, on-plan treat for THM!
Did you know you can easily make your own nut milk? Learn how here!
Homemade nut milk tends to be a bit higher in fat unless you use more water, so it may be best to assume your fudge pop is a THM:S.
Fun Flavor Variations!
Want to add some pizazz to your homemade fudge pops? Try mixing in one or more of the following for fun summer treats:
- Peanut butter or other nut butters (learn how to make soaked almond butter here)
- Chocolate chips (make your own healthy chocolate chips!)
- Cacao nibs
- Banana slices
- Berries
- Chopped “crispy” (soaked and dehydrated) nuts or seeds
- Dried coconut flakes
How Long Do Fudge Pops Take To Make?
While it depends on which version you’re making below, the hands-on work of making fudge pops is not very long! It takes less than 10 to 15 minutes to mix up your fudge pop base and get them in the freezer.
The hard part is waiting for them to freeze. For standard popsicle molds, this should take from 4 to 5 hours.
If you use paper cups or other molds that produce a thicker pop, it will take longer. Make them before bed and then the next day you’ll have healthy nutritious fudge pops already waiting for you.
How Long Do Fudge Pops Last In Your Freezer?
In our house… not very long! But if your crew has a bit more restraint, your chocolate popsicles should last at least 4 weeks in the freezer, if not longer.
If your pop molds don’t have a tight-fitting lid, or you use paper cups, the top of the pop exposed to air tends to dry out after a few days.
You can remove the pops from the molds and wrap in plastic wrap or waxed paper and store them in a freezer bag or airtight container in your freezer to help minimize that.
How To Make Fudge Pops
I’ve included a few different variations below so choose which fits your lifestyle (or pantry) best. We’ll use either gelatin or arrowroot to thicken the base before filling the popsicle molds (or paper cups).
Trim Healthy Mama plan followers, see the section below just for you.
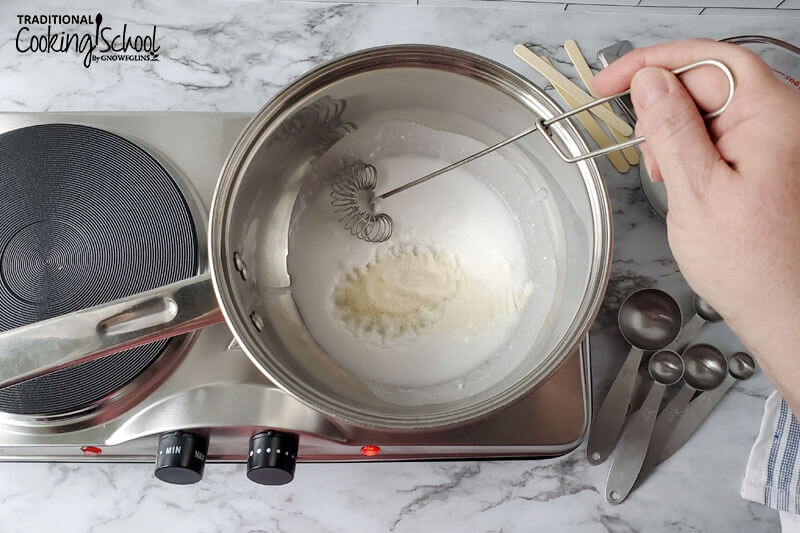
For the gelatin version, place about 1/4 cup or so of the non-dairy milk into a saucepan and sprinkle your gelatin powder over the top. Let it sit while you add the other ingredients to the remaining milk.
Next, gently heat the gelatin and non-dairy milk, while whisking, to dissolve the gelatin. This should only take about a minute – be sure not to let it boil.
Remove the pan from the heat.
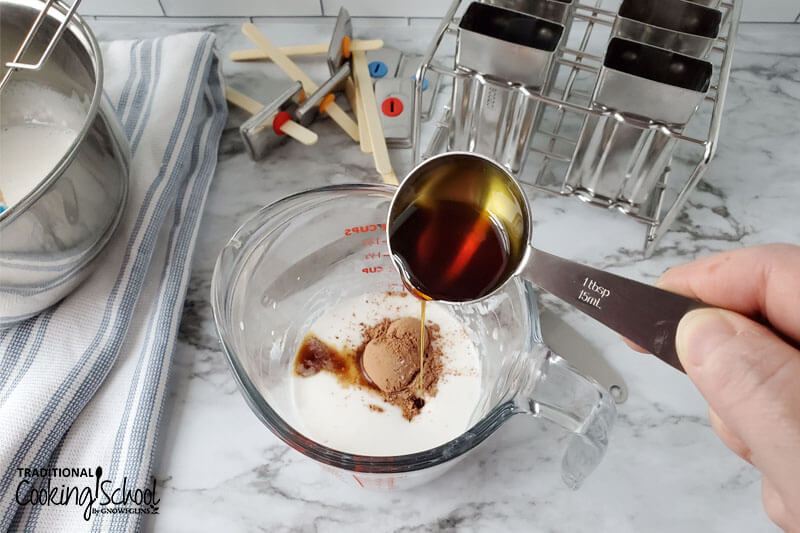
Whisk together the cacao powder, sweetener, salt and vanilla into the remaining non-dairy milk until smooth. Then add the gelatin mixture and whisk again.
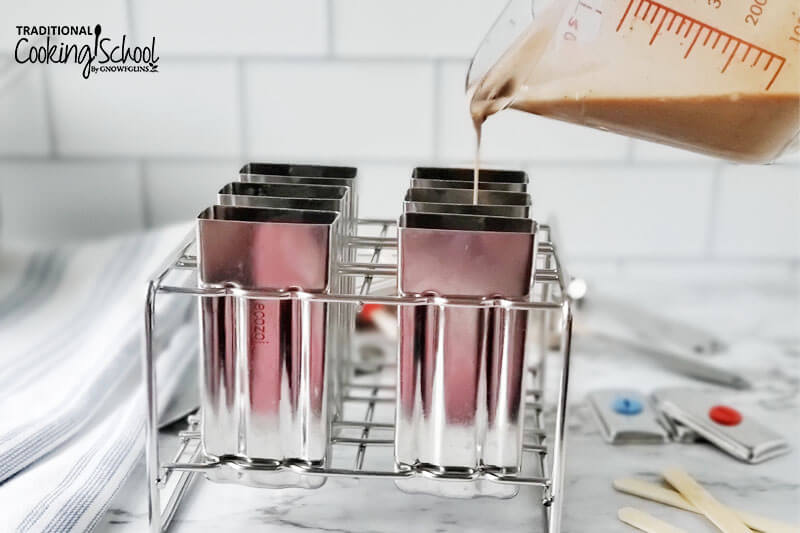
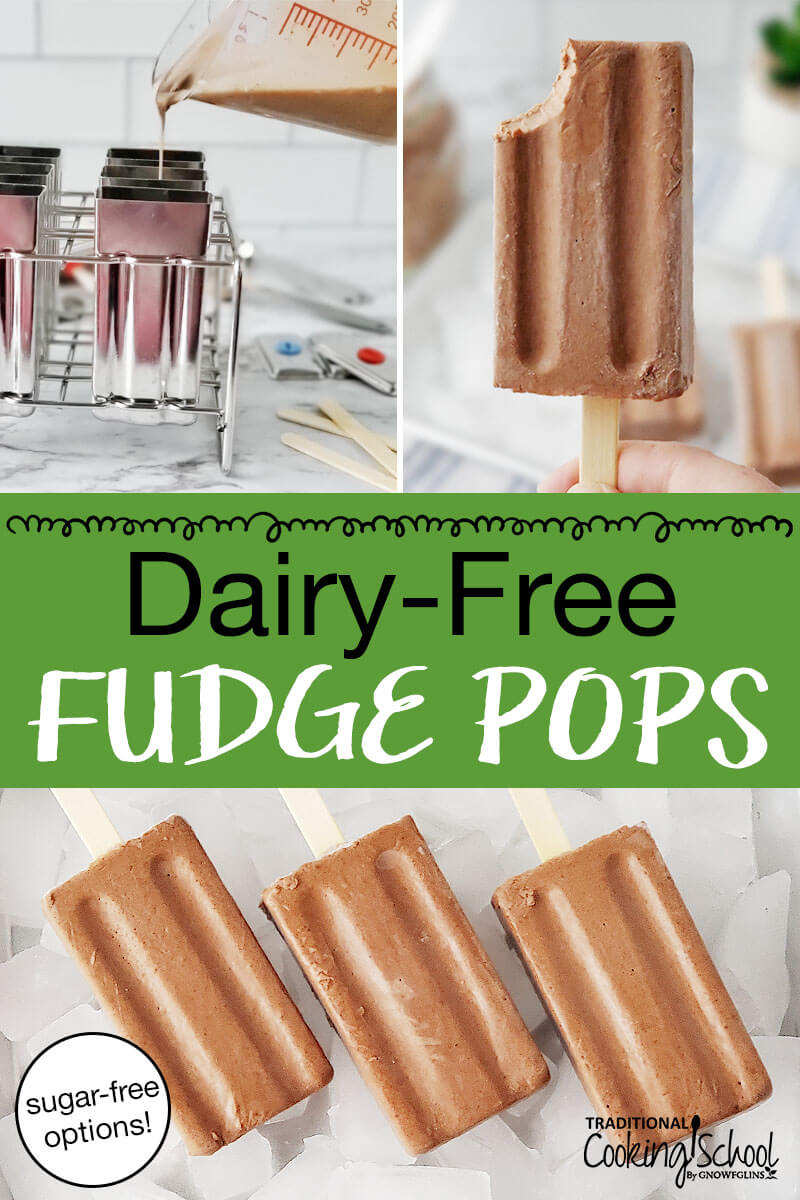
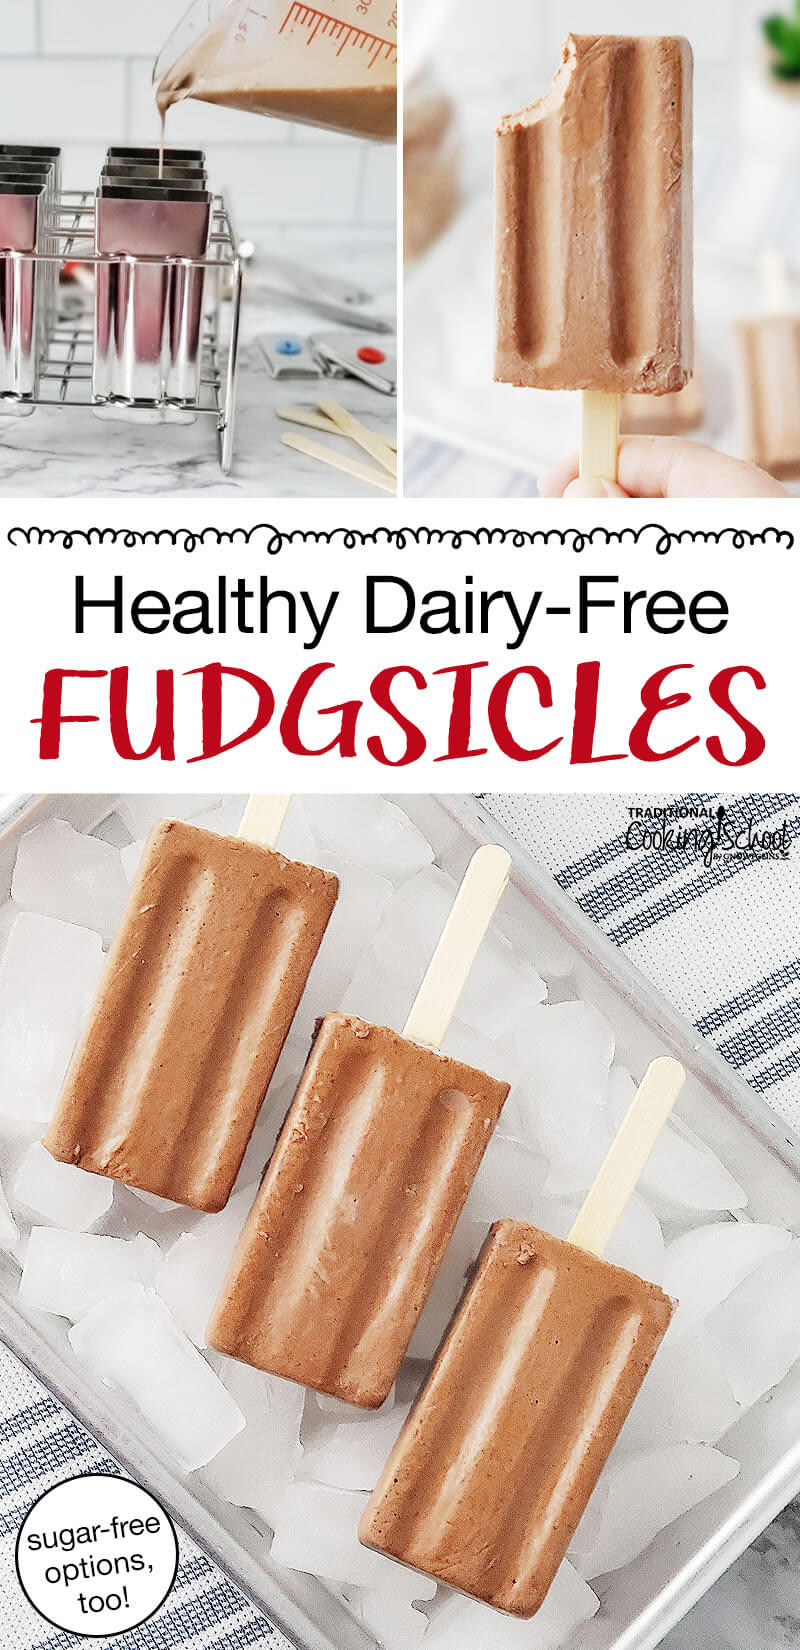
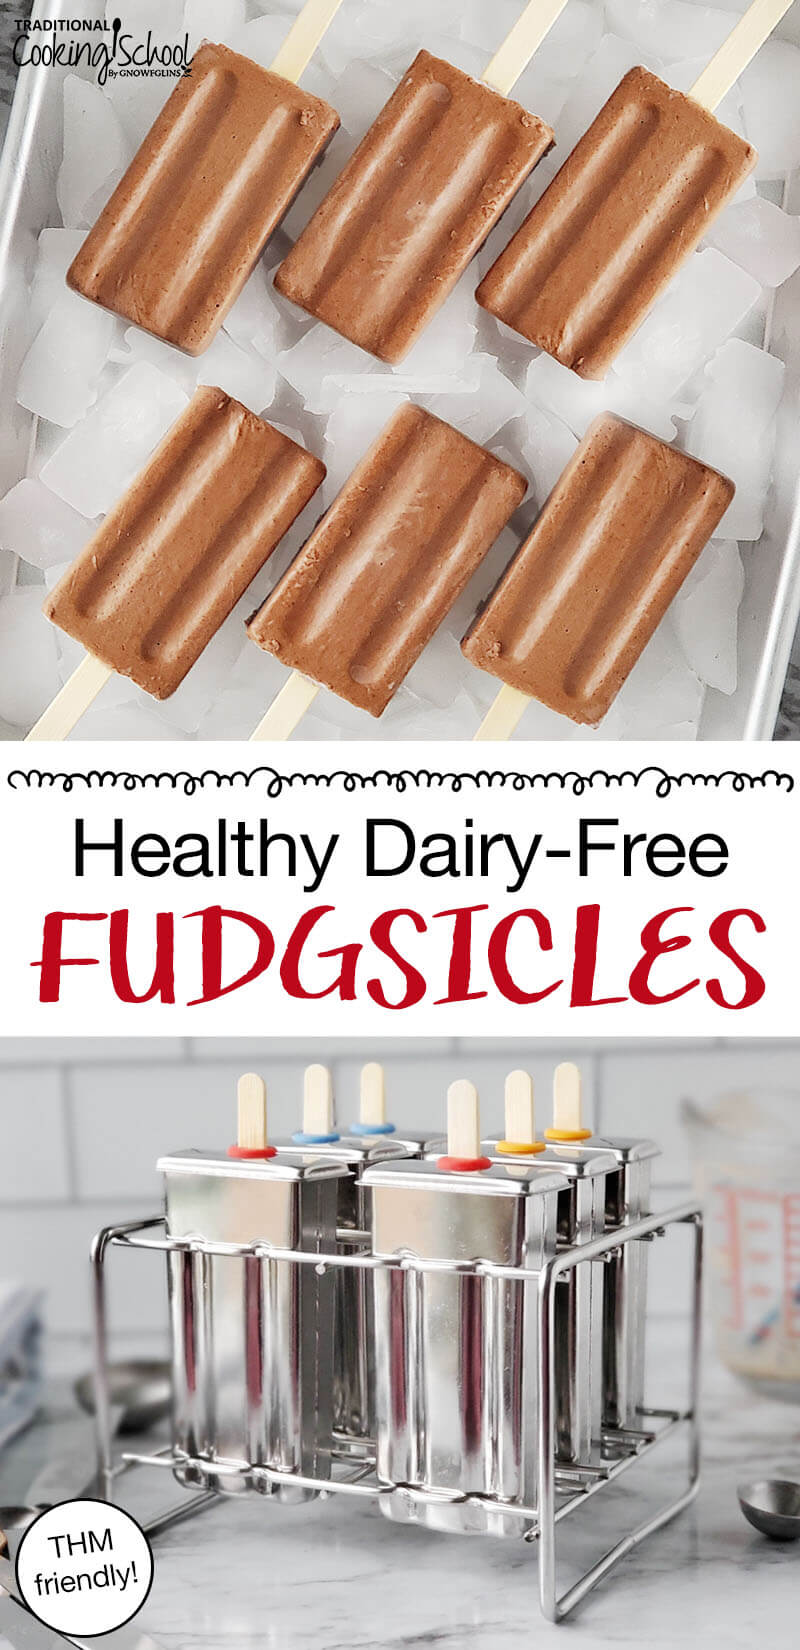
Pour this mixture into your popsicle molds and add top with the lids and sticks. Fill to about 1 to 2 centimeters from the top of the mold to allow for expansion. Pop into the freezer for at least 4 to 5 hours or overnight.
If you don’t have a popsicle mold, cut a small square of wax paper and poke a popsicle stick through it, then set on top of each paper cup before placing in the freezer. Use a baking sheet to put the cups on for easy transport to the freezer.
To remove your fudge pops from the pop molds, run each mold under hot water for several seconds until the pop is loosened.
For the arrowroot version, simply whisk all the ingredients together in a saucepan and gently heat until thickened. Remove from heat and allow to cool about 5 minutes (or longer) before filling your popsicle molds.
Trim Healthy Mama Notes
To stay on plan for THM, choose an on-plan sweetener and use the gelatin version. Arrowroot is too starchy and is not a plan-approved ingredient.
If you don’t often have sweets and are successfully losing weight, a fudge pop sweetened with maple syrup is a perfect summer treat – occasionally.
However, if sugar in any form is a trigger for you and/or you’re struggling to lose, stick with the sugar-free sweetening options.
Finally, for the almond milk version, feel free to add a bit of MCT oil if you like. Or, make as written for low-fat fudge popsicles.
Can I Make Dairy-Free Fudge Pops With Yogurt Instead Of Milk?
I have not tested this recipe with dairy-free yogurt, however, feel free to experiment! It would be more of a chocolate yogurt pop since yogurt is tangy and fudge pops, traditionally, are not. 🙂
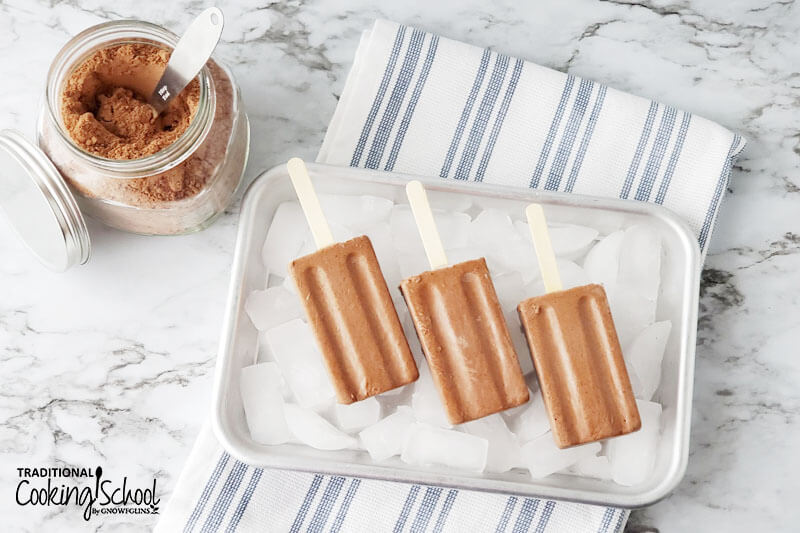
Creamy, naturally sweetened, and above all *not* drippy (perfect for littles!), this homemade fudge pops recipe is a summertime dream best enjoyed poolside!
Ingredients
- 1 13.66-ounce can full fat coconut milk OR 2 cups preferred non-dairy milk
- 2 teaspoons sustainably-sourced gelatin (certified glyphosate-free)
- 2.5 tablespoons cacao powder
- 1 tablespoon coconut syrup or maple syrup, honey, etc. (for sugar-free, use 1/8 teaspoon pure stevia extract or preferred sweetener, to taste)
- ½ teaspoon vanilla extract
- 1/8 teaspoon sea salt
Instructions
-
In a saucepan, add about 1/4 cup coconut milk and sprinkle the gelatin powder over the top. Set aside.
-
In a mixing bowl (preferably with a spout) or large Pyrex glass measure, whisk together the remaining coconut milk, cacao powder, coconut syrup, vanilla, and sea salt until smooth.
-
Gently heat the coconut milk in the saucepan, whisking until the gelatin is dissolved. This should only take about a minute. Be sure not to let it boil.
-
Whisk this mixture into the chocolate mixture until smooth and well incorporated.
-
Pour the mixture into your popsicle molds. Attach lids and sticks
-
Freeze for at least 4 hours or overnight. Enjoy!
Recipe Notes
Arrowroot Variation:
- (1) 13.66-ounce can full-fat coconut milk OR 2 cups almond milk or other non-dairy milk
- 4 tablespoons raw cacao powder
- 1 tablespoon arrowroot powder
- 1 tablespoon coconut syrup or other natural sweetener, or to taste
- 1/2 teaspoon pure vanilla extract
- 1/8 teaspoon sea salt
In a sauce pan, whisk together all ingredients while heating over medium heat. Whisk and cook until thickened, about 5 minutes. Remove from heat and allow to cool for at least 5 minutes. Pour into popsicle molds and freeze for at least 4 hours or overnight.
THM Notes:
- Arrowroot is not on plan so choose the gelatin thickening option instead.
- Use either pure stevia extract to sweeten or a blend of erythritol or xylitol and stevia. If using a blend, heat a small portion of the mixture and dissolve the sweetener in it before adding back to the mixture and pouring into your pop molds.
- Feel free to add some MCT oil to the nut milk-based version if you like.
- Homemade nut milks tend to be higher in fat unless you use more water. Since it's difficult to determine how much fat is in your homemade almond milk, it may be best to err on the side of caution and consider your fudge pop a THM:S.
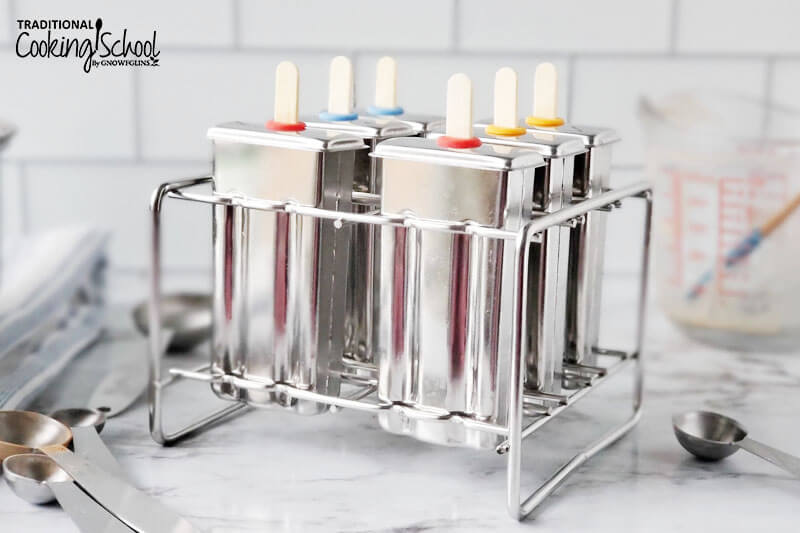
Here are the popsicle molds I used.
What’s your favorite frozen summer treat? Will you try the fun flavor variations mentioned above or stick to the classic recipe? We hope you enjoy this easy, nourishing, and family-friendly dairy-free summer treat!
Looking for More Frozen Treats?
- Probiotic Mint Chocolate Chip Popsicles
- 40+ Dairy-Free Popsicles to Beat the Summer Heat
- Probiotic Watermelon Strawberry Fruit Sorbet
- THM:S Stevia-Sweetened Blackberry Cheesecake Ice Cream {with a dairy-free option, too!}
- No-Churn Mango Turmeric Ice Cream (Dairy-Free & Paleo)
- 40 Deliciously Dairy Free Ice Cream Recipes (THM options!)
- 100+ Cold Desserts For Summer (Paleo, GAPS, Keto options)
We only recommend products and services we wholeheartedly endorse. This post may contain special links through which we earn a small commission if you make a purchase (though your price is the same).


Can I use a Xylitol or Stevia maple syrup and/or chocolate syrup instead of the coconut syrup?.
Any suggestions to those with dairy and nut allergies?
Excellent post