If you got a new Instant Pot for Christmas and it’s still in the box, you’re not alone! Using your Instant Pot for the first time can be intimidating, but it doesn’t have to be. Let me walk through how to use your Instant Pot, including Instant Pot instructions and the best thing to make first when you’re just getting started.
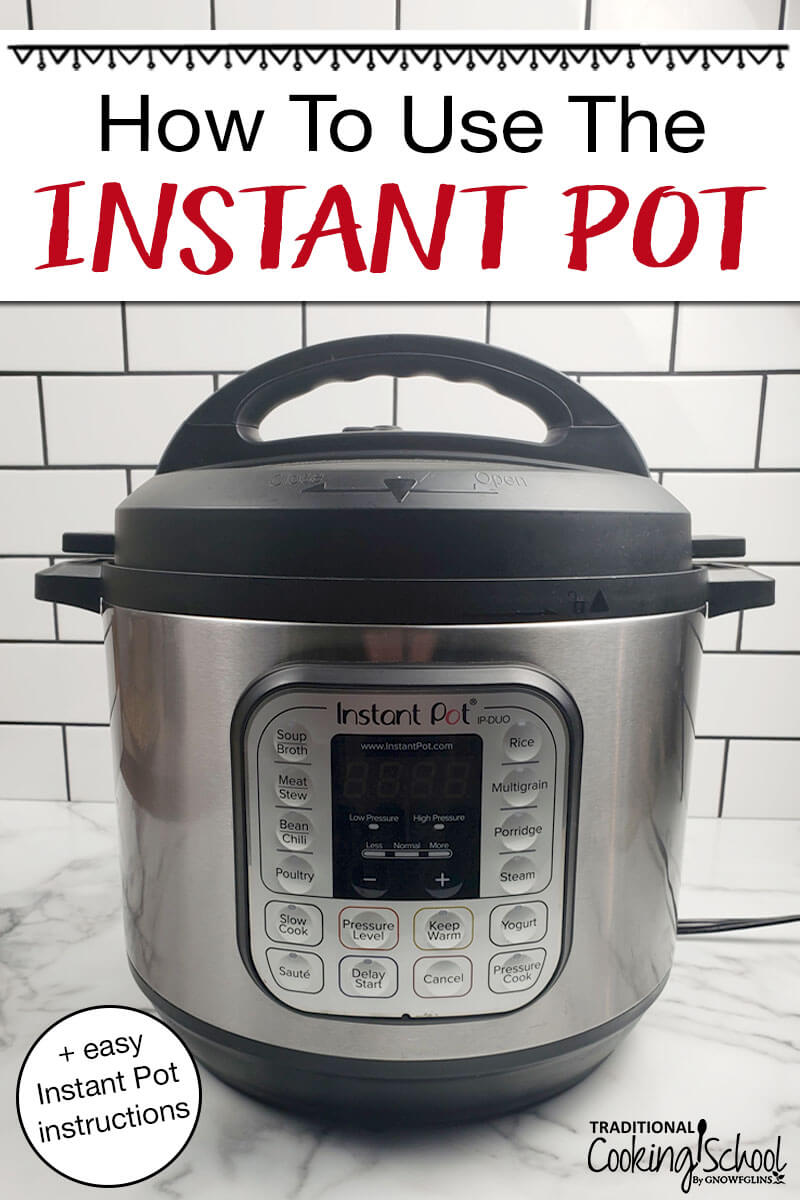
So your Instant Pot is still in the box… Maybe you purchased it on Black Friday or got it for Christmas and you just don’t know where to start.
Perhaps you’re scared of an explosion (trust me, you really shouldn’t worry about this!). Maybe you’re feeling overwhelmed by the vast amount of information out there, or perhaps you just don’t have enough time to learn how to use it.
It doesn’t matter that everyone says it’s so easy and fast. Right now, it’s not fast for you because you have no clue how to use it.
Can you relate? (I can, too, because it took me at least a month to unbox my first one!)
I feel strongly about sharing how to use the Instant Pot to help you get over the hump so you can actually use (and feeling comfortable using) your Instant Pot.
Here are 3 tips that will help you get it out of the box and use it — conquer it! I think you’ll find there are so many reasons to love pressure cooking.
Table Of Contents
Just The Basics Of Pressure Cooking
For now, we’re ignoring all the must-have Instant Pot accessories. Yet bookmark that page for when you’re ready because there are definitely some accessories I recommend, and certainly a LOT of accessories that aren’t needed!
We’ll also save which Instant Pot is best until later (do read that article if you haven’t purchased one yet, because I’ll help you choose one that’s right for your family)…
…and all the delicious Instant Pot desserts you’re sure to want to make (again, bookmark these, along with these IP dessert resources, for when you’re ready… at the moment they’ll just be too intimidating!).
If you do these 3 things, you’ll be off to the races. No more fear, no more overwhelm, no more wondering if you have time (you do). I promise. 🙂
I broadcast #AskWardee live each Wednesday at 10am Pacific (1pm Eastern) on Periscope and Facebook Live. Both the podcast and video replay of this week’s show are below. Enjoy!
Subscribe to #AskWardee on iTunes, Stitcher, YouTube, or the Podcasts app.
Wondering How To Use An Instant Pot?
Judy B. asks:
I ordered an Instant Pot over Black Friday and I’m embarrassed to say… it’s still in the box! I’m scared of it. Also life is so crazy I don’t think I have the time to learn how to use it. Can you help me get over the hump, so I can actually start using it and benefiting from it like everyone else is? Thanks so much, Wardee!
A few days after we moved into one of our past homes, our new neighbor arrived with a plate of cookies. A few days later, I popped over to her house, and guess what I saw in the corner of the dining room?
Yep, you guessed it… an Instant Pot still in the box.
She had bought it months before!
I can’t fault her because… my Instant Pot? It took me at least a month to open it up and use it.
All those buttons! Which one do you push? What if the pressure cooker explodes? What if the food doesn’t turn out? How do you find the time to read the instruction manual and learn more about it?
Forget all those questions. (Though I do want to assure you, the Instant Pot is completely safe and won’t explode. It comes with safety features to prevent this.)
What Is An Instant Pot?
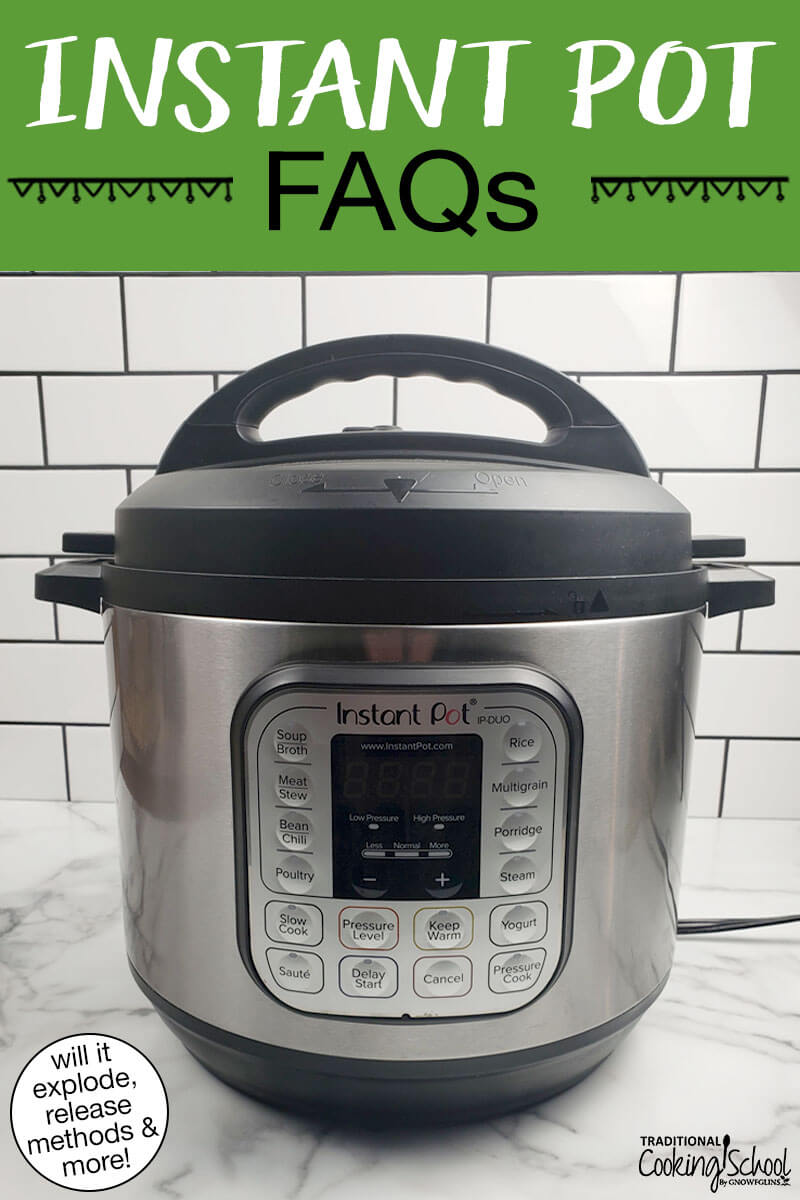
In short, an Instant Pot is an electric pressure cooker.
The Instant Pot (formerly called “InstaPot”) is a brand name. There are many different brands of electric pressure cookers, but “Instant Pot” has become a household name.
An Instant Pot has all the features of a pressure cooker, slow cooker, yogurt maker, sauté pot, steamer, rice cooker, and warmer all in one device. It can warm, cook, steam, sauté, simmer, sear, bake, and so much more!
How Does An Instant Pot Work?
Because of the lid, sealing ring, and valve, the pressure cooker creates a higher temperature environment which allows food to cook faster than in a pot, on the stove-top, or in the oven.
You’ll be amazed at the quality of food that comes from your Instant Pot (as long as you’re following a well-tested recipe).
We’ve eaten amazing homemade Instant Pot yogurt, delicious fall-apart Instant Pot lamb roast, super simple and quick Instant Pot chili, and even incredible desserts like Instant Pot New York cheesecake!
Thanks to the MANY safety features of newer pressure cookers, they are extremely easy and safe to use.
Instant Pot Parts and Accessories
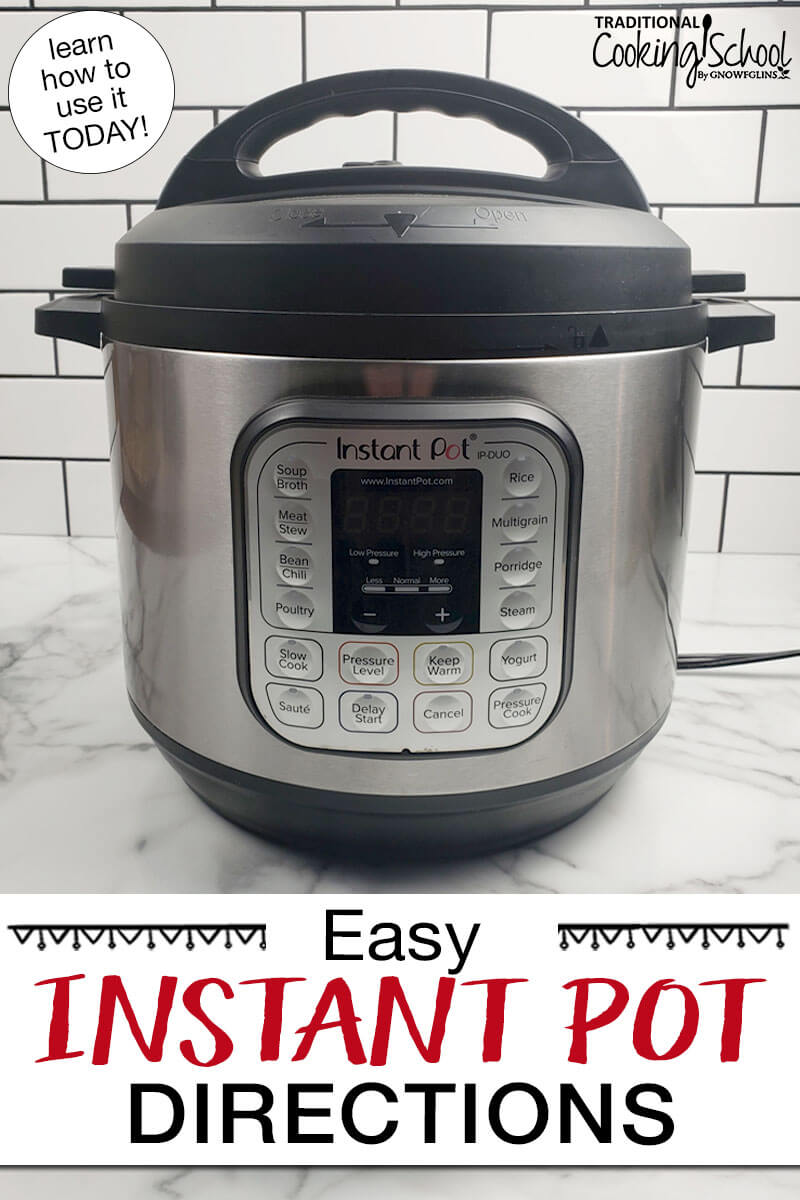
Truly, the Instant Pot comes with everything needed to get started.
In fact, we think these are the only five Instant Pot accessories worth buying! But you can get to those later, first things first!
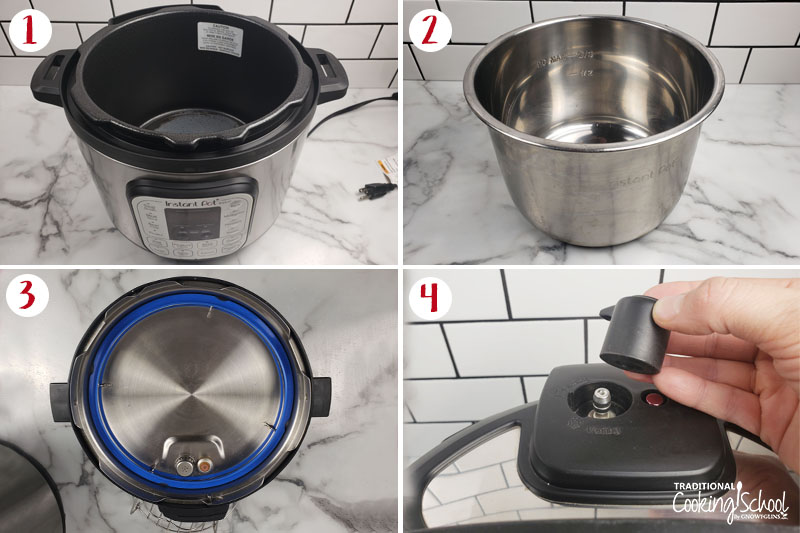
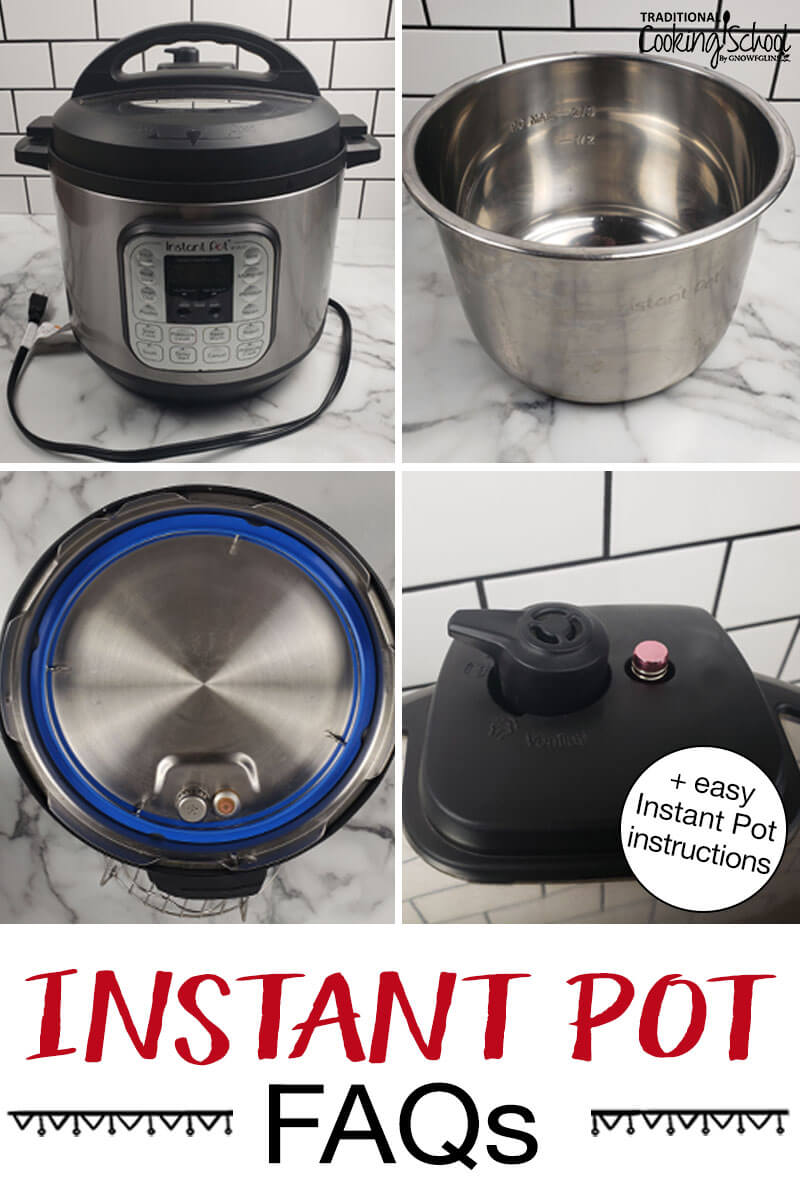
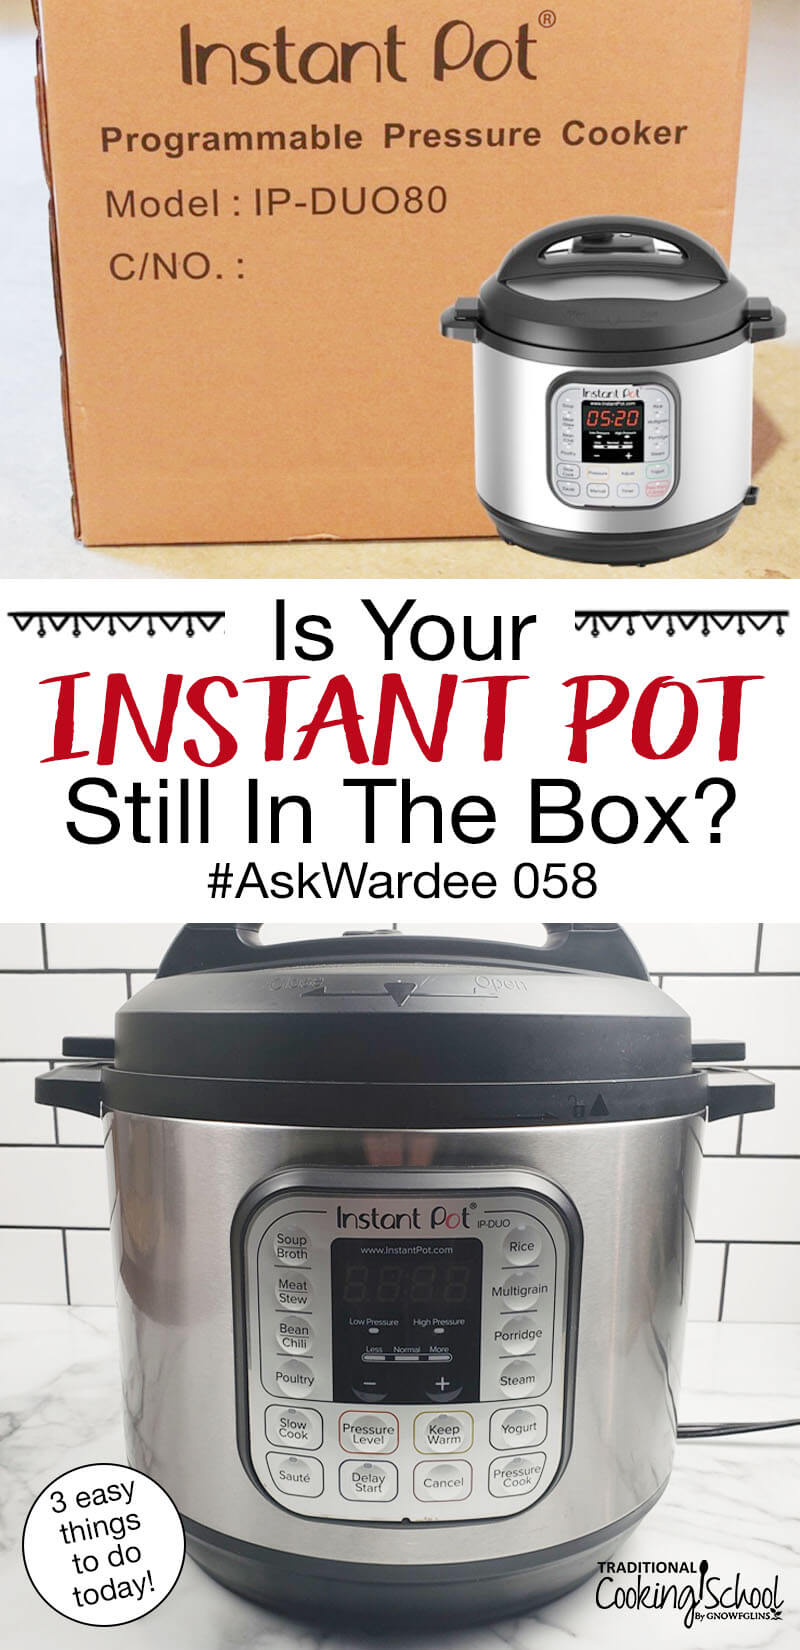
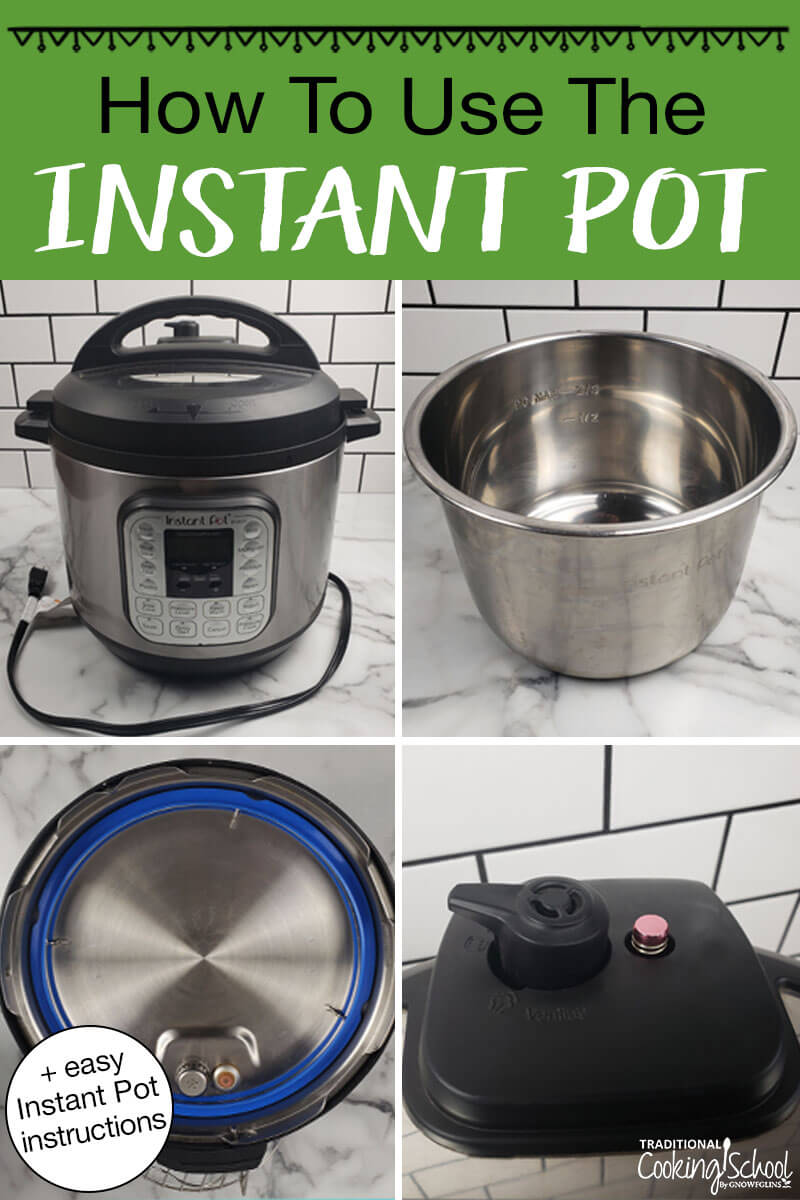
1. Base Unit – Inside the base unit is the heating element. Keep this part clean and dry. To know how to keep your Instant Pot clean, check out my post on how to naturally and easily clean your Instant Pot.
2. Stainless Steel Insert Pot – This pot is what you’ll cook in and it fits into the base unit. Because I like to make raw milk yogurt in the Instant Pot (which requires setting up for 24 hours), I actually recommend buying a second insert pot if you find you use your IP as much as I do.
3. Lid & Sealing Ring – The lid of the Instant Pot fits snugly onto the base unit and will make a pretty little musical sound when it’s been sealed correctly. One of the downfalls to the Instant Pot is that the sealing ring can tend to take on the scent of whatever you last cooked in your IP. So if you’ve cooked Instant Pot honey garlic chicken, then you want to make Instant Pot rice pudding, you may want to have a separate seal to swap out so there are no mingling flavors.
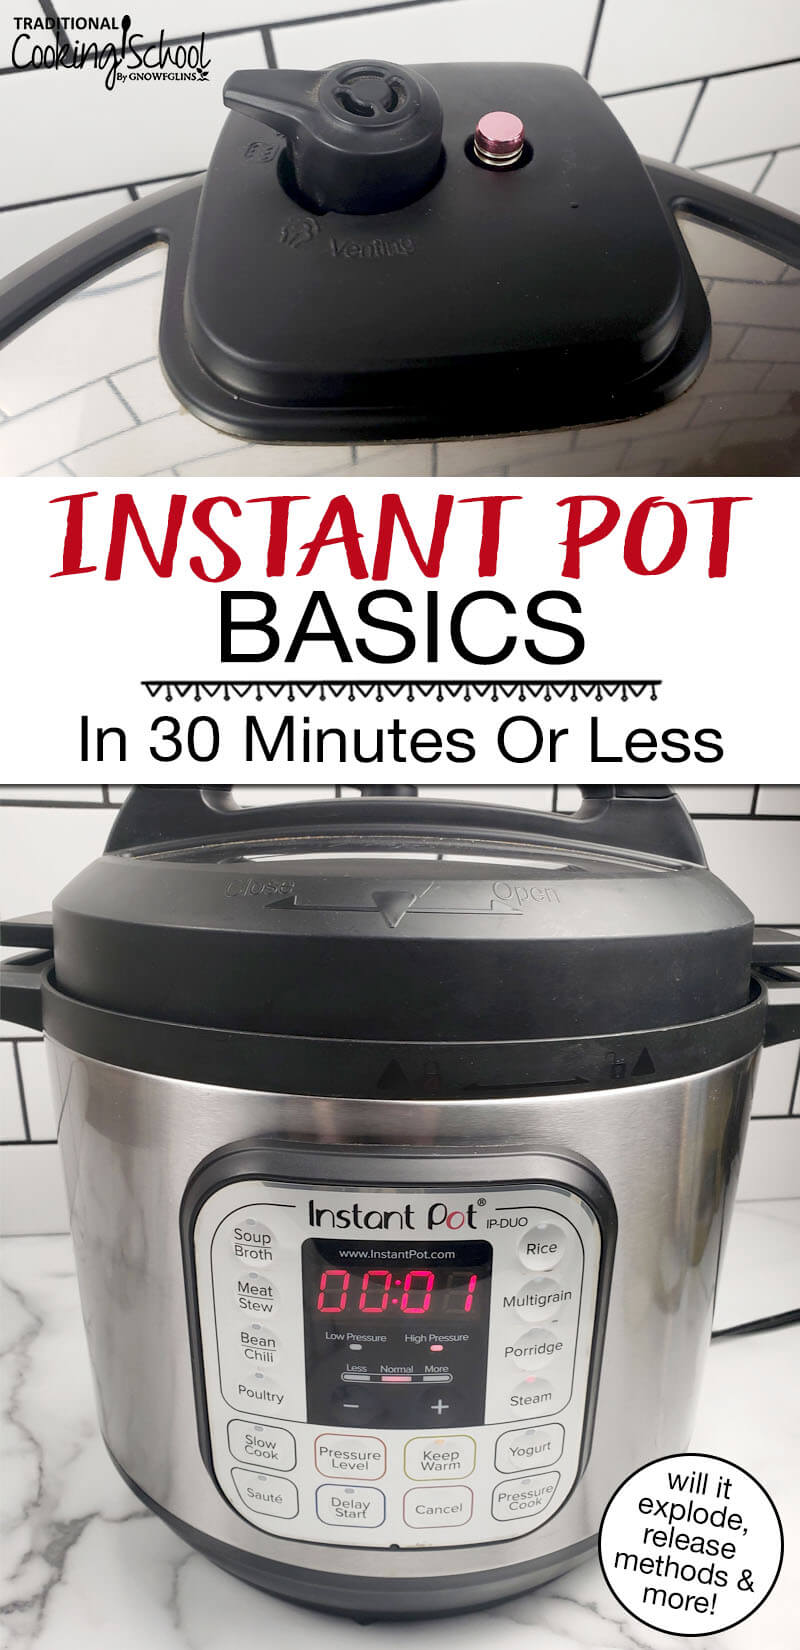
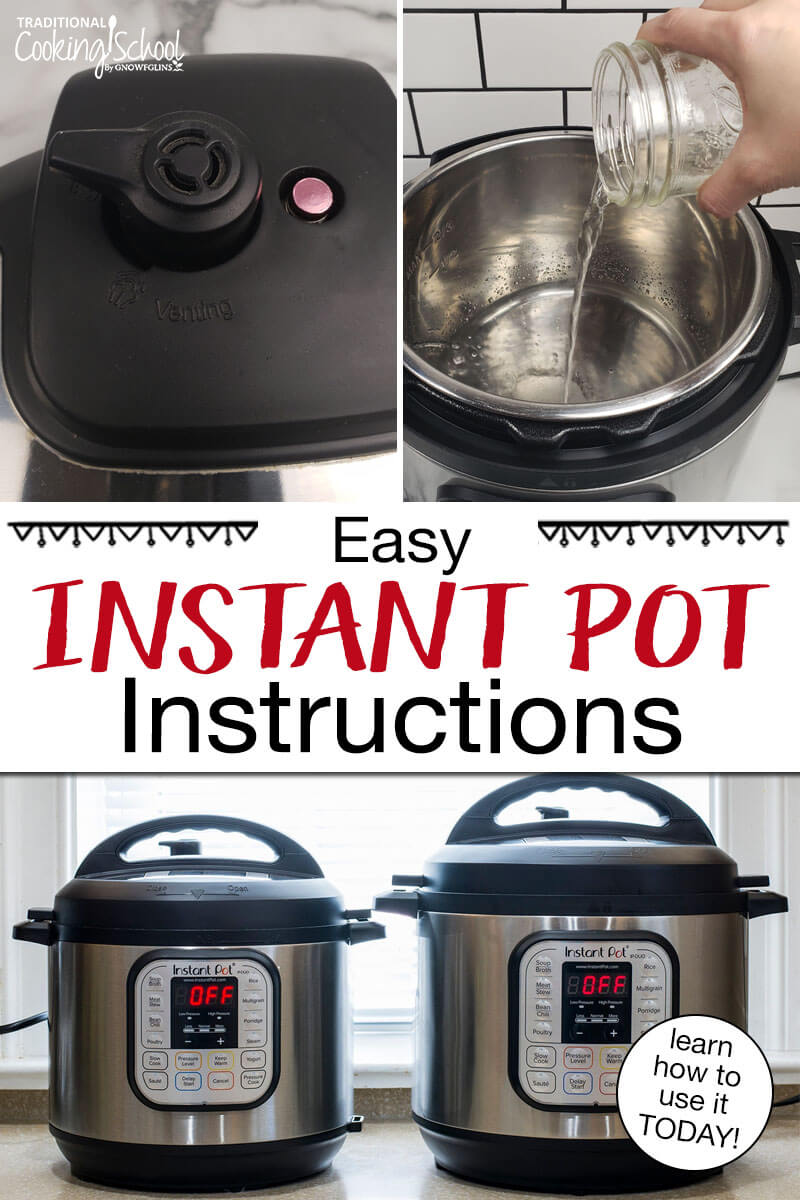
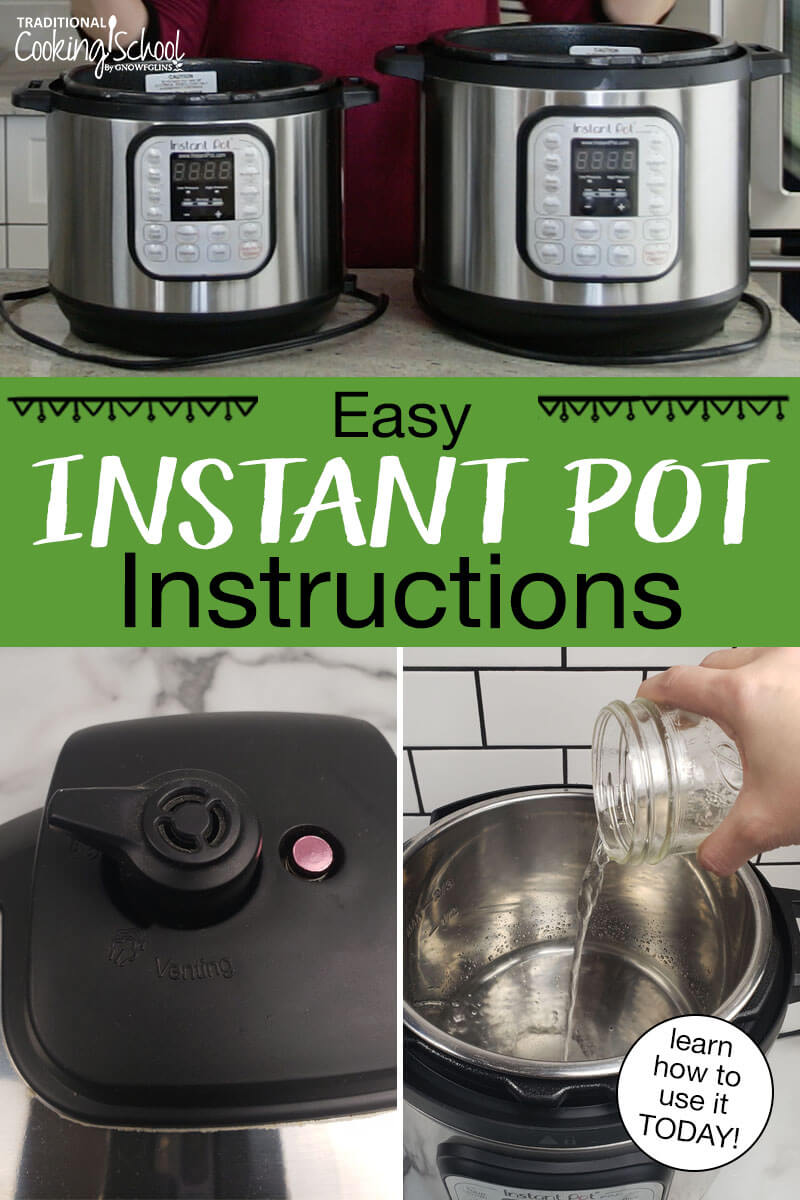
4. Steam Release Valve – The steam release valve is important to familiarize yourself with. There is a “sealing” position and a “venting” position. EVERY time you start cooking, you’ll want to be sure your valve is in the correct “sealing” position. If you forget to close the valve, your Instant Pot may not build the correct amount of pressure to properly cook your food. Thankfully, there’s nothing to fear if it’s forgotten, as you’ll just have excess steam that comes out and your food may burn. But there is truly no danger in forgetting (but we dislike wasted food, so we figured we’d make a point!).
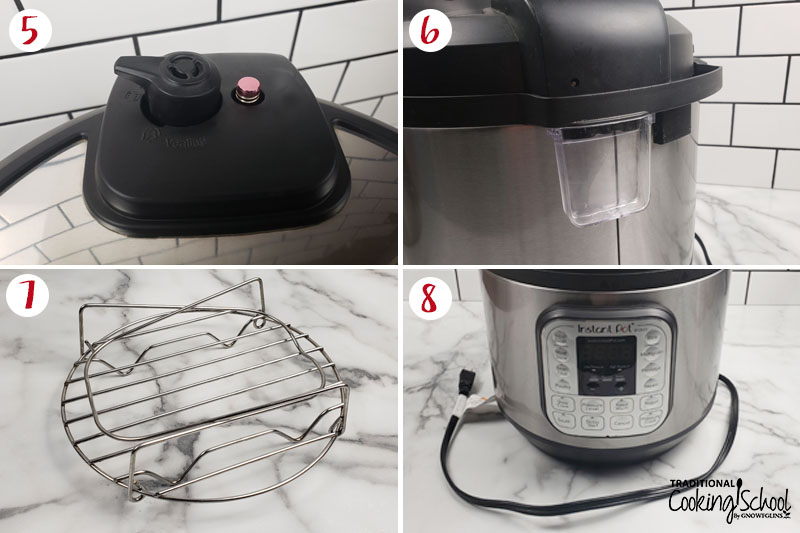
5. Pressure Valve – The pressure valve is an important indicator to let you know when the Instant Pot is under high pressure. When this little button pops up, it’s imperative that you don’t remove the lid. Wait until the valve is down and there is no more steam coming out of the steam release valve before opening the lid.
6. Condensation Collector – When making foods that require a lot of liquid, sometimes excess steam builds up around the sealing ring. The condensation collector is very handy to keep from having a puddle of liquid on your countertop. This little cup simply slides out for easy cleaning.
7. Trivet – The trivet is the little circular rack that came with your Instant Pot. This tool is handy for cooking foods that you don’t want to sit at the bottom of the insert pot. When cooking an Instant Pot zucchini cake, for example, it’s very handy for setting into the bottom of the insert pot.
8. Power Cord – No real explanation necessary here! But important to note that without it, your Instant Pot won’t work! In some models, the power cord is removable, which makes storing easier! 😉

Instant Pot Safety Instructions
I’m sure you’ve heard all the horror stories of pressure cookers blowing up in people’s kitchens. Take heart, the Instant Pot has so many built in safety features, you’d almost need to TRY to blow it up in order to have a serious accident.
But there are two important safety features worth mentioning and that is the steam valve and the lid when under pressure.
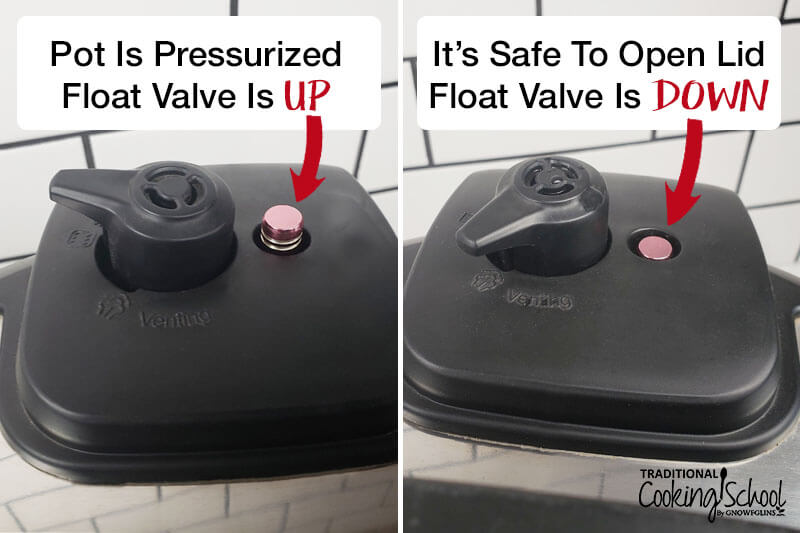
- When releasing the steam valve, it’s important to understand that this is hot steam that’s under pressure. When you flip the valve, steam will come rushing out. Depending on what you’re cooking, sometimes hot liquid will spurt out with the steam. NEVER hold your face or hand over the valve when releasing. We always recommend using a potholder or a long kitchen utensil so you can safely release the valve without getting too close.
- Second, never try to remove the lid when the Instant Pot is still under pressure. To know for sure if your Instant Pot has completely released all pressure, check that the pressure valve is down and that the steam release valve is set to “venting” and no more steam is escaping.
Instead of getting overwhelmed by what-ifs, let’s instead focus on learning how to use the Instant Pot. Once you get used to its features, it won’t be so scary or unknown!
This will take just 30 minutes, tops. Surely you can find 30 minutes for these three things.
If you already spend time cooking, you have time for this. Plus you’re going to save time down the road, so it’s worth it.
Right now you need to ignore the overwhelming amount of buttons and features on the Instant Pot. It can get overwhelming so quickly with yogurt, beans/rice, slow cooker, sauté, etc., that you won’t know where to start.
Below we’re going to focus on THREE basic buttons that will give you a wealth of information about pressure cooking.
And if you’ve heard terms like “quick release”, “natural release”, “release methods”, “steam release valve”, and “building pressure”, we’ll get there eventually.
To start, you don’t need all this information! It can truly feel like learning a new language!
1. Instant Pot Setup
Look… nothing’s going to change if your Instant Pot doesn’t get freed from the box.
You can’t use it if you don’t open it. So the first thing to do is to unpack it!
After you pull out the pressure cooker and all its parts, put the box in storage (if you keep appliance boxes as we do). Wash the lid/silicone ring (the silicone ring is removable with a little finesse), stainless steel insert pot, and condensation cup with warm soapy water.
Re-assemble the silicone ring in the designated spot in the lid, place the stainless steel insert pot back into the base, replace the condensation cup, and put the lid back on.
Now find a spot on the kitchen counter.
If you need to take a day to get used to its presence in your kitchen… that’s fine. You can use this time to read the instruction manual!
Otherwise, let’s move on…
2. Run An Instant Pot Water Test
The very first thing you’re going to do is to run a water test with just a few cups of water. Yeah, yeah, it sounds boring.
You’re going to use your fancy-schmancy Instant Pot to boil water? Yes, but this is going to help you a ton.
First, it will clean the machine and help you test it to make sure the lid seals properly and all functions are working correctly.
And, without having to prep any food at all, you’re going to actually use it for the first time to see how it operates. With no fear of ruining your dinner!
How to do a water test:
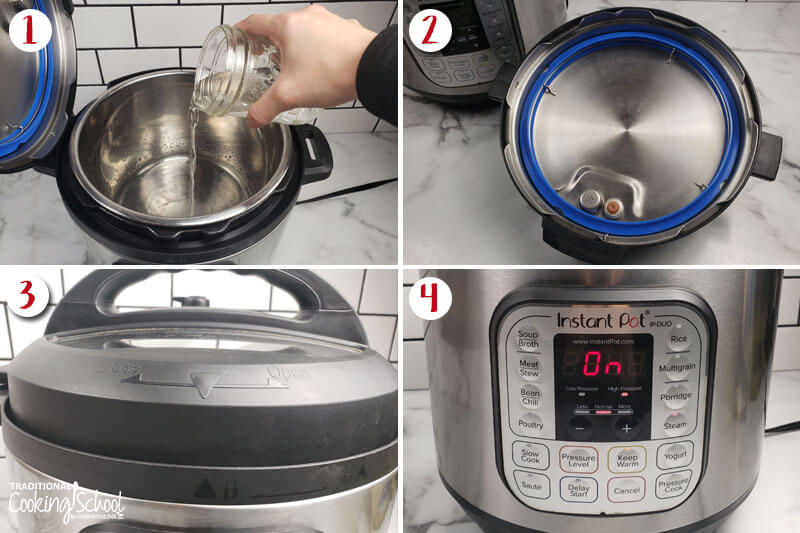
1. Put 2 to 3 cups of water in the stainless steel insert pot.
2. Make sure the silicone ring is tucked well into the lid, the valves are clear, and the condensation cup is in place on the back.
3. Put the lid in place, lock it, and turn the knob to the “Sealing” position.
4. Press the “Steam” button.
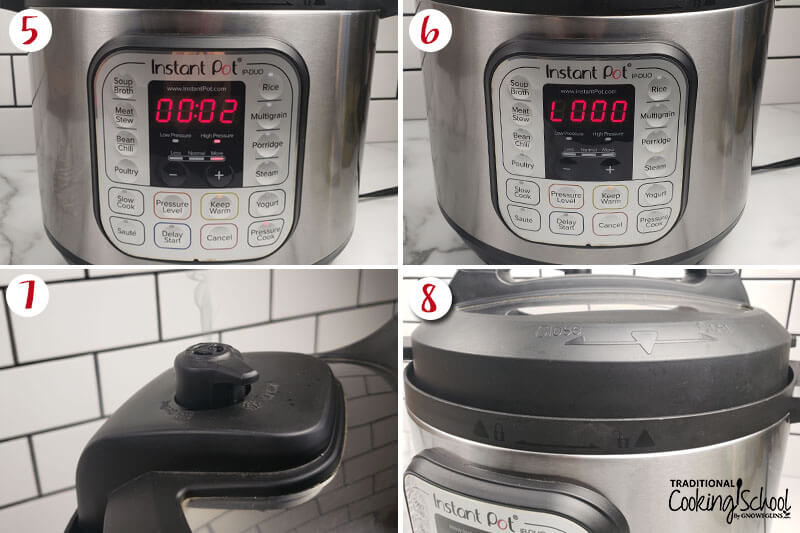
5. Press the (-) button to adjust the time down to 2 minutes.
6. Sit back, wait, and observe…
7. Do a quick pressure release.
8. Open the lid.
What happens during a water test?
The Instant Pot DUO manual describes it well:
“In 10 seconds, your Instant Pot will go into the preheating cycle (display showing “On”). Within a few minutes, steam will release for a minute or two until the Float Valve pops up to seal the cooker. Once working pressure is reached, which may take a few minutes or up to 10-13 minutes, the countdown timer will begin. When the countdown is finished, the Instant Pot will beep and automatically switch into the “Keep Warm” mode. The test is now complete. Press the “Keep-Warm/Cancel” button and/or unplug the unit.”
What to watch for during the water test:
- Does it reach pressure (the float valve pops up)?
- When it reaches pressure, does the display change from ON to 2 and then 1 (as it counts down the 2-minute cycle)?
- Does it automatically switch to “Keep Warm” mode?
If so, you’re good to go! It’s time to cook something!
3. Using The Instant Pot
The best first thing to make in the Instant Pot should be simple, simple, simple. You need confidence!
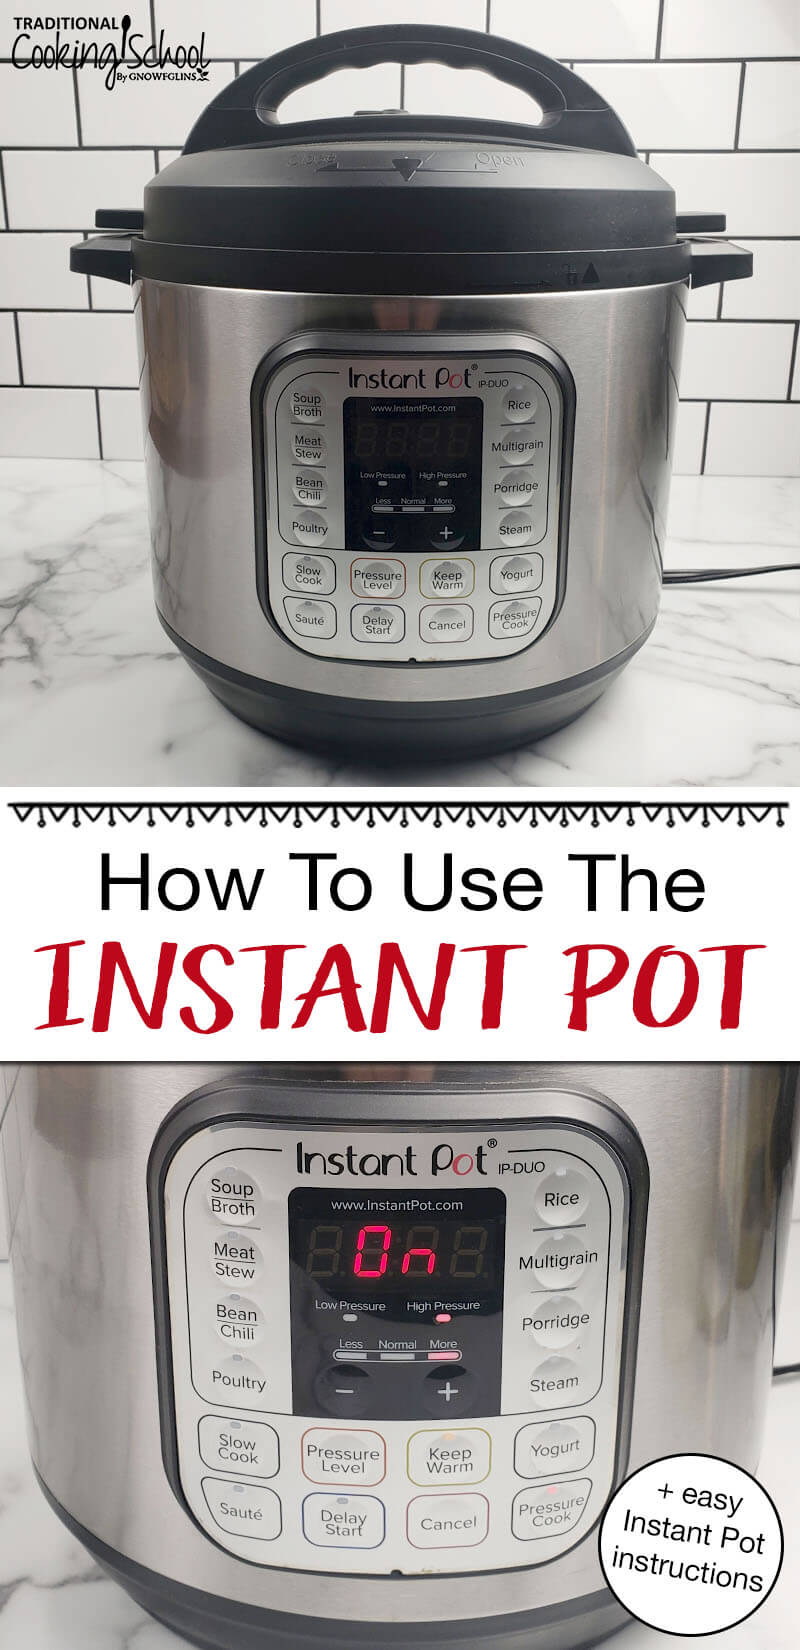
What I mean by “simple” is that I’m telling you to ignore most of the buttons on the machine — all you need are three buttons:
- The “Manual” or “Pressure Cook” button (depending on your Instant Pot model), which defaults to high pressure.
- The “+/-” buttons to adjust the time.
- And “Cancel” to turn it off.
I suggest cooking hard-boiled eggs in the Instant Pot as a first recipe. (You can go to that recipe for detailed instructions, or read my simplified method below.)
Instant Pot Hard-Boiled Eggs
- Put one cup of water in the bottom of the pressure cooker, along with the trivet that comes with your Instant Pot (or a steamer basket, as pictured above).
- Stack fresh, raw eggs on the trivet or in a steamer basket. (This steamer basket allows me to cook up to 18 eggs at a time!)
- Put the lid on the pressure cooker and check that all the parts and seal are in good condition and the sealing valve is in the sealing position.
- Hit the “Manual” or “Pressure Cook” button. It will default to HIGH pressure. Use the “+/-” buttons to adjust the number displayed to 5 (for 5 minutes).
- Now it will do its thing… just sit back and observe.
- When it beeps, leave it alone for another 5 minutes. Keep watch on the timer; it will count the 5 minutes for you. This is the “Keep Warm” setting.
- Release pressure manually by switching the sealing valve to the venting position (this is referred to as a “quick release”).
- Remove the eggs with tongs and immediately plunge them in cold or ice water to cool down fast.
- Peel and eat. Or refrigerate for later.
See how easy it was to use your Instant Pot for the first time? You did it!
More Instant Pot Instructions
You just got your feet wet, didn’t you? That’s a good thing!
You got the Instant Pot out of the box, you tested it, and then you made easy-to-peel hard-boiled eggs! Way to go!
Now that you’ve experienced it for yourself, you know for real that it’s not scary and that you no longer need to find extra time to use it. Use your normal cooking time from here on out.
You probably want more recipes, though, right?
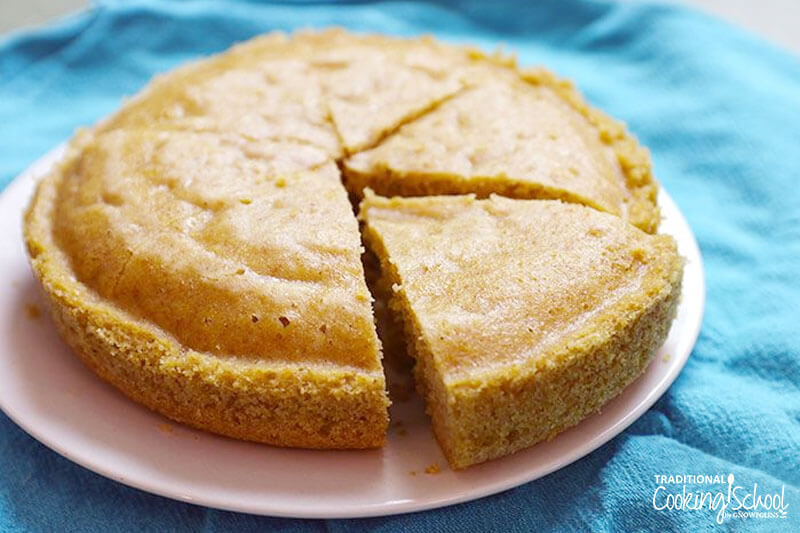
Click for a free Instant Pot (or any pressure cooker) sourdough cornbread recipe.
Also, check out my Pressure Cooking eBook & Video Package which includes dozens of recipes and 5 Master Class Videos.
And there’s also the Instant Pot / Pressure Cooking category of recipes right here on this blog.
Helpful Links
- Instant Pot
- Steamer basket
- Pressure Cooking eBook & Video Package
- Free Instant Pot Cornbread Recipe
- Our Instant Pot / Pressure Cooking recipes
More Helpful Instant Pot Articles
- How To Clean Your Instant Pot — Naturally & Easily! #AskWardee 087
- 100+ Amazing, Easy & Healthy Pressure Cooker Recipes (Instant Pot, too!)
- Is Pressure Cooking Healthy? #AskWardee 019
- Which Instant Pot Should I Buy? Which Size And Model Is Best For My Family? #AskWardee 048
- Is The 8 Quart Instant Pot Ever Too Big? #AskWardee 126
- How Do I Reheat Food In The Instant Pot? #AskWardee 047
- How To Reheat Frozen Food In The Instant Pot {Instant Pot Freezer Meals} #AskWardee 079
- How To Convert Slow Cooker Recipes To The Instant Pot #056
- 11 Surprising Things You Can Make In The Instant Pot
Is your Instant Pot still in the box, unopened? Post below if you’re committed to doing these 3 things to finally begin using it! What would you say is the best first thing to make in the Instant Pot?
This post was originally published and written by Wardee Harmon on 1/18/17. It was updated and republished on 1/27/21.
...without giving up the foods you love or spending all day in the kitchen!

2 free books:
Eat God's Way
Ditch the Standard American Diet, get healthier & happier, and save money on groceries...
We only recommend products and services we wholeheartedly endorse. This post may contain special links through which we earn a small commission if you make a purchase (though your price is the same).


The son of the lady that I care for gave me some funds for Christmas–extremely welcome, unexpected and enabled me to buy an IP!! I opened the box the instant it arrived and by the next day, I made some bone broth, the biggest reason I wanted the IP. When money is hard to come by, I wouldn’t have the “luxury” of letting the IP sit in the box. 🙂 The second thing I made was a pot roast…mmmmmm good!
Ellen ~ Wow, what a blessing! And what motivation to get it going and cooking with it. Good for you! Enjoy the journey!
When this post came to my email, I thought, “How did Wardeh know?” ? Well, I did it. I followed and did her three steps from this post, and you know what? She’s right! It does seem easier and I do feel ready to conquer new recipes! I don’t feel ready to make up my own ideas of how to use it yet, but I am eager to try some other things now. Thank you, Wardeh, so much for helping me!
Karin ~ Yay, good for you! I’m so excited for you!
I AM SO EXCITED!!!!! Sorry for shouting! I have had my IP since Sept 2016 and have been afraid to use it. Last December a Facebook friend and former neighbor encouraged me to use it…she loves hers! So, as a new year’s resolution, I planned to get it out of the box and start using it! I fulfilled the first half…out of the box…by the end of January, got it all washed and ready to use. Life busy-ness and fear still kept me from using it til today. My daughter-in-law asked me to bring potato salad to their 4th of July BBQ, so I followed your video instructions to test it and then made hard boiled eggs…2 dozen. I even completely peeled the first dozen before the second dozen was finished cooking! I AM THRILLED!!! No broken and ugly eggs. I even found directions for cooking the potatoes in the IP. The first 2 1/2 lbs are cooking now. When it was time to vent the IP, I unplugged it and put it out on my deck table so the steam was outside…no hot kitchen from cooking or venting! Did I mention that I AM EXCITED!!! Thank you for your encouraging videos that make trying new ‘tricks’ not so scary for this ‘old dog’!!! Sorry for the long post, but I am thrilled to be moving forward. Now I feel like I can finally take your courses and learn how to really cook…I’ve been a member for 3 years and this is the first thing I have attempted. Courage and confidence to move ahead. Thank you!
Wonderful, Debbie!
I’m so excited for you. 🙂
~Millie, TCS Customer Success Team
I followed this recipe for the eggs and they are not done. I used a glass Pyrex bowl to hold them because I do not own the steamer basket yet. Could that have resulted in the eggs not being done? Is it okay to try and cook them again or should I toss this dozen?
Hi Emily,
Yes, it’s because of the glass. We’re really not sure if you can cook them longer if they’ve cooled, but we certainly would try it… 🙂 If it was immediately after you could just add more time.
~ Millie, TCS Customer Success Team
Great information. Lucky me I ran across your blog by chance (stumbleupon).
I’ve book-marked it for later!
What’s up friends, how is all, and what you desire
to say regarding this article, in my view its genuinely awesome for me.
WOW just what I was searching for. Came here by searching for tilers
It’s hard to find experienced people in this particular subject,
however, you sound like you know what you’re talking
about! Thanks
YES this is sooo me! Except mine has been in the box for….over a year!! I have signed up & started the 14 day Instant Pot Challenge & I’m super excited to finally learn how to use this thing!! Thank you for what you do!! 🙂
I even pressure can carrots and potatoes from the garden and soups for great winter meals–but I’ve had my Instant Pot for over a year, and seem to have a mental block for learning this machine. I’ve read countless articles and the manual and have screwed up almost 100% of meals that require several steps (like saute onions before starting a potato soup, or adding dairy at the end). The few I haven’t screwed up are due to me either cooking part of a meal on the stove or monitoring it 100% of the time). I’ve ended up only using it as a slow cooker. Your tips are valuable and you write well, so it’s not the teaching. Do others have this issue and do you have a suggestion?