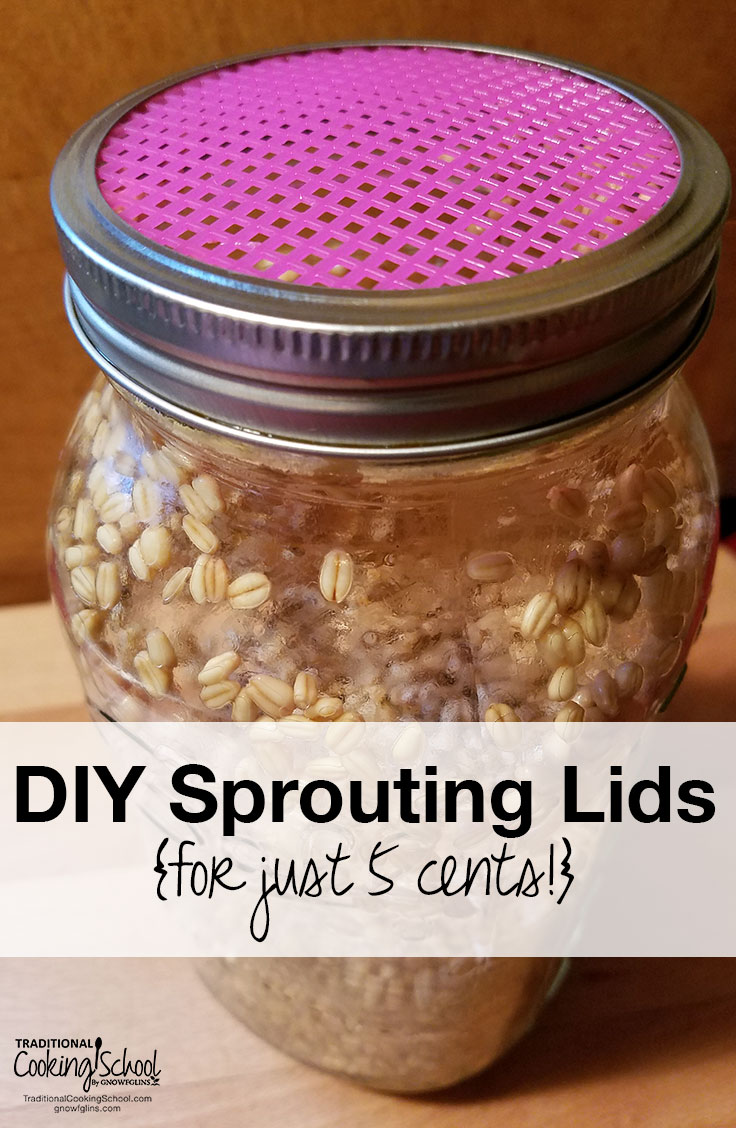
Sprouting… it’s definitely a thing here at Traditional Cooking School.
Sprouting is one of the ways that we make seeds (whether grains, beans, nuts, or seeds) more nutritious and digestible. It’s also an amazing process for kids to get involved in. And makes pretty yummy foods, too!
To sprout… a sprout screen is helpful. (It goes on the top of your jar and helps you rinse and drain the sprouts easily and quickly.)
A sprout screen will run you about $7 and some change. (The ones we recommend are here on Amazon.)
Let’s say you wanted to have 4 jars of sprouts going at the same time. You’re looking at needing $28 for the screens.
No, it’s not a ton of money. And granted, it’s an investment that will last you a long time.
But maybe $28 is your entire discretionary amount for the month.
Or maybe instead of buying factory farm chickens, that $28 could get you a pastured chicken instead.
$28 is still $28.
And to Morgen, Traditional Cooking School member, $28 was more than she wanted to spend.
So she came up with DIY sprouting lids that cost her 5 cents each!
When she posted about her crafty solution in our private members-only Facebook group, I immediately asked her if we could share the tutorial on our blog. She said yes! Thank you, Morgen.
Before we dive into the tutorial, let’s hear about the DIY sprouting lids right from Morgen. She wrote:
So, I wanted to do some sprouting to make my kitchen processes more efficient and so I wouldn’t have to do so much overnight soaking. Well, I couldn’t afford the sprouting screens and the sprouting lids, so I gave myself a few days to figure out a way to get it done. This is what I came up with, and I got myself $.05 sprouting lids. The way I see it, there are enough things that you have to pay the money for but there are also many others that can be made at home so much more affordably. Sure beats spending $7.72 apiece!
We agree! It’s a great savings and definitely worth doing! Thanks for letting us share your tutorial, Morgen.
And now… Here’s how to make your own DIY sprouting lids for just 5 cents each!
Step 1 — Buy Canvas
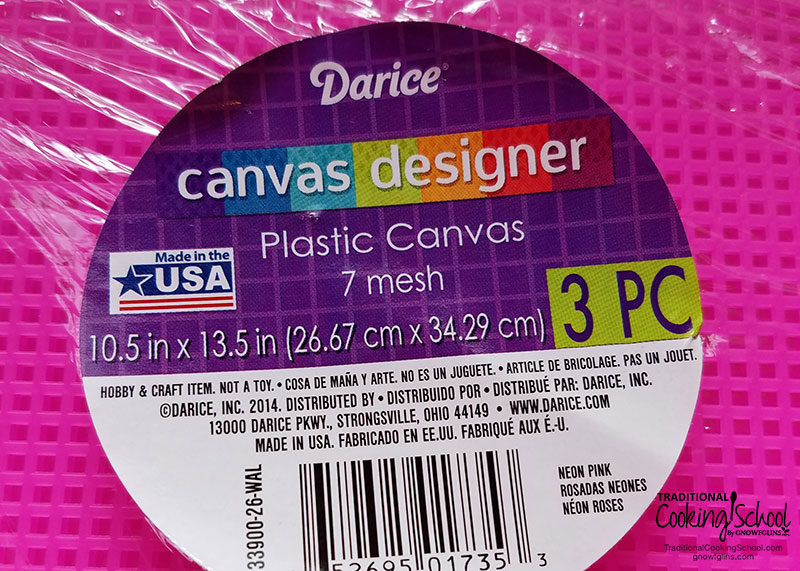
Morgen says she purchased a 3-pack of plastic canvas in the craft section at Walmart for $1.99.
Step 2 — Find Jars & Lids
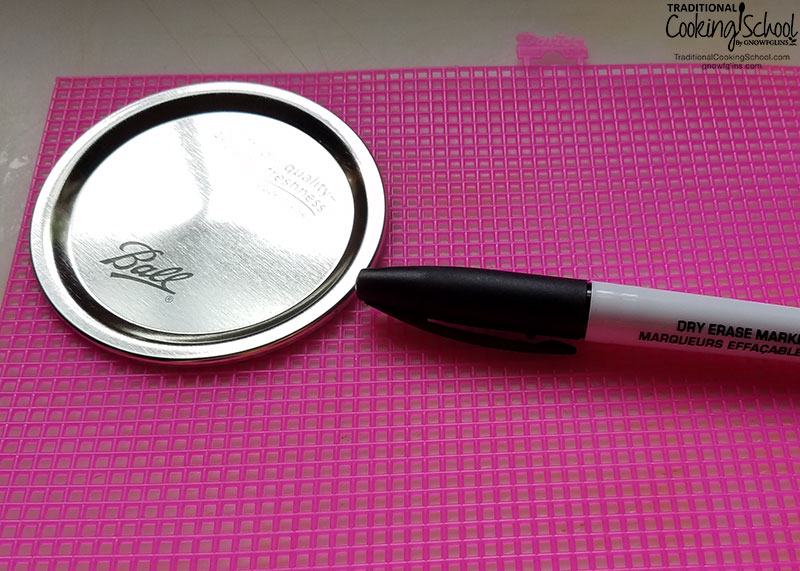
Find a canning lid the size that fits the jars you want to use for sprouting. You can use wide-mouth or regular-mouth jars and lids. We recommend wide-mouth for ease of getting sprouts in and out of your jars.
Step 3 — Trace
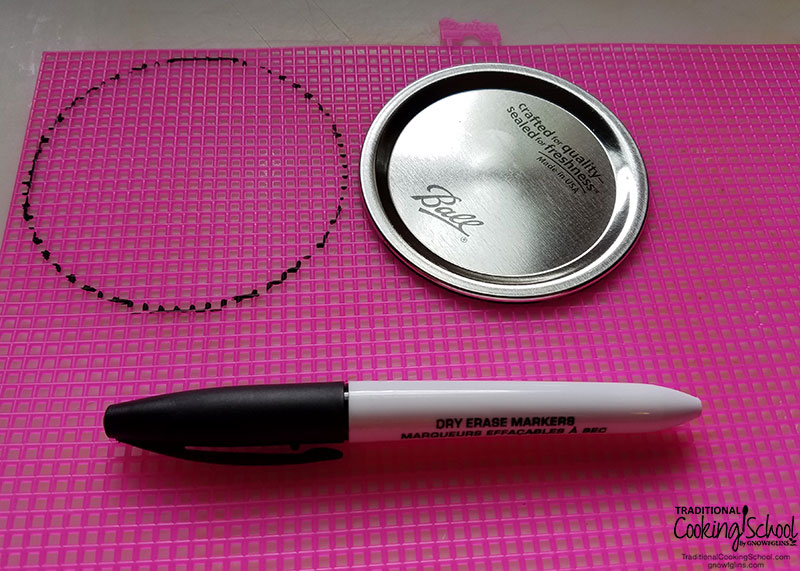
Place the jar lid (not the ring) onto the plastic canvas and trace around it with a dry erase marker (so it will easily wash off). Fit as many as you can or need on the plastic canvas piece(s).
Step 4 — Cut
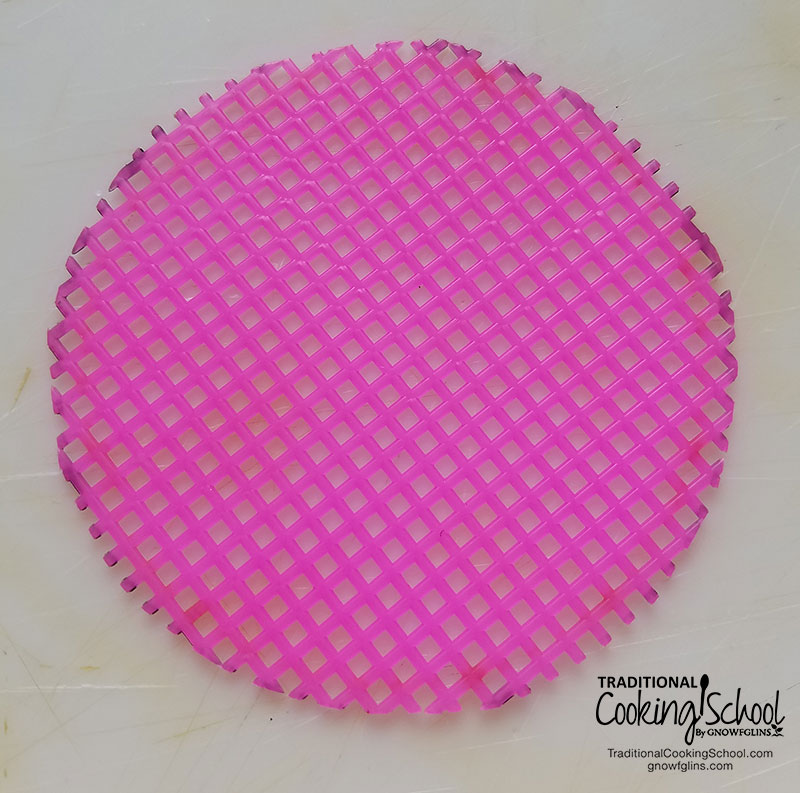
Cut around the circles you traced.
Step 5 — Sprout!
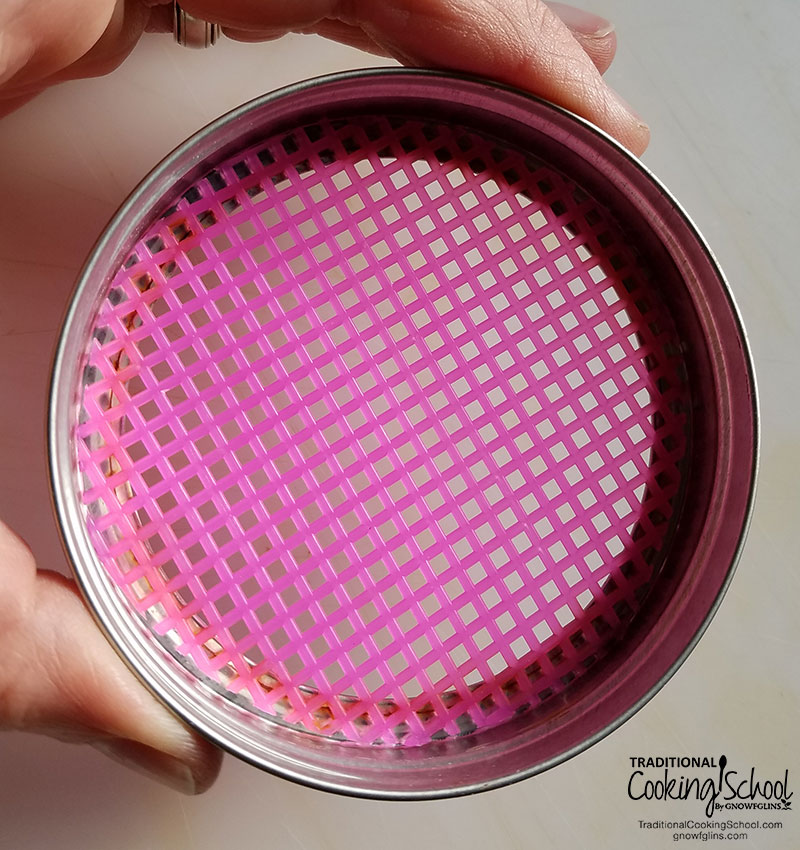
Place the plastic canvas circles inside the rings for the jars you are using. You are ready to sprout!
Now, About That Plastic…
Some may chafe at the thought of using plastic as your sprout screen. Here’s our reasoning that makes this an ok compromise:
- the food doesn’t come into contact with the plastic except when rinsing
- the cost savings could be significant for a family that otherwise would not be sprouting at all
Of course, make your own choice. Purchase the ready-to-go sprout screens if you’d like. It’s all good. 🙂
Tutorial: How To Sprout Beans
Here’s my tutorial on how to sprout beans. You can use your new sprout lids with half gallon jars. 🙂
What do you think of Morgen’s DIY Sprouting Lids? Will you be making some for yourself?
We only recommend products and services we wholeheartedly endorse. This post may contain special links through which we earn a small commission if you make a purchase (though your price is the same).


Thanks for sharing! I can get that done this weekend and not have to wait on shipping!!
Just another thought, dehydrator perforated sheets would be a better choice to cut out a bunch of perforated lids. I just did a search and you can get 10 full sheets for about 12 dollars. That is still a much better value and is safer.
Hi Barbara where can we get these perforated sheets for the dehydrator?
Hi Yvette. I see you can get 10 “Dehydrator Netting Sheets” for $10.55 on eBay….with free shipping….yay!
I know ppl who use screening for windows, so thats aluminum. Hey, plastics better than that! Lol
NOW, find your plastic mesh at a yard sale or a goodwill! 3 pkgs for 50 cents probably 🙂
I agree. A lot of people (myself included) sometimes over analyze things. I’m pretty sure using aluminum window screen as the lid on a sprout jar won’t have much impact in the grand scheme of things. FWIW some window screen is made of plastic, which I guess to some people is just as bad. It’s what I’m using for my lids though because I have a lot left over from when we re-screened our windows.
THANKS! I KEPT ALL THE PLASTIC CANVAS THAT MY HUSBAND MADE THING WITH WHEN HE DIED. NOW I KNOW WHAT I CAN DO WITH ALL THOSE SMALL PIECES. JOYCE
great idea, wardee. thank you. i’m forced finally to do a bunch of these things that i’ve put off for so long….i’ve had the seeds to sprout for awhile. a detox before and during amalgam removals is spurring me on to get all those superfoods into my diet. i’m always so grateful for the help tcs is in so many ways…i keep discovering more and more of the wealth of ideas and information and consider it rather astounding that you have so much knowledge and help to offer. i’m so appreciative.
a piece of muslin and an elastic band will do the job too – that’s what my mum used to use! especially if you don’t already have the 2 part jar lids, but have the jam jars that you’ve kept from other uses!
I just use cheesecloth but it get a bit drippy after a rinse. This looks easier.
Great idea!! I use the plastic lids ($7 for 3 different size a at Amazon) and they always get stuck on the jar….I had to pry the lid off with a butter knife today… Crazy!! Your idea is much safer ????Thanks for sharing!
nifty idea! no doubt worth while compared to the sprout lids – i got 3 with varied mesh size years ago; actually they are plastic as well 🙂 but i think they were may be $5 or so for the set.
I love this DYI project and, unlike most others, she mentioned where she bought the supplies. Thanks for that because I really hate getting excited about a project then I have to research where to purchase the materials. Thanks
For tiny seeds, like clover, I use fine mesh tulle. You can either use a rubber band or the canning lid ring.
Hi, where can you find “fine” mesh tulle?”
Tulle is a fabric,so many craft stores & all fabric stores will carry it.Best yet,Tulle itself comes in many types,so you can also buy coarse to fine ,for all your sprouting needs.* – as it IS fabric,keep it clean,as unlike many other cover materials,there’s the possibility of mold if you don’t .
I loved this idea but discovered that the metal in the lid ring doesn’t handle the constant water contact. Right from the start I was getting black puddles around the lid. Really gross. Anyone else experiencing this? Did I miss something?
Stainless Steel Screen. Fits a wide mouth mason jar. The screen does not rust – what rusts is the metal rim that screws onto the jar. The metal rim is made of an alloy that contains metals which rust. Use a little bit of olive oil on the rim to protect the screen from the alloy metals.
I will be using nylon window screen and an elastic band to hold it on the jar. No worries about anything rusting and seeds cannot pass through and will have excellent drainage.
Thank you !!! Feel so silly after I saw your idea, but So very glad you shared it. 😉
can I grow the alfalfa sprout seeds right in the mason jar or do I need to use the Jiffy greenhouse to start the seeds in?
Hi, Judie,
Yes you can grow right in the jar.
~Peggy, TCS Customer Success Team
Genius. I have to go to the ‘devil’s playground ‘ this afternoon. Will be hitting the craft aisle. Thank you.
Are you sure that the needlepoint canvas plastic is BPA safe? I am concerned that this material may be hazardous for consumption purposes. We are sprouting seeds for health reasons so we should also be careful on why we are substituting the mesh in the first place. I do agree the aluminum mesh is expensive, but to substitute it with something not made for consumption is a major red flag in my book. Doing a quick search didn’t give me answers because the needle point canvases weren’t meant to eat from, I’m not finding wether it contains BPA or is safe to consume from. When I can’t find those kind of reports I’d stay clear from it. If you do find a reputable article that states that these canvases are safe to consume from, can you please share the link? Otherwise this is a brilliant project. Thank you!
Hi, Loraine,
I appreciate your concern, I do not know if it is BAP-free. I would highly recommend calling the company. We do feel since it only comes into contact for a brief moment while rinsing we are ok with using it. I understand if you do not feel comfortable with this and you wanted to use something else.
~Peggy, TCS Customer Success Team
There is a mesh frying pan screen at the local Dollar Store to catch pan splatter. I cut that into lid sized screens. Very small holes.
The dollar store also sells strainers that can be cut and pressed into lid sized screens. Drawback is the metal edges.
It works for me and no worry about BPA.
Fantastic idea. Going to try this! Thanks.
I use linen mesh. Linen is naturally anti- bacterial, anti- microbial, anti- fungal etc. …..not to mention washable….