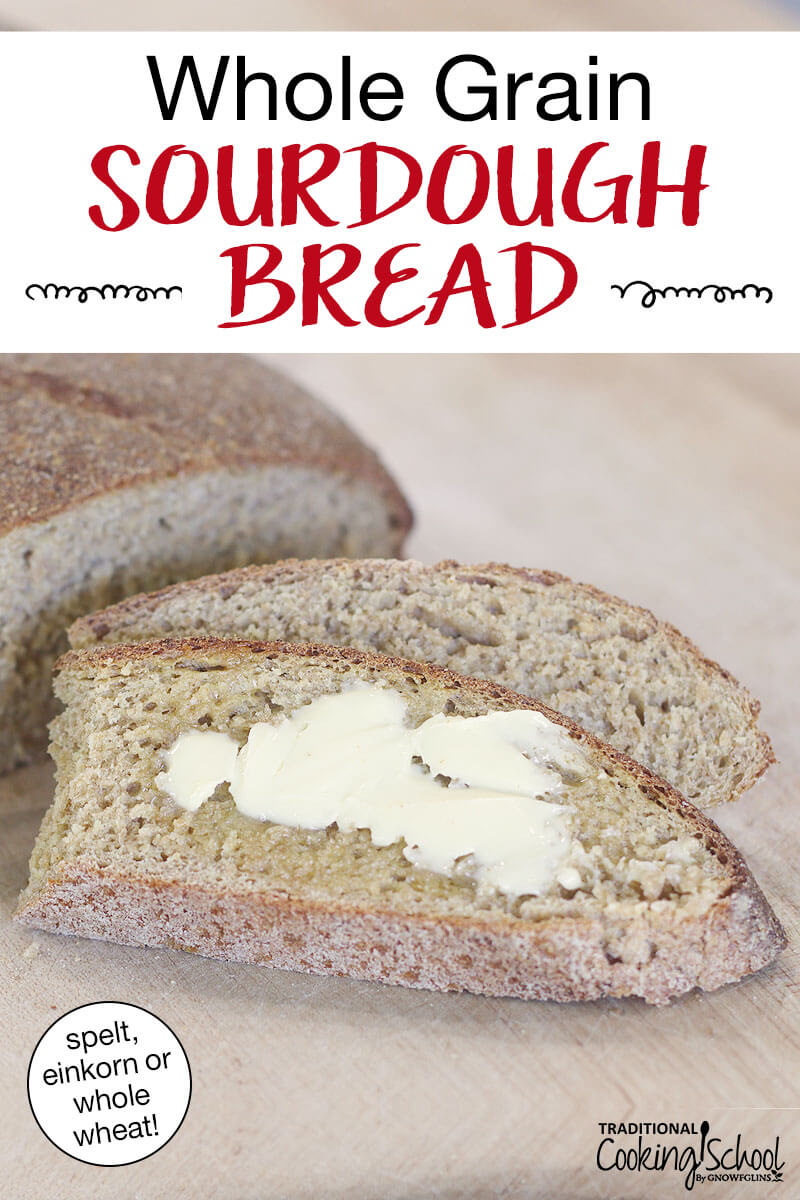
Naturally leavened with a sourdough starter, this whole grain sourdough bread recipe calls for whole wheat or ancient grains such as einkorn or spelt. I’ve included tips for using each of the flours so you can create the perfect fluffy, sky-high loaf… no yeast required!
What’s so great about sourdough bread?
Well, many things! Such as easier digestibility, increased nutrition, and even delayed staling.
For more information, you can read about the differences between quick-yeasted and sourdough bread, how sourdough affects gluten sensitivity, and whether or not sourdough bread is low glycemic.
Also, check out our Sourdough eCourse for a video demonstration of this recipe!
Table Of Contents
Einkorn, Spelt Or Whole Wheat?
This whole grain sourdough bread recipe makes wonderful sandwich or free-form loaves… Once I get the recipe right, that is. 😉 Different flours yield different results, which is why you need to know the subtleties of each!
Einkorn Tips And Tricks
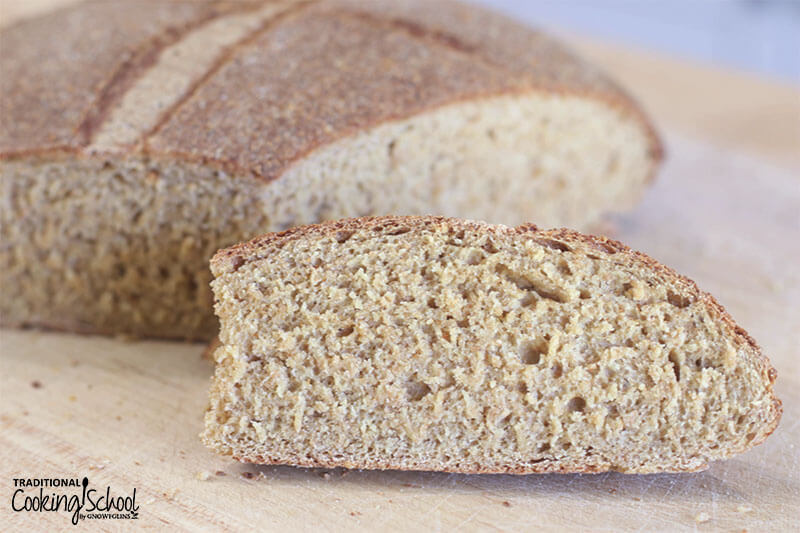
Whole-grain einkorn has a mild, nutty taste which people love even if they don’t enjoy the hearty, “healthy” taste of whole wheat! In my book, this makes it a wonderful way to transition into whole grain flours.
It also has 50% of the phytic acid of wheat (an anti-nutrient which binds to minerals and prevents them from being absorbed by our bodies).
Due to its weak gluten structure, it requires less kneading and won’t give as high of a rise as whole wheat… yet it is also more gentle on digestion. In the Bosch mixer, I knead for 6 minutes on speed 2 OR 4 to 5 minutes on speed 3 (newer models).
Finally, dough made from einkorn flour is sticky. Give it time to absorb liquids, and don’t add too much extra flour, and you’ll notice better results!
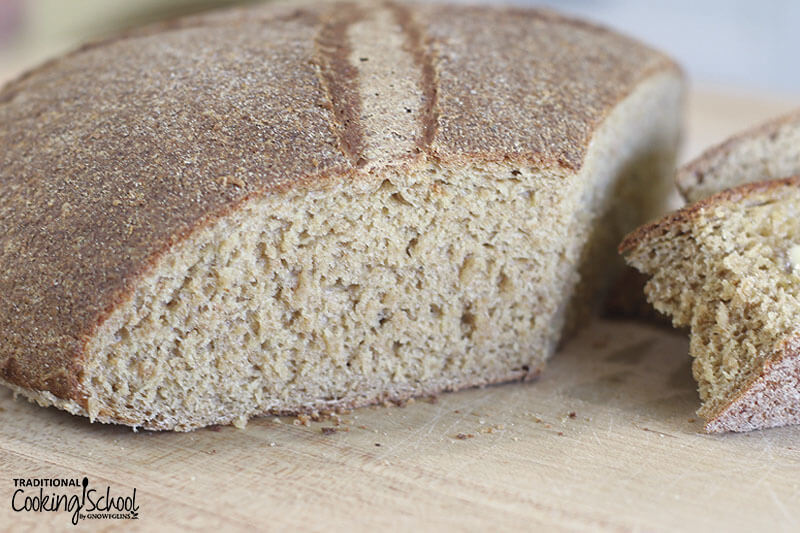
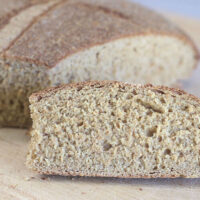
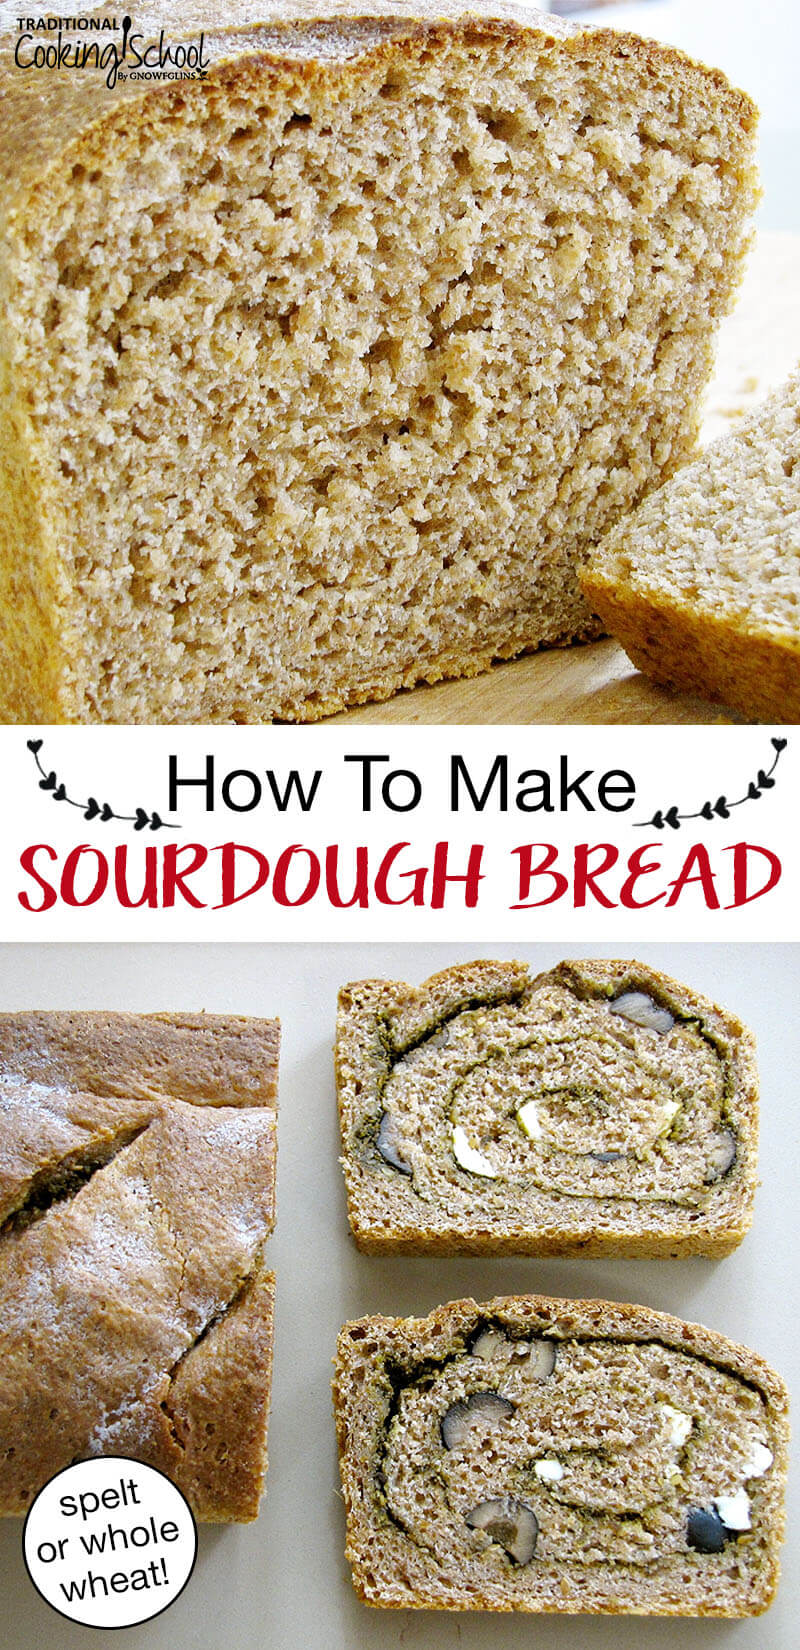
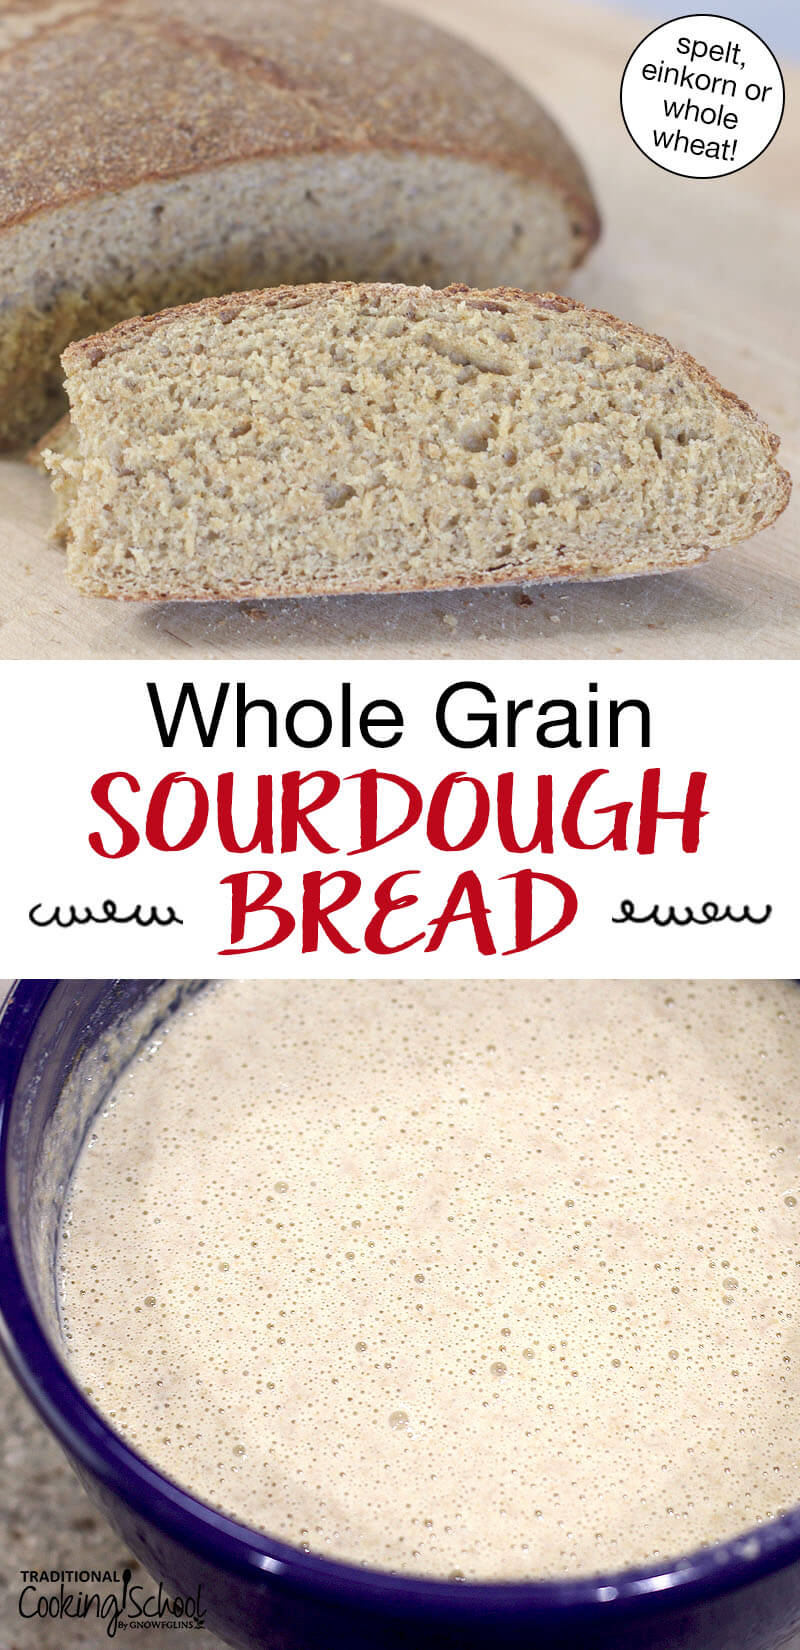
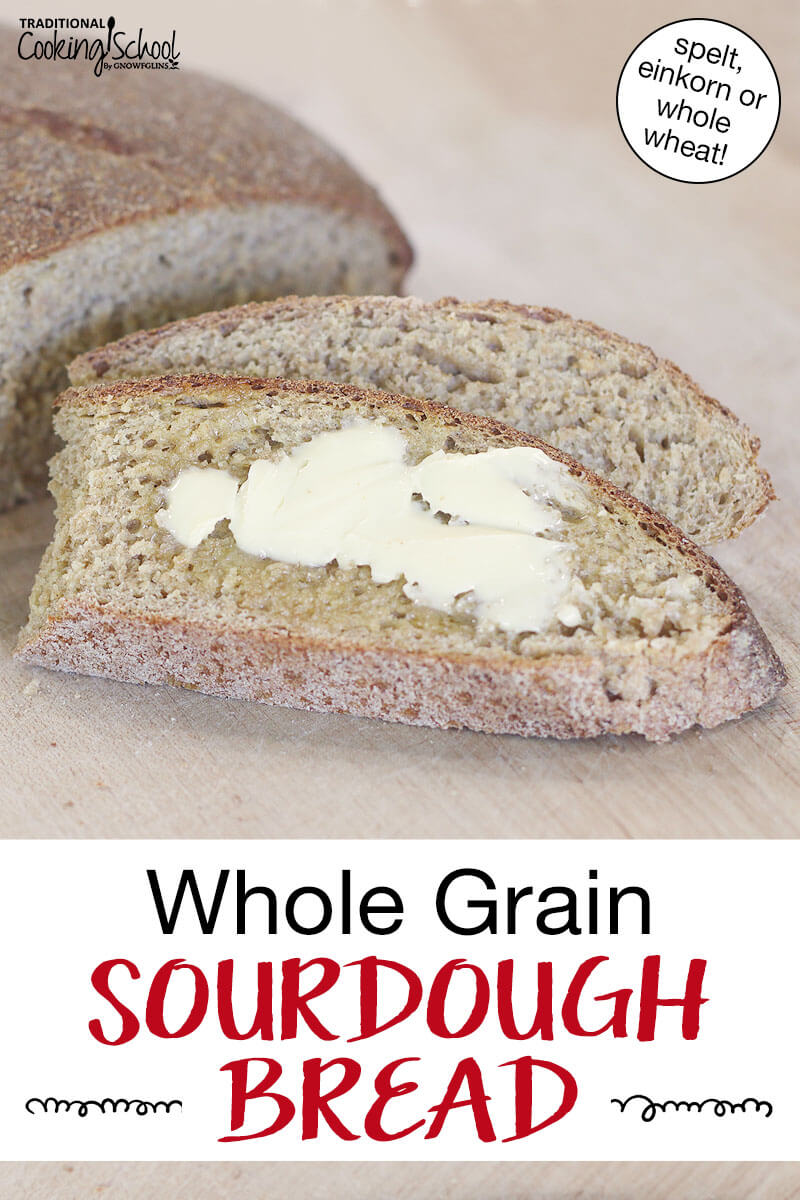
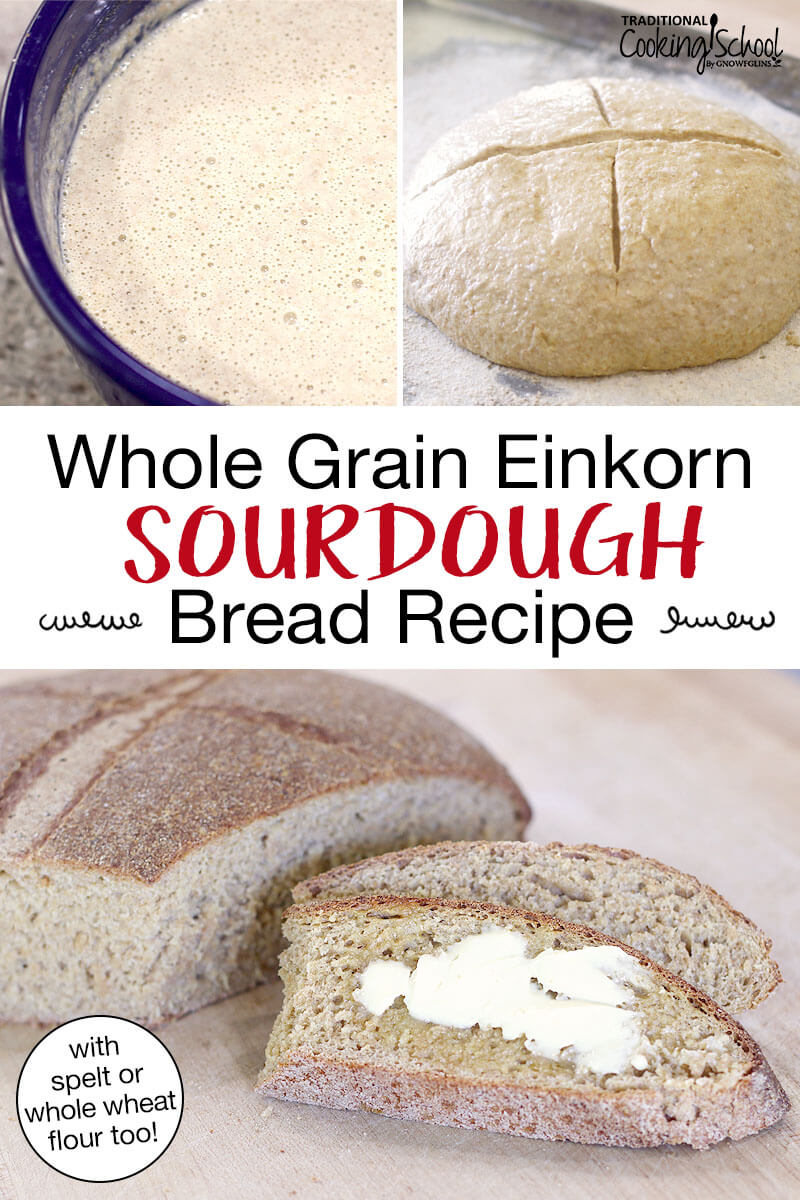
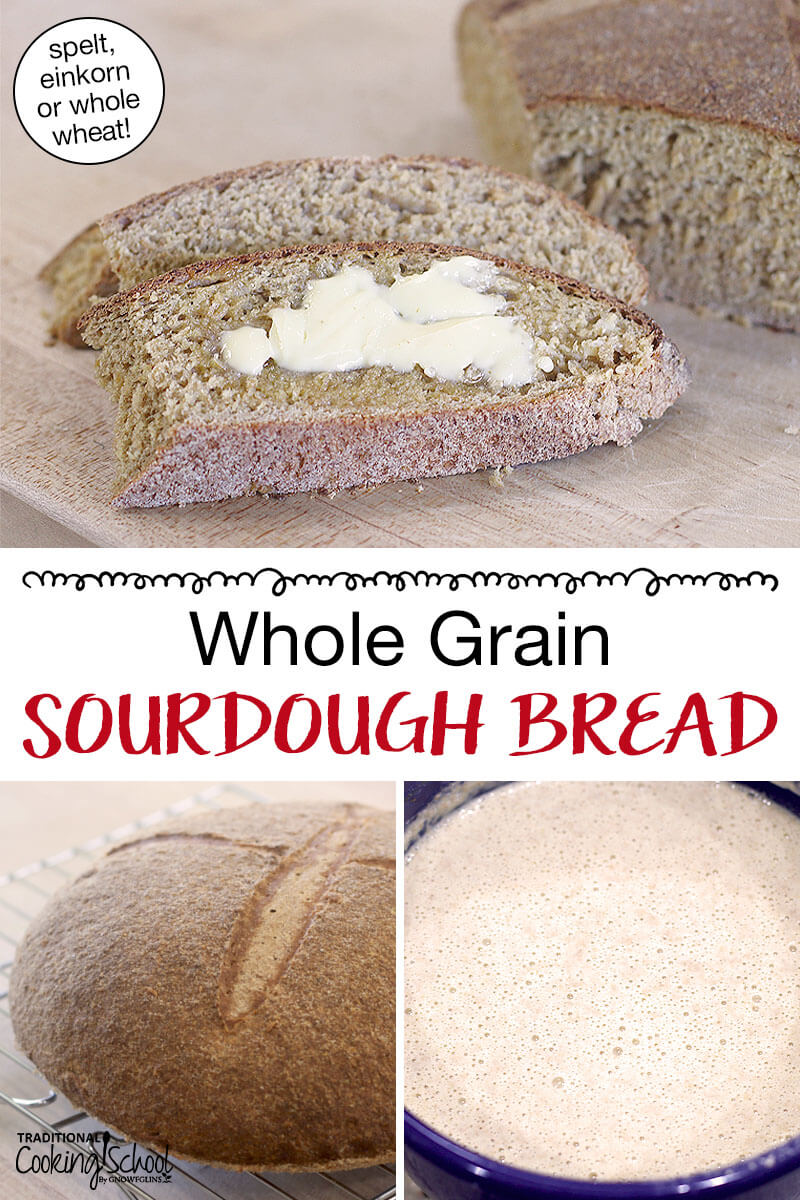
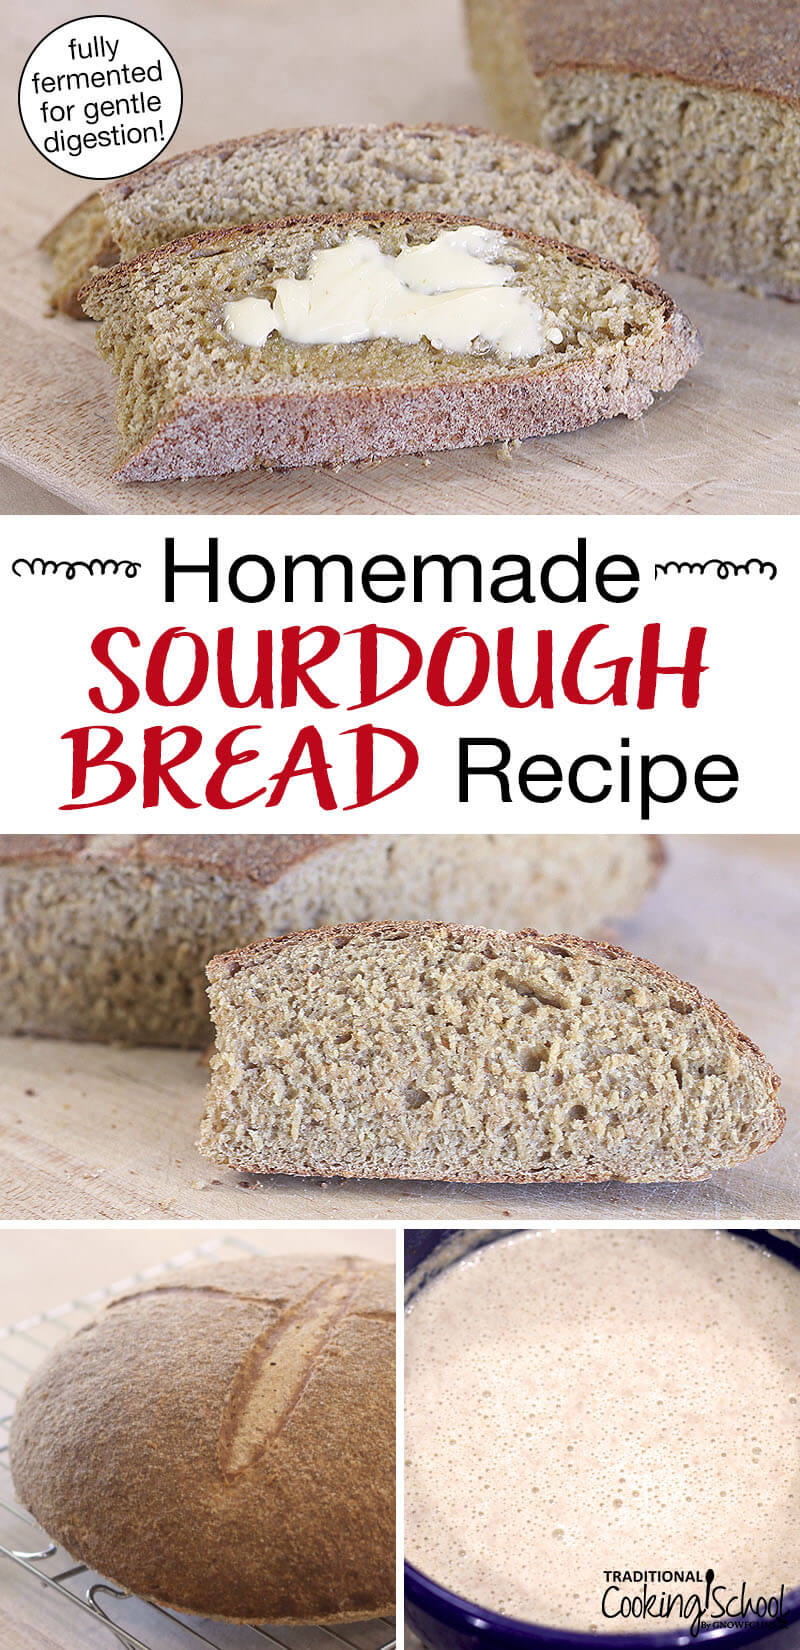
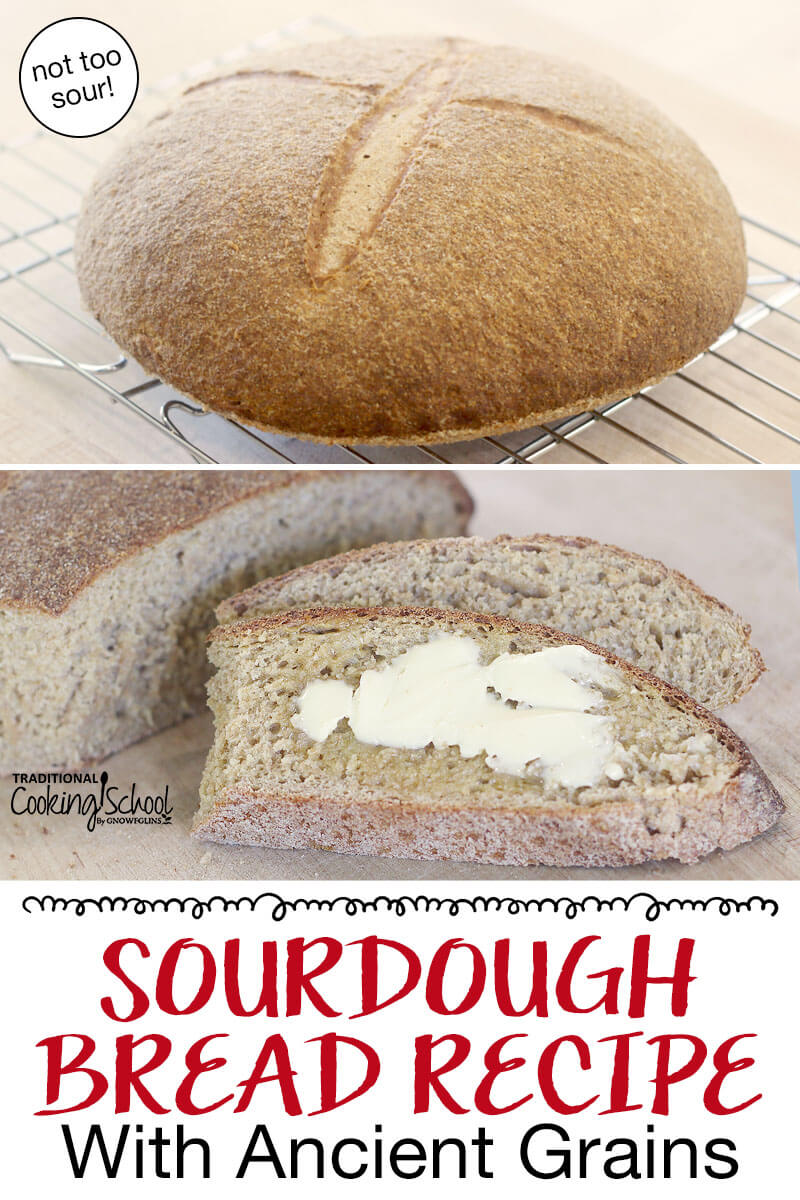
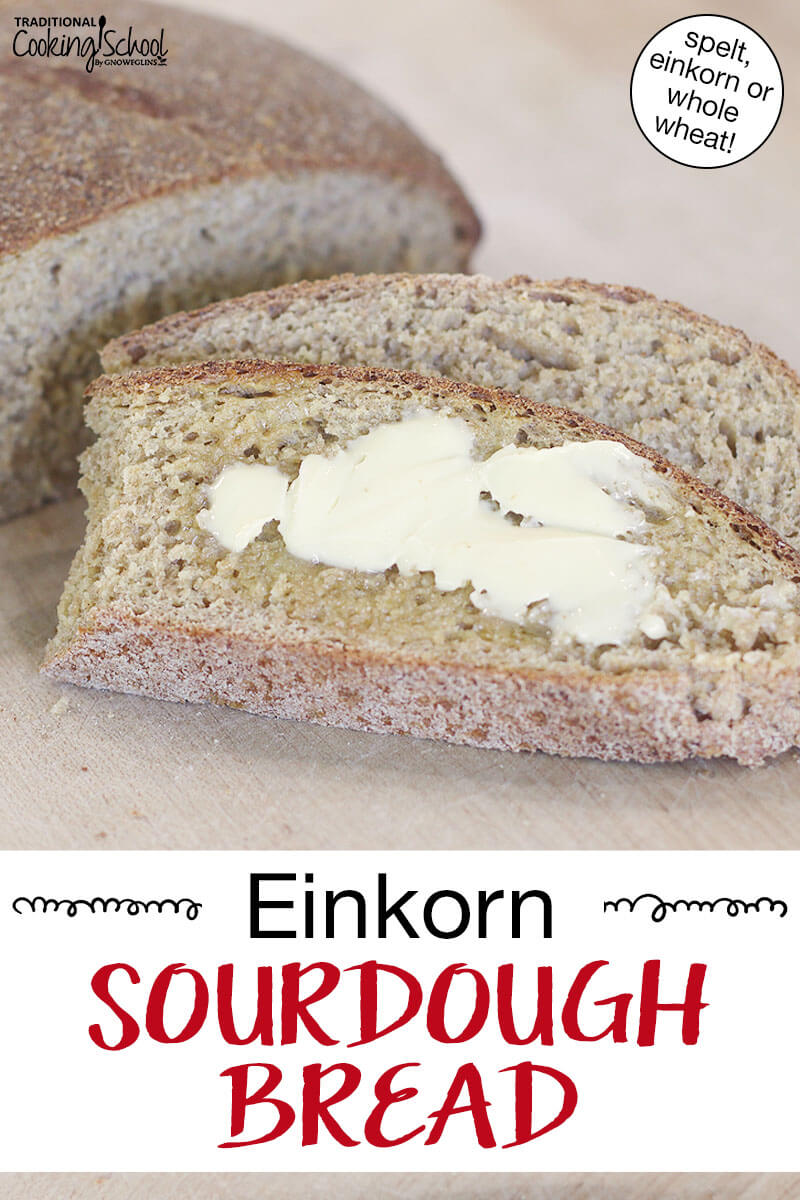
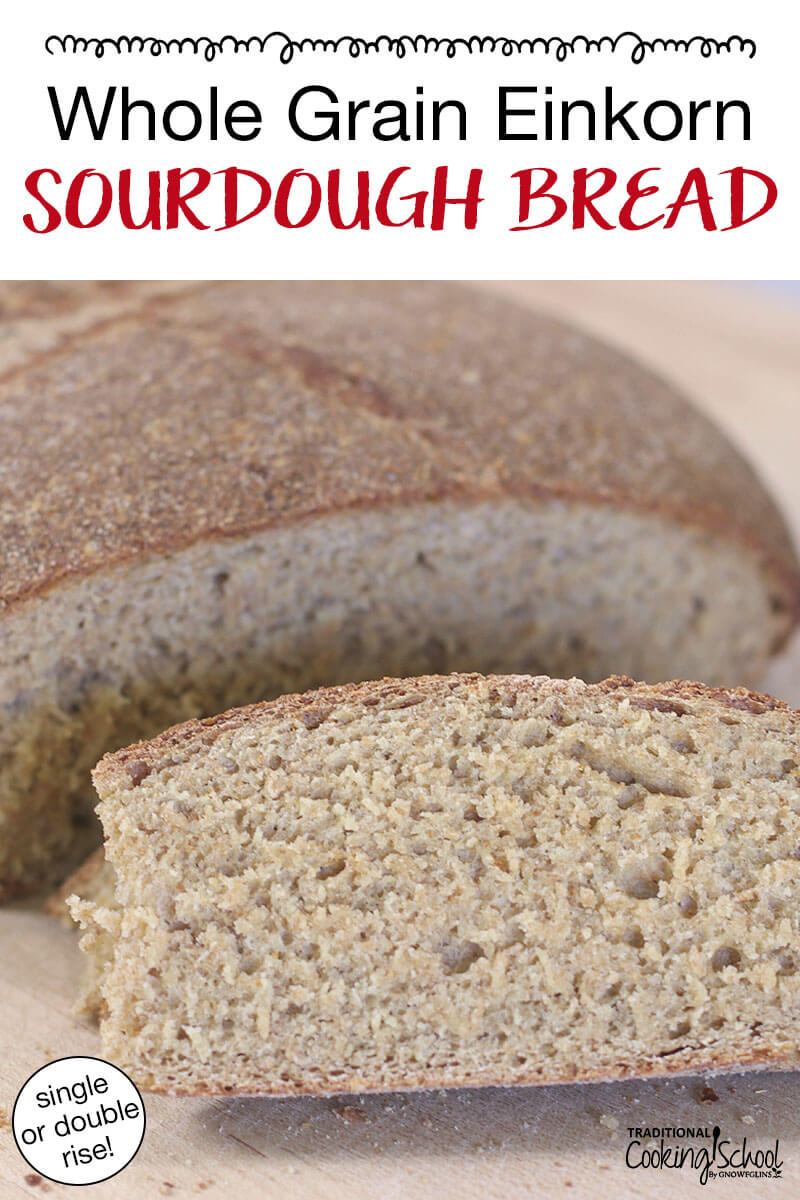
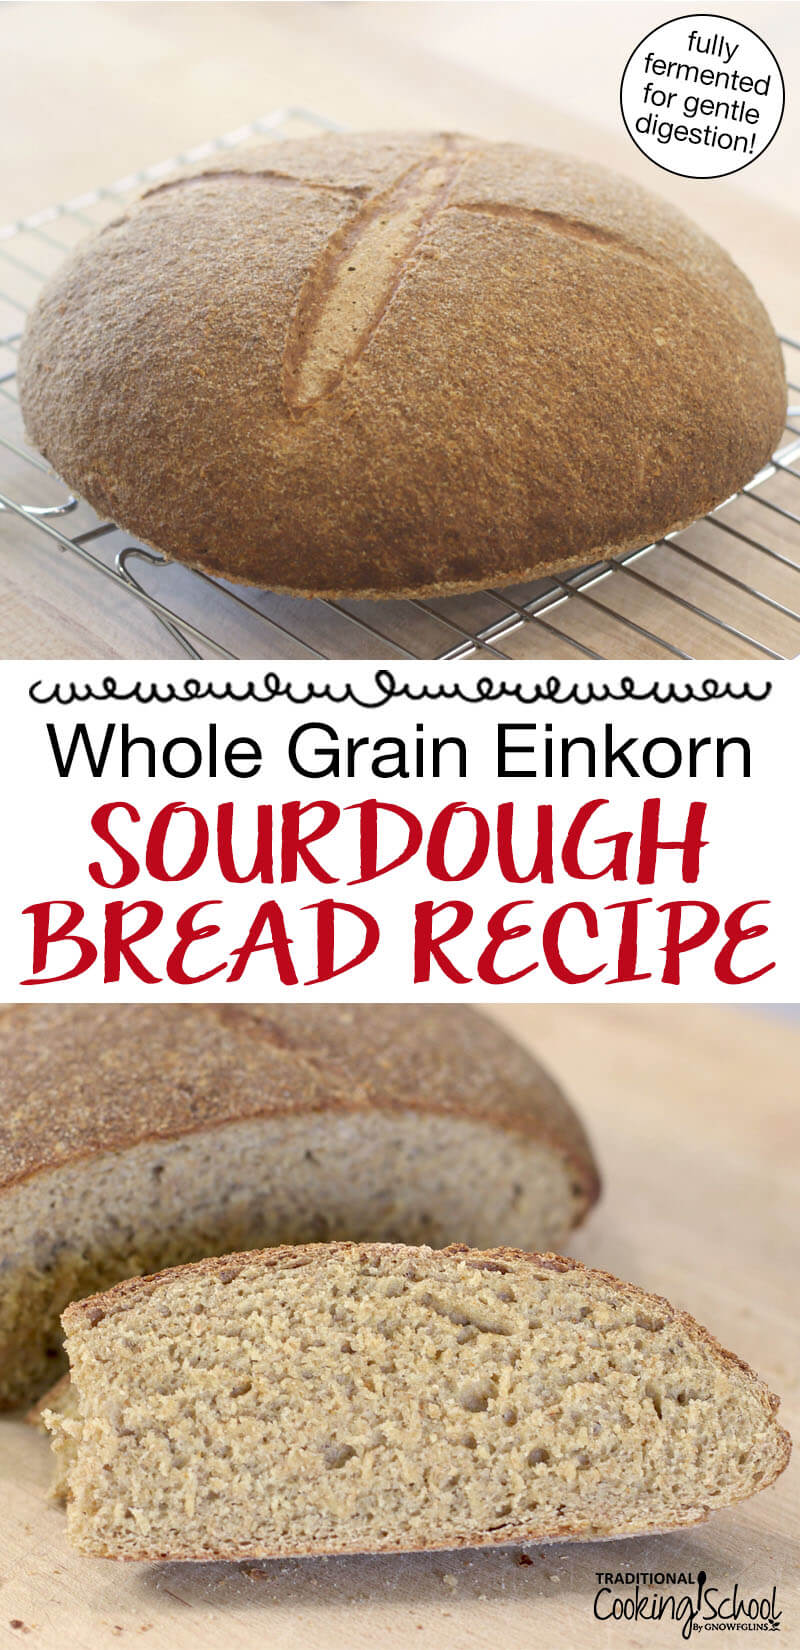
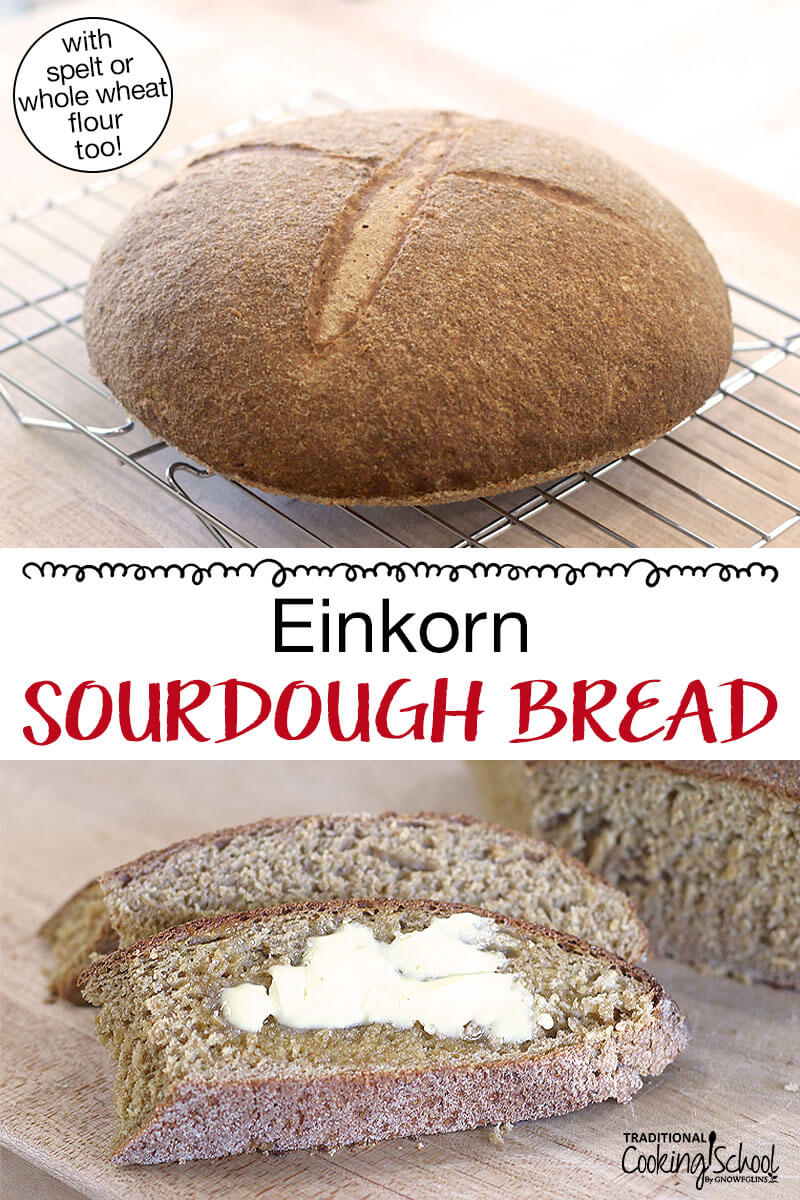
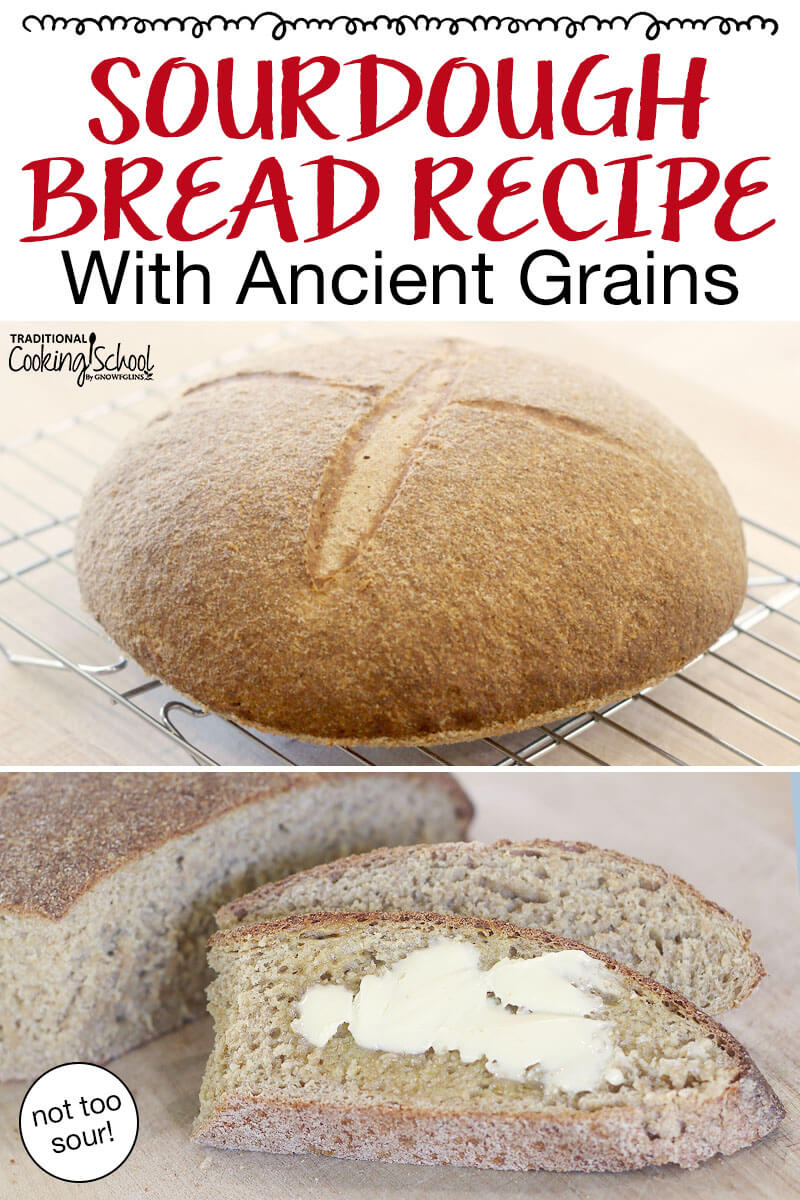
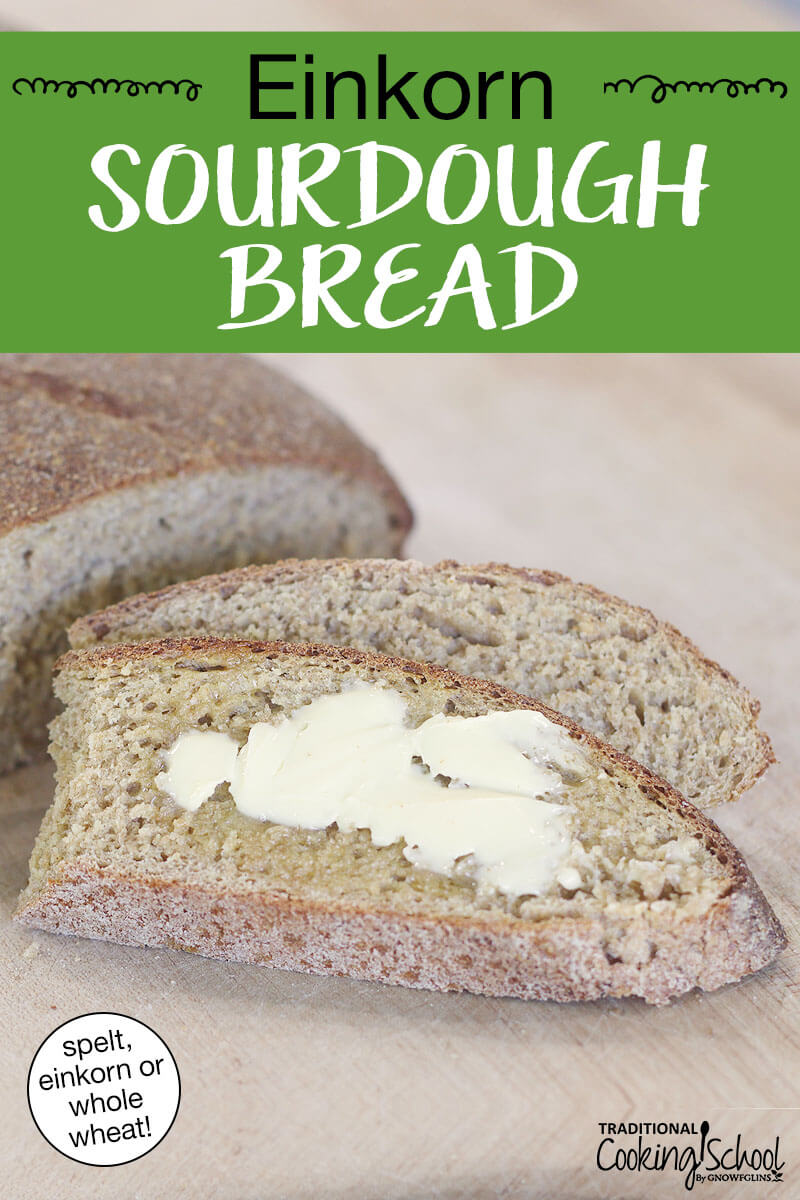
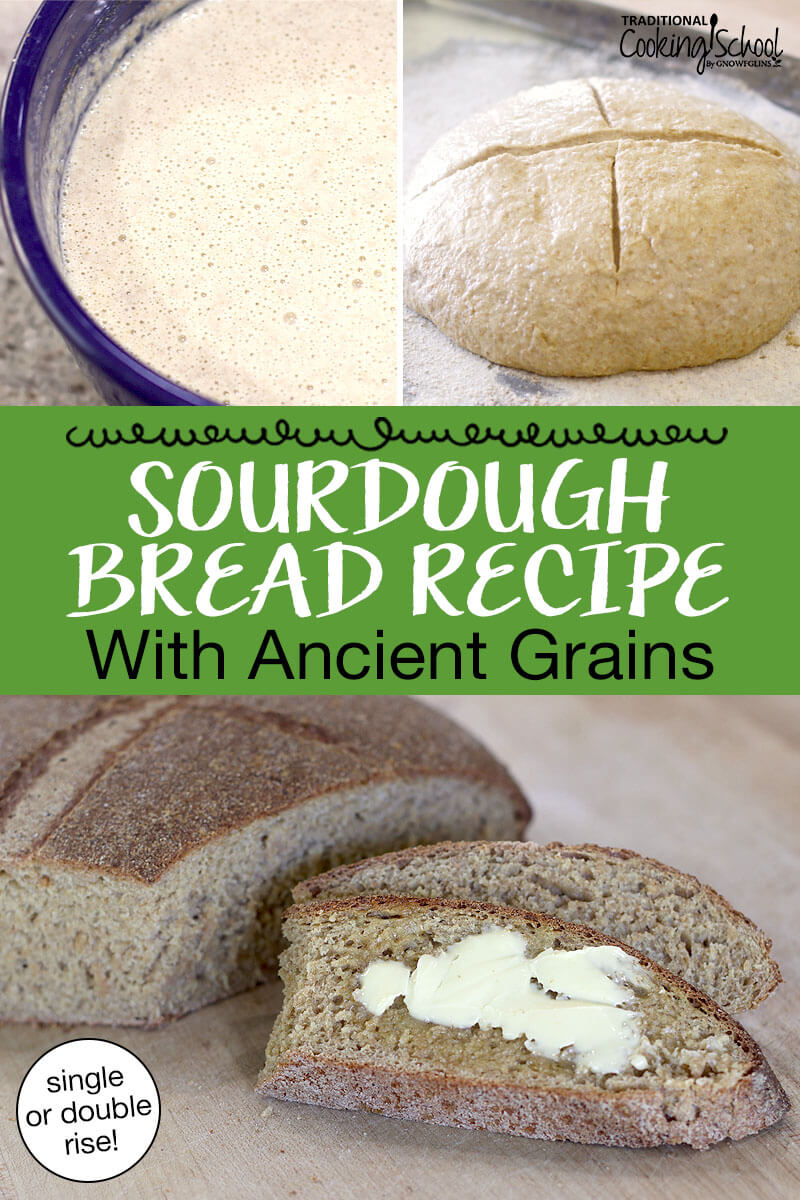
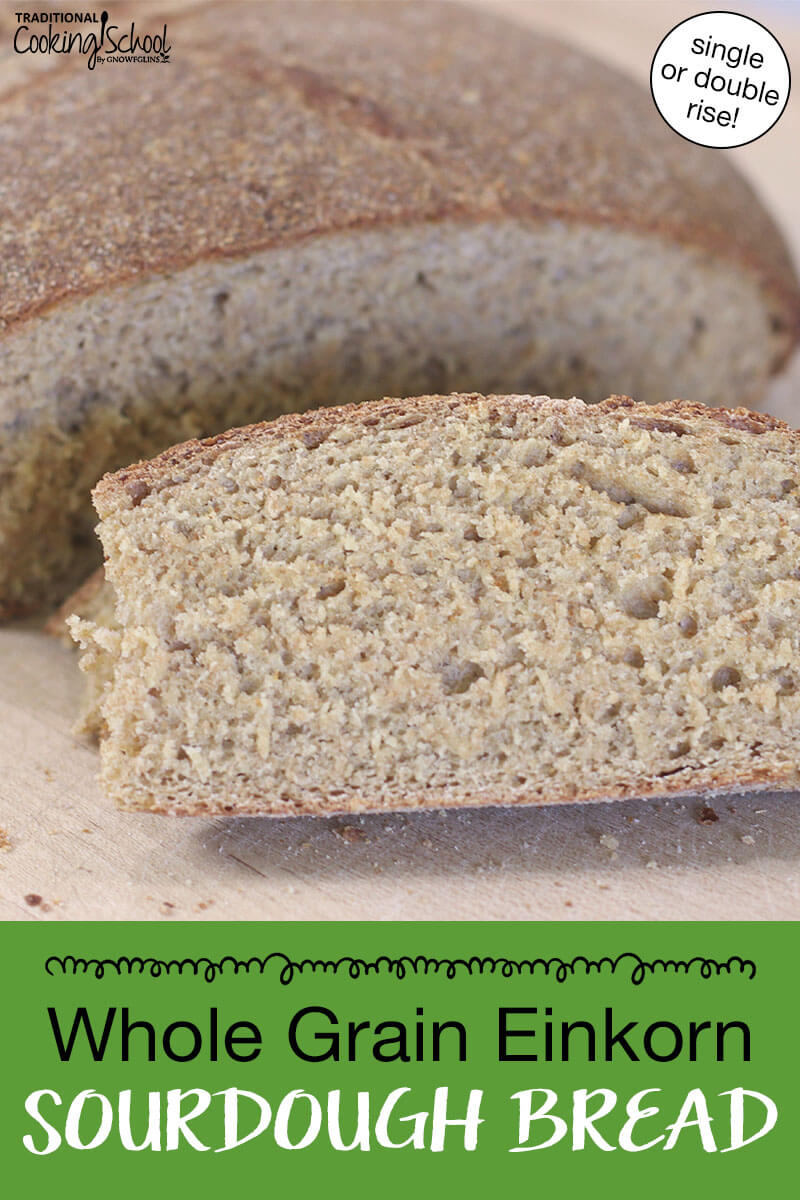
Einkorn is the flour I used in the loaves pictured. 🙂
Einkorn and khorasan (Kamut) are the ancient grains with the highest Vitamin A content. Therefore, if you’re following the low Vitamin A diet, you would want to use spelt or whole wheat.
Please note: Ancient grains such as spelt or einkorn (especially spelt) will want to spread out if you’re making a free-form loaf. Using something like a proofing basket can be helpful to keep the dough a bit taller.
Spelt Tips And Tricks
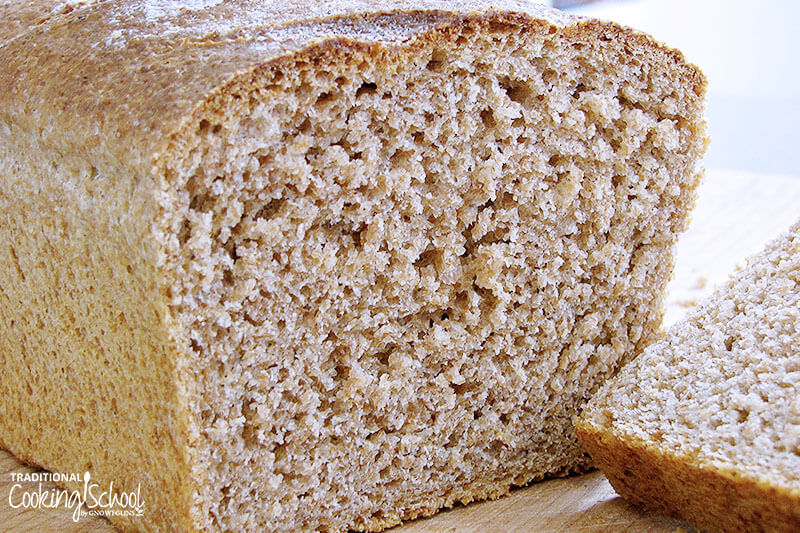
Similar to einkorn, spelt has a weaker, more fragile gluten structure. This means a dough which requires less kneading, yet on the other hand, spelt bread won’t rise as high as bread made from whole wheat or all-purpose flour either.
In the Bosch mixer, I knead for 6 minutes on speed 2 OR 4 to 5 minutes on speed 3 (newer models).
If einkorn is sticky, spelt is gloppy. Resist the urge to add too much flour, and give it time to absorb liquid!
Please note: Ancient grains such as spelt or einkorn (especially spelt) will want to spread out if you’re making a free-form loaf.
Whole Wheat Tips And Tricks
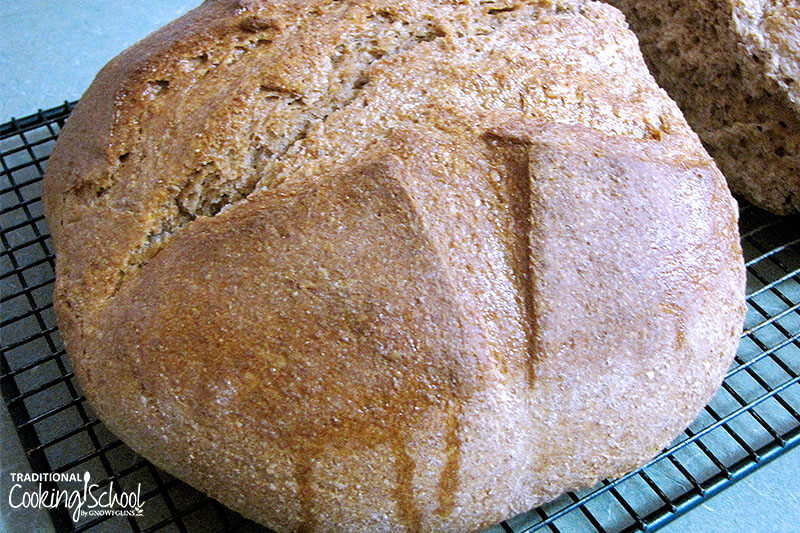
Whole wheat, especially hard red whole wheat can be hearty, heavy, and dense… yet it also has a strong, elastic gluten structure perfect for creating those sky-high loaves of bread!
If whole wheat sourdough bread is too heavy for you, feel free to add lighter flours (such as spelt or einkorn) for extra fluffiness. It’ll be the best of both worlds. 🙂
Due to its strong gluten, whole wheat may require more water in recipes, and kneading time is also longer. For whole hard red wheat, kneading time in the Bosch mixer is 8 to 10 minutes on speed 3 (newer models).
Sourdough That Isn’t Too Sour
This whole grain sourdough bread recipe calls for a greater ratio of sourdough starter than some recipes. It makes the loaf less sour!
Here’s why. The more starter one uses, the less overall rising time, therefore cutting down on the time to develop sourness.
If you prefer a more sour loaf or longer rising time, cut back on the amount of starter in this recipe and add more water in place of it.
To get an even more sour taste, you can use bulk fermentation overnight in the refrigerator.
Ingredients
- Sourdough starter. I keep my starter at a thin, pourable consistency. This doesn’t matter, though, because every person’s starter is going to be different. You’ll adapt the recipe by adjusting flour or water amounts below to get a dough with the right consistency.
- Whole wheat, spelt, or einkorn flour. I’ve included a range of flour amounts in the recipe below, depending on the consistency of your starter. If you use less flour, you’ll probably only make 1 loaf of bread. If you use more, you’ll end up with 2 loaves of bread. Freshly ground flour is my preference, but not required.
- Oil, for greasing. Choose unrefined coconut oil, grass-fed butter, extra virgin olive oil, avocado oil… or any other traditional, healthy fat!
Whole Grain Sourdough Bread Recipe
This recipe will yield one or two loaves of bread; in a loaf pan or free-form on a baking sheet or dutch oven. Choose whatever you’d like.
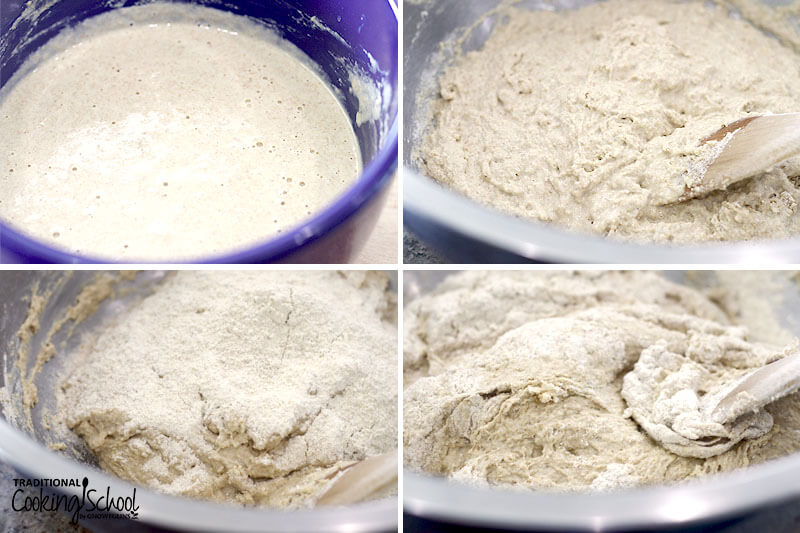
Stage 1: Building Up The Starter
Because every person’s starter is going to be slightly different, be ready to adapt by adjusting flour or water amounts to suit the consistency of your starter.
- Put 1 cup of ready-to-be-fed starter in a fairly large bowl.
- If using whole wheat flour, add 3 cups of flour and 3 cups of warm water (comfortable to the touch). If using whole spelt or einkorn flour, add 3 cups of flour and 2-1/4 cups of warm water. Mix fairly well.
- Cover with a towel and let sit at room temperature or in a warm place until the starter is domed, bubbly, and smells sour. It will be globby and gel-like.
Stage 2: Making The Dough
- Put 3 cups of the built-up starter in a big mixing bowl.
- Add 1 cup of water and 1 rounded tablespoon of sea salt. Mix.
- Transfer the remaining starter to the refrigerator or build it up for other recipes.
- Add 3 cups of flour and mix with a wooden spoon.
- Add flour, 1/4 to 1/2 cup at a time, to make a shaggy dough.
- Use your hands to turn the dough when it gets too stiff to stir. It will be sticky, but make sure it is not too wet by pressing your finger into it — do you hear water? Then it is too wet. You want a sticky dough that is not sopping wet.
- This whole-grain flour in the dough will continue to absorb flour for 15 to 30 minutes. So cover it with a towel and let it do so, undisturbed, for about 15 minutes.
Stage 3: Kneading The Dough
- Sprinkle flour on a clean counter or work surface, and put the dough on it.
- Knead for 5 minutes. The kneading motion is: Stretch and fold the dough toward you with both hands. Press the dough away from you with the heel of both hands. Rotate the dough one-quarter turn on the counter. Repeat for the duration of the kneading time.
- Add more flour to the countertop as needed. Avoid adding flour to the dough unless it is sticking to the counter even though the countertop is dusted or if your hands are a sticky mess. It is OK if some dough sticks to your hands, though.
- Cover with a towel and allow the dough to rest for 5 minutes. This prevents overworking of the dough and allows more time for it to absorb water.
- Repeat the kneading process for another 5 minutes.
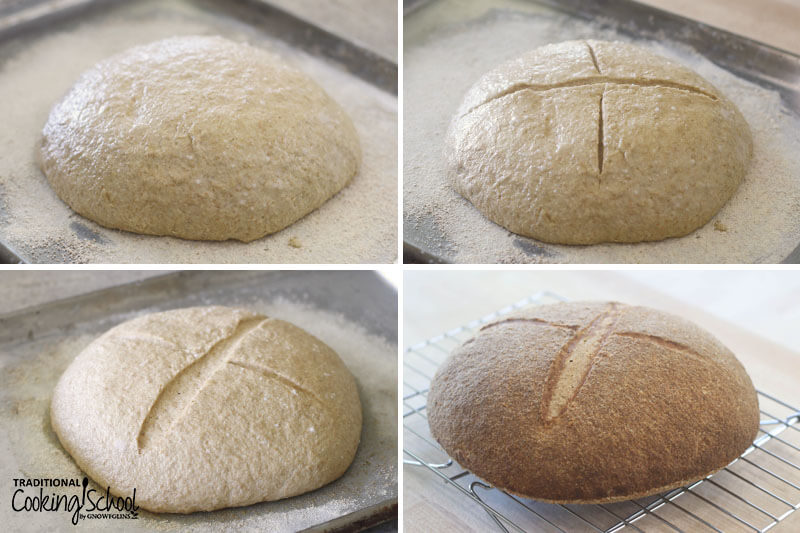
Stage 4: Shaping The Loaves
Choose whether you’d like to make regular bread loaves or a free-form artisan loaf (pictured above).
To make regular bread loaves…
- Grease the loaf pans(s) well with coconut oil, butter or olive oil.
- Divide the dough into two equal parts.
- Shape the loaf, and place it into the loaf pan(s).
- Smear the top all over with melted butter or coconut oil.
- Make three or four diagonal cuts into the top of each loaf with a razor blade or serrated knife. Slashing a loaf helps it rise evenly.
To make a free-form loaf…
- Put a piece of parchment paper on a baking sheet and sprinkle it with flour, or grease the baking sheet (omitting the parchment paper and flour).
- Tuck the dough under itself, joining the ends underneath the loaf.
- Shape into a smooth, round loaf.
- Smear the top all over with melted butter or coconut oil.
- Using a razor blade or serrated knife, cut an X into the top.
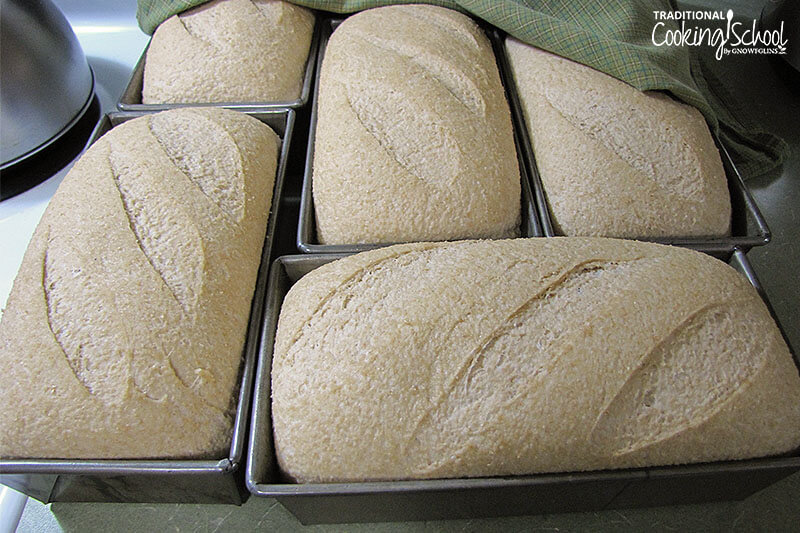
Stage 5: Letting The Dough Rise
- Cover the loaves lightly with a tea towel and place them in a warm place to rise until doubled in size, about 5 to 8 hours, depending on room temperature.
- You may let them go longer, though the yeast will be done feasting and the loaves will collapse from their peak, leaving less aesthetically pleasing bread. However, it will still be tasty and healthy.
Stage 6: Baking
- Place the loaves in a cold oven. Turn on the heat to 375 degrees Fahrenheit. As the oven preheats, the slowly increasing heat will give the wild yeast a final boost and create a burst of height in the shape of the loaves. This baking method works best if the yeasts are not spent and still have sugars to consume. If they’ve eaten everything, have reached their peak and are beginning to collapse, it is best to bake in a pre-heated oven (375 or 400 degrees Fahrenheit).
- Bake for 50 to 60 minutes, until the loaves are golden brown and yield a hollow sound when tapped.
- Transfer to a cooling rack.
- Smear the top with more butter or coconut oil.
- Allow the loaves to cool for 30 minutes before cutting. (This prevents the loaves from collapsing and losing their structure.)
- Store in an airtight container at room temperature for up to a week, or freeze for future use.
Other Sourdough Recipes
- The Best Sourdough English Muffins (Traditional Recipe)
- Sourdough Sandwich Bread
- Einkorn Sourdough Bagels
- Homemade Sourdough Pancakes
- Soft & Chewy Sourdough Pretzels
- Einkorn Sourdough Chapatis {Indian Flatbread}
- Sourdough Pizza
- Sourdough Apple Cinnamon Rolls w/Cream Cheese Frosting
- Pumpkin Sourdough Cinnamon Rolls w/Cream Cheese Frosting
- Sourdough Chocolate Cake With Chocolate Frosting
Did you make this whole grain sourdough bread recipe? If so, please give us a rating on the recipe card below. Then snap a photo and tag us on social media so we can see your fluffy sourdough bread creations!
Whole Grain Sourdough Bread
Naturally leavened with a sourdough starter, this whole grain sourdough bread recipe calls for whole wheat or ancient grains such as einkorn or spelt. I've included tips for using each of the flours so you can create the perfect fluffy, sky-high loaf... no yeast required!
Ingredients
- 3 cups sourdough starter
- 1 cup pure water + 2-1/4 to 3 cups additional to build up starter
- 1 tablespoon sea salt generous tablespoon or to taste
- 5 to 6 cups whole wheat, spelt, or einkorn flour + up to 3 cups additional to build up starter
- coconut oil for oiling
Instructions
Stage 1: Building up the Starter
-
Put 1 cup of ready-to-be-fed starter in a fairly large bowl.
-
If using whole wheat flour, add 3 cups of flour and 3 cups of warm water (comfortable to the touch). If using whole spelt or einkorn flour, add 3 cups of flour and 2-1/4 cups of warm water.
-
Mix fairly well.
-
Cover with a towel and let sit at room temperature or in a warm place until starter is domed, bubbly, and smells sour. It will be globby and gel-like.
Stage 2: Making the Dough
-
Put 3 cups of the built-up starter in a big mixing bowl — glass, ceramic or stainless steel.
-
Add 1 cup of water and 1 rounded tablespoon of sea salt. Mix.
-
Transfer the remaining starter to the refrigerator or build up for other recipes.
-
Add 3 cups of flour and mix with a wooden spoon.
-
Add flour, 1/4 to 1/2 cup at a time, to make a shaggy dough.
-
Use your hands to turn the dough when it gets too stiff to stir. It will be sticky, but make sure it is not too wet by pressing your finger into it — do you hear water? Then it is too wet. You want a sticky dough that is not sopping wet.
-
This whole-grain flour in the dough will continue to absorb flour for 15 to 30 minutes. So cover it with a towel and let it do so, undisturbed, for about 15 minutes.
Stage 3: Kneading the Dough
-
Sprinkle flour on a clean counter or work surface, and put the dough on it.
-
Knead for 5 minutes. The kneading motion is: Fold the dough toward you with both hands. Press the dough away from you with the heel of both hands. Rotate the dough one-quarter turn on the counter. Repeat for the duration of the kneading time.
-
Add more flour to the countertop as needed. Avoid adding flour to the dough unless it is sticking to the counter even though the countertop is dusted or if your hands are a sticky mess. It is OK if some dough sticks to your hands, though.
-
Cover with a towel and allow to rest for 5 minutes. This prevents overworking of the dough, and allows more time for the dough to absorb water.
-
Repeat the kneading process for another 5 minutes.
Stage 4: Shaping the Loaves
-
Choose whether you'd like to make regular bread loaves or a free-form loaf.
To make regular bread loaves...
-
Grease the loaf pans(s) well with coconut oil, butter or olive oil.
-
Divide the dough into two equal parts.
-
Shape the loaf, and place it into the loaf pan(s).
-
Smear the top all over with butter or coconut oil. Make three or four diagonal cuts into the top of each loaf with a serrated knife. Slashing a loaf helps it rise evenly.
To make a free-form loaf...
-
Put a piece of parchment paper on a baking sheet and sprinkle it with flour, or grease the baking sheet (omitting the parchment paper and flour).
-
Tuck the dough under itself, joining the ends underneath the loaf.
-
Shape into a smooth, round loaf.
-
Smear the top all over with butter or coconut oil.
-
Using a serrated knife, cut an X into the top.
Stage 5: Letting the Dough Rise
-
Put the loaves in a warm place to rise until doubled in size, about 5 to 8 hours, depending on room temperature. You may let them go longer, though the yeast will be done feasting and the loaves will collapse from their peak, leaving less aesthetically pleasing bread. However, it will still be tasty and healthy.
Stage 6: Baking
-
Place the loaves in a cold oven.*
-
Turn on the heat to 375 degrees Fahrenheit.
-
As the oven preheats, the slowly increasing heat will give the wild yeast a final boost and create burst of height in the shape of the loaves.
-
Bake for 50 to 60 minutes, until the loaves are golden brown and yield a hollow sound when tapped.
-
Transfer to a cooling rack.
-
Smear the top with butter or coconut oil.
-
Allow to cool for 30 minutes before cutting into the loaves.
-
Store in an airtight container at room temperature, or freeze for future use.
Recipe Notes
*This baking method works best if the yeasts are not spent and still have sugars to consume. If they’ve eaten everything, have reached their peak and are beginning to collapse, it is best to bake in a pre-heated oven (375 or 400 degrees Fahrenheit).
Double Rise Method
The Single Rise Method (as written above) is wonderful if you’re creating your bread dough in the morning. You’ll make the dough, shape the loaves, let the loaves double in size and then bake.
The Double Rise Method (as written below) is wonderful if you’re creating the bread dough in the late morning or afternoon. You’ll create and knead your dough, let it rise in a big bowl, shape the loaves before bed, and bake the loaves in the morning. This yields a more sour loaf, which may be desirable depending on your preference.
However, you might be sleeping when the bread reaches its peak rise, yielding a collapsed and therefore flatter loaf of bread. This is likely to happen in warmer temperatures; less likely in cooler weather.
If you would like a more flavorful, sour loaf, proceed with the following instructions...
- Follow the directions above through Stage 3. Then, proceed with the first rise.
- Place the dough in a very large, greased bowl (more than double the size of the dough).
- Cover with a damp, clean towel.
- Put the bowl in a warm place and allow the dough to rise until doubled in size, or spilling out of the bowl. This will take 3 to 8 hours, depending on room temperature.
- Proceed with Stage 4 and beyond, above.
Low Vitamin A diet: Einkorn and khorasan (Kamut) are the ancient grains with the highest Vitamin A content. Therefore, if you're following the low Vitamin A diet, you would want to use spelt or whole wheat for this recipe.
This post was featured in Strawberry Rhubarb French Toast Casserole, and 26 Sourdough Bread Recipes.
We only recommend products and services we wholeheartedly endorse. This post may contain special links through which we earn a small commission if you make a purchase (though your price is the same).


Hi! Thanks for the recipe – looks great. One thing I never see in recipes for sourdough though is storage. How long does it last and what do you do to keep it fresh?? Thanks. =)
.-= Megan´s last blog post… Part 2 of 2: Beating Crohn’s Disease and living symptom free =-.
Hi, Megan – sourdough bread lasts longer than quick yeasted bread. Still, store in bread bags or freeze if not using right away. I have a loaf out right now that is still good and on the 3rd day. The other loaves from the batch I put in the freezer. Hope this helps.
LOVELY work on the free-form loaf. It looks beautiful. I’m doing up a batch of sourdough tonight. That is … AFTER my husband and I preserve a case full of roma tomatoes.
Thanks, Jenny – and great for you snagging all those Romas! Good sauce all winter. I love it!
Hi, Wardee: The recipe doesn’t say it, but are you sprouting the spelt you use for this recipe? Also, I don’t have a Bosch. Instead, I use a Kitchen Aid Artisan mixer with 10 speeds. It seems like I should maybe aim for a speed somewhere on the lower end of the middle area for 4 to 5 minutes? Guess I’ll have to play with it a bit to see. Now I need to get a starter from Cultures For Health! Thanks for sharing this!
Love,
Sonya
.-= Sonya Hemmings´s last blog post… Bag Lady With Bling =-.
Sonya – This is NOT sprouted spelt. I would check your manual for what speed to use for mixing, and then kneading. I don’t recommend that you double the recipe if using a KA. I used to have a KA and stripped the gears kneading bigger batches of whole grain dough. Have fun!
Wardee—I meant to also tell you that I love your video welcome! It’s so neat to see your facial expressions and hear how your voice sounds after only knowing you from your still photos and written text. Nice touch!
Love,
Sonya
.-= Sonya Hemmings´s last blog post… Bag Lady With Bling =-.
Hi Wardee!!!
I am going to try this. I don’t have a Bosch, any idea how long I would knead it by hand? I don’t do much bread baking, yet, so I don’t have a use for one until I do.
Also, I have a starter in the fridge that I have neglected for a month or two. It has a lot of liquid (hooch?!?) on the top. Have I ruined it, or can I just pour off most of the liquid and call it good?
Hope all is well with you.
Kelli – I’d say about 10-12 minutes kneading by hand. But starting checking for it to be good and elastic at about 8 minutes.
The starter… I don’t know. Though the liquid separation is normal. Mix it all up, feed it, and smell it. Leave it out awhile and smell it. If it is bubbly and smells good, like sourdough starter (but not rotten), give it a go.
Thanks, Wardee. Does using the sourdough starter eliminate the need for sprouting the spelt? How are your gluten-sensitive family members tolerating it?
—Sonya
.-= Sonya Hemmings´s last blog post… Bag Lady With Bling =-.
Sonya – the yeast in the starter does a great deal to prepare the grains for digestion – pre-digesting the gluten, neutralizing phytic acid, and making nutrients more available during digestion. However, sprouting, IMO, does even more work than souring, because the grain is transformed into a vegetable plant. In any case, everyone who is gluten sensitive is doing fine with sourdough bread – no symptoms whatsoever. What I haven’t tried yet is using sprouted spelt in this recipe – want to try it? 🙂 If that worked, it would be the best of both worlds!
Yes! I really do want to try it! It might take me awhile to get it all together (sprouted spelt flour, sourdough culture and time and practice to experiment with it), but I’m determined to do it one of these days. 🙂 I have never done the sourdough starter thing, and I’m a little nervous about it, but with your help and that of your readers/contributors, I’m also excited to dive into it. I’ll keep you posted!
Love,
Sonya
.-= Sonya Hemmings´s last blog post… Bag Lady With Bling =-.
Great post! I love spelt too and have been using it recently too. 🙂 Your pictures look great. Thanks for being part of the carnival again. You are such a gem.
.-= Kimi @ The Nourishing Gourmet´s last blog post… Summer (Ending) Recipes =-.
Wardee, I love your video! It’s so cool! I would love to try this spelt bread. Could you send me a piece? lol Anyway, I’ve never eaten spelt before. Nobody in our family is gluten-intolerant, but I would like to bake with this grain because I think it’s wise to eat from a variety of the grains, don’t you? Thanks for your recipe.
.-= MarLou´s last blog post… Recipe 100% Whole Wheat Bread =-.
Nice!
You guys are light-years ahead of me on this whole sourdough thing. I seriously need to get off my behind once and for all & learn how to do this.
.-= Ren´s last blog post… The Thing About Brussels Sprouts =-.
Wardee, I appreciate reading your recipe and your method for making this bread. The responses are helpful too so thanks to everyone.
P.S. I love your welcome video too! I went on dh’s laptop because I just HAD to see you. 😀 It’s a very nice personal touch.
.-= Marg´s last blog post… Bread baking battle =-.
Maybe I didn’t read close enough, but I’m gathering that the sourdough method replaces the benefits of sprouting?
Your loaf is lovely. We love spelt and I can’t wait to try some sourdough.
Christie – The sourdough method is an alternative to sprouting. They both help with nutrient assimilation and pre-digestion of gluten. However, sprouting does a little more than souring, because the grain is transformed from a dry grain to a young plant. There are some additional benefits from that – increased vitamin and enzyme content, among other things. If someone were sensitive to gluten, I’d suggest they start with sprouting, then try souring, then try soaking. The most likely success will be with sprouting.
Thanks for this wonderful recipe, Wardee. You’ve inspired me to start baking bread again, which I formerly abandoned b/c I felt that it was just too time consuming and unnecessary since we have some wonderful bakeries in the area. Unfortunately, I don’t see much sourdough in this area . . . .
Two questions:
Do you have a starter recipe and recommendation?
I noticed you provided tips for buying spelt. Any recommendations for how to buy bulk, low price grains in general? My local health food store stocks there, but they are expensive!
Thanks,
Vanessa
Vanessa – I did not make my own sourdough starter – I purchased a starter. (See Resources for sources.) You could read through the suggestions in the first sourdough post I made – several readers shared favorite links and/or their own techniques:
https://traditionalcookingschool.com/2009/07/17/foray-into-sourdough-brea/
Regarding grains, I purchase in bulk from a natural food warehouse. I’m not sure which you would have in your area, but I think you probably have United Natural Foods. You could search for others at this database: http://www.coopdirectory.org/
Other options would be asking your health food store for co-op pricing if you purchased in bulk. Or see if there are farmer/producers in your area who sell directly to the public. There are more and more of those these days, small organic farms who like to deal with the public. Hope you find something and enjoy the sourdough bread baking!
Just found your site, and love it!! Wardee, do you mind sharing which sourdough starter you purchased from CulturesForHealth? They have quite a few different kinds –
Thanks!
Hi, villarosa – Sure! I have the New England sourdough starter. (See Resources for sources.) I wonder now if my starter hasn’t taken on an Oregon-flavor? It sure is lovely. I love to smell and taste the starter. 😉 Enjoy!
Thank you so much for answering my question… In doing reading on your website, am I understanding that you have not used the sprouted spelt flour to make sourdough bread? I normally sprout, dehydrate, and then grind my flour, so am wondering if anyone has done that and then used that flour for making the starter.
I used to make sourdough bread years ago, but lost my ‘starter’ after a long vacation and have not taken the time to try to restart again. I’m grateful for all you have shared here…..
One more question…. just curious why you became vegan and then went back to eating differently? Just curious… Thank you again!
villarosa – You are correct. I have not yet used sprouted flour for sourdough bread.
We went vegan because we thought our son was allergic to animal protein. It turned out that he was only allergic to eggs. Even so, during the time that we were vegan, two members of my family got very weak muscularly. We also suspected a vitamin B12 deficiency. So we introduced naturally-raised animal foods into our diet and we felt much better.
Wardee, How did you manage cooking and baking when your children were younger? I have a 5 year old and a 22 month old and haven’t been able to cook or bake much since my baby was born. He wants to be in my arms or on a chair putting his hands in whatever I’m making or battling to stand on a chair in front of the hot range. It’s been so hard because we are not eating well – lots of pb&j, quesadillas, and take out and not a lot of fresh veggies. As someone who loves to cook and bake, this has been very hard on me and I really miss the process.
Jen – I’m sorry this has been so hard on you. I’m thinking back to when I really started cooking and baking, and my youngest was 2-1/2. The oldest was about 5. That’s when I started baking bread, anyway. I didn’t do as much then as I do now, but I do remember it being challenging. No matter how you discipline, it sounds like your son must learn that he cannot be in front of the stove and he cannot put his hands in what you’re doing. 😉 You could make it fun – perhaps set aside special toys with which he can only play while you’re cooking. He can still be nearby, perhaps even at the counter. I would think he would adjust quickly to the new routine. For your part, you should decide what the consequences will be for him not obeying and follow through with it. Also, try to cook and bake in regular intervals, so he gets plenty of your attention other times and the cooking isn’t drawn out all day (which soooo happens with me these days!). Also, don’t try to do everything all at once -change over time. The good thing about sourdough bread is that it is easy – mix, knead, let sit. You’ve got hours where it is working and you aren’t. Actually, I’ve found that alot with traditional foods/cultured foods. The setup is easier than any other cooking – and they “cook” or “ferment” themselves. Think of today’s canning – hours slaving over a hot stove, with hot water, etc. Making lacto-fermented vegetables is simple as shredding or chopping, mixing and putting in a jar with brine. The bacteria does all the work. You might find that it all is easier than you think. Please keep in touch- and I’ll be praying for you to figure out a way to fit healthy food prep into your life again.
I started cooking/baking when my little guy was a toddler and he loved to be in the middle of it too. Here’s what worked for me… I let him stand on a chair and play in the sink full of bubbles and he loved it, I also let him “help” by adding ingredients or stirring, I would also set out a cookie-sheet full of flour and let him play in it and most would stay in the tray.. this is still a great “toy” and he’s 5 now. His friends always ask for a tray full of flour when they come over… I buy the cheap stuff for this type of play ;o) Best of luck and I hope this helps ~
I see you said you have the New England sourdough starter from CFH. Is that the one that only gets fed spelt flour? I am looking into getting my first sourdough starter but don’t want to have one that only can get fed spelt. Can you use that same starter for whole wheat breads too? I plan to use lots of hard white whole wheat flour. I’m rather confused about which starter would be best… a basic “white” starter… a whole wheat starter… a spelt starter… It’s a little overwhelming! 🙂 Thanks for your help! I love your site and share in your beliefs as a Christian trying to bring glory to God in all we do, including how and what we eat! 🙂 Your ministry on this blog is such a blessing!!
Sorry, forgot another question… what do you recommend for bread pans? I just got some norpo tin-ware pans from urbanhomemaker.com and hope they’d work for these too. Sorry if you’ve addressed this somewhere else already. It’s hard to weed through all the info on all the different blogs I read sometimes! Thanks!
Carrie – The NE starter is NOT the one for spelt. I find it so versatile and wonderful and I feed it whatever I’m using that day – spelt, sprouted spelt, red whole wheat, white whole wheat, rye, whole wheat pastry… It all works! Basically, the wild yeasts need starch to consume and any flour will provide that. Some say that rye is the best, and perhaps that is true, but I haven’t found that my other flours don’t work, and well.
I don’t have a recommendation for bread pans, as I have no experience with them. I have an old set of commercial stainless steel pans from when my parents owned a bakery. Norpro is good for other things, so I’d think their bread pans would be good too. However, I have a set of Norpro baking sheets that are horrible and flimsy. The other Norpro things I have are wonderful, so that might be a fluke. On the bread pans, if Urban Homemaker recommends them, I think they’d be good. The owner is trustworthy and wouldn’t sell something she doesn’t believe is good.
Good to meet you! 🙂
On bread pans, I would recommend Pampered Chef stoneware. Once or twice a year they go on sale, 20% off for guests, and 60% off for hosts. I took that opportunity this year to host a big party, and get lots of free product and great discounts. I have tried other stoneware and they don’t work as well for me, but there might be another good brand, I’m just not aware of it.
How long have you had your sourdough starter? Have you had any ill effects from using so many different flours to feed the starter? I am not aware of the things that could go south with using them?
LaNae – I have had it for a year. I use it at least once per week, and store it (fed) in the refrigerator the rest of the time. I have noticed no ill effects from rotating flours. In fact, it keeps getting better!
That is fantastic. Hopefully I can do the same. Thank you!
Does the three cups of sourdough starter mean a starter that you just fed, or are you using three cups of starter that has already been fed and refrigerated. In other words does it basically use1 1/2 cups of starter or so and the 1/2 c of water and 1 c of flour needed to feed it, wait an hour for it to come to room temperature and then add the rest of the bread dough ingredients?
Thank you,
Rachel
Rachel – I took my starter, fed it, and let it sit out at room temp to get bubbly and domed. Then I scoop out what I need for the bread. If the starter is at this point, it makes the best bread!
Here’s a post that explains it: https://traditionalcookingschool.com/2010/02/22/rfqm-simple-sourdough-by-mark-shepard/
Hi Wardah~
I have tried for several years to achieve the beautiful whole grain sd bread you make here, with no success! I always end up with bricks. What I think the problem is is my starter. Do you have a spelt starter recipe? My husband doubts that I can get soft, chewy sourdough using whole grains! Poor guy! Please help me prove him wrong. I want to dedicate my summer to getting it right. Also, I live at sea level, could that have something to do with it? Oh yeah, we can make perfect white flour sd, but who wants that? I know too much now!
Help! Thank you!
Nichole
I need high altitude adjustments for the whole wheat bread! Anyone have any suggestions?
Hi, Wardee! Thanks for answering my question on your FB page about sourdough rolls. I love working with spelt flour, so I plan to try this recipe and make rolls out of it instead of bread. Have you made rolls with this recipe? If so, any pointers. I am a sourdough novice. Thanks so much! Blessings, Kelly
Kelly – Yes, this is the recipe I use to make my rolls. Basically, instead of shaping loaves, I pull of chunks (1 to 2 inch balls) and place them in a greased baking pan, pretty close together (this way they go up, not out). Bake for about 20 minutes or so, give or take. The upcoming Sourdough eBook contains this recipe (updated) along with instructions for dinner rolls. Also, there’s a video demonstration of this in the Sourdough eCourse (https://traditionalcookingschool.com/sourdoughecourse).
One major change I’ve made to this recipe is that I work in the flour, let the dough rest for 15 minutes to absorb excess liquid, knead for 4 to 5 minutes, let rest for 5 minutes, knead again for 4 to 5 minutes.
I’d tried sourdough spelt bread, and had very heavy and crumbly bread. Thanks for your tips on working with spelt. Today’s batch turned out so much better!
Thank you for this wonderful recipe and tips. I have made countless loaves of this basic bread with several different flours and they all come out great. My husband even bought me a professional mixer after he saw me dealing with the VERY stick dough. Now it’s so easy to have great sourdough bread all the time. One mistake I did make was to add olive oil to this while I was hand kneading thinking it would make it easier…oh boy that was an easy way to destroy this great bread, it made for a really thick crust that was impossible to cut and the inside didn’t bake well. Anyway lesson learned! I’ll never leave this recipe because it is just that great.
Thanks again
Hi Wardee, we’ve just finished listening to your webinar & you’ve definitly convinced us to try some new things! On to an older thing though, I’ve been making our (sourdough) bread for about 5 years now using the same starter. It was a pure flour/water starter back in Va. but since we’ve moved to the Carolina’s I’ve been “waking it up” w/ a sugar/potato flake water mixture to bake w/ & then putting it back to sleep in the fridge w/ whole wheat & water. It makes for a sweet SD & the starter looks like a rootbeer 6 or 7 hours after feeding it & smells great.
The bread bakes up wonderfully too, 1/2 whole wheat flour & 1/2 white. It tastes SO GOOD fresh from the oven. It tastes very nice the next day. It’s fairly bland & slightly off the 3rd day. The 4th day when you open the bag (a ziplock freezer bag) an overwhelming smell of acetone comes out & fills the kitchen. It’s edible & still has a good texture but like eating a beer.
This never happened in Va. & I was wondering if our not using the AC was contributing? We’ve been grinding our own wheat for the whole wheat half, & we’re still using the same buckets of wheat from 3 years ago. There are no bugs in the buckets & no mold I can smell but is age a factor? Please help if you can, I’m afraid the PB & J’s will set the children drunk!
Thank you for this lovely recipe. I purchased a starter for Spelt Sourdough from Cultures for Health and now I think I’m finally brave enough to try it now that I found this recipe. I ordered 20lbs of groud spelt from Azure Standard last month. Any suggestions on how it should be stored? I’ll link back when I try your recipe 🙂
hello, is is ok or rather does it work to use sprouted flour for sourdough bread? sarah
I buy my spelt berries from http://www.somethingbetternaturalfoods.com/ 25 lbs of organic spelt was $27.50. They do have a $450 order minimum, but will put you in contact with a co-op in your area if there is one. They deliver to Michigan, Ohio, West Virginia, Kentucky ,Indiana, Tennessee, Georgia, Alabama, N Carolina, and they ship via UPS (no order minimum).
Thanks for the sourdough spelt recipe. I never tried using spelt for bread baking. I hope that my bread turns out half as good as yours! I will give it a try.
Have you tried Azure Standard’sBread For Life Sourdough starter? It is very easy to work with. We bought some in December and have found it so easy to knead and work with.
If after 6 hours my dough hasn’t double in size, or hasn’t risen at all, is that an indication that I need a new starter?
Lanae — not necessarily a new starter, but perhaps that the room temp is too cold, or that the starter needs to be babied a bit to get a higher concentration of organisms. Is it pretty active with lots of bubbles and lift when you’re feeding it? If not, keep up with regular feedings to get it good and active before trying to bake bread.
It’s not very active and bubbly. I think I might need to feed it more often.
Hi, Wardee–
Would you have any idea of where I could find sourdough bread recipes for the breads they ate in the first century when Jesus was on the earth and/or before or after, or even at the time of the Canaanites? It would be fantastic to be able to make these breads, as I’m sure they would indeed be very healthy!
Thank you for any help that you may give. 🙂
Happy New Year to you and to your family!
Judy
Hi, I am right in the middle of this as I write… I let my first rise go in a warm spot for six hours, it was a little more than double (two kids and I lost track of it), but now on my second rise in the pan it’s already at two hours and only 1.5 the size. Did I over-proof it and use up all it’s energy??
Making this today! Thanks for the nice instructions 🙂 …I haven’t had much luck with my spelt sourdough bread rising well yet, so hopefully this time will be the charm. (usually the loaves end up being about 1.5″ tall in the bread pan).
I have been using this method for my sourdough spelt for a few months with much success…nicely risen, not overly dense loaves. The past several weeks, it just hasn’t been rising for the second rise. It doubles nicely in the bowl, but once I move it to the loaf pan, it just stops. I thought maybe it needed extra time so I left it overnight (an extra 10 hours of rising) and it didn’t rise any more at all.
Any advice? Would it work to put it directly into the loaf pan for the first rising? I’m really bummed…My husband used to love my bread and now he won’t eat it! :/
Love your recipes. Can we make sourdough bread with sprouted spelt flour?
I hope to be able to eat sourdough spelt bread again after being gluten free for a few years. (by the way by being gluten and dairy fee my arthritis went away and when I try to reintroduce it, it comes back). Did you ever try it with sprouted flour?
thanks
Michelle
Hi there Wardee ! I am interested in joining your sourdough class.
I have baked a lot of bread in my life.
Tell me ? I always measure flour by grams and not cups. Does your course list the grams to do this recipe ?
I used these instructions to make sourdough bread with spelt flour. The bread is delicious but it took days to rise. The starter was quite bubbly so I think it was active enough and the house was about 24 celcius. Is there something I am missing?
Also, I am interested in buying your sourdough book but I would prefer a hard copy. Is there one available?
Hi! Thanks for the great recipe. I’ll have to report back since I’m trying this with my “THM” all rye starter and einkorn. You mentioned about the spelt glutens being fragile…I’ve found that einkorn is basically a no kneed flour. It’s chilling out on my back porch for tonight, and I’ll see how it goes tomorrow. If you can accept pictures, I’ll take some so you can see the difference. I’m really loving the whole einkorn flour. I had a scant two cups of the all purpose einkorn to use up with this, but it will be mostly whole grain rye and einkorn. When I use these two flours in the Artisan Sourdough from Trim Healthy Mama, it does great, so I’m hoping for the same here with a different kind of loaf texture at the end. :))
Can this recipe be cut in half to prepare in a bread machine with whole wheat flour? I have an old Zojirushi bread machine but only use the “dough” cycle. I take the dough out for the overnight rising, then would like to use my small 9″ x 4″ Pullman pan to bake it. The recipes I’ve used in the past rise too high to put the lid on the Pullman but still make a great loaf of bread. If I bake in the Zojirushi bread machine’s pan in the oven, it works better.
I made a bread loaf with Einkorn flour and the NW starter without conversion following your no knead recipe, left out the baking soda and baked it in a glass pan. It made a nice looking loaf of bread but I didn’t think it tasted as good as the whole wheat bread I’m used to. The active starter raised the dough well and I didn’t want to lose the bubbly lift by mixing in the soda. Should I have added the baking soda for taste?
Hi Mara,
We’re not sure about the bread machine. That’s not something we’ve tried. It may work, we just can’t say.
Baking soda helps with the rise and also sweetens. If your found the bread to be too tangy the soda is likely to help.
~Millie, TCS Customer Success Team
Can I use whole wheat flour for this recipe as is or will I need to alter the flour amount?
Hi, Hayley,
I would start with this recipe as is and if using whole wheat flour and it is too sticky then add a little more at a time. Whole wheat behaves different than spelt. Spelt tends to be more sticky than whole wheat.
~Peggy, TCS Customer Success Team
Wardee,
Can you address the difference between recipes calling for a large amount of sourdough starter vs. small amount? For example, your recipe is 1.5 cups of starter (1 loaf) whereas another recipe I have is 1/4 c. sourdough starter (for 1 loaf with about the same amount of flour). Does adding more sourdough starter make it more lighter? rise higher? more sour? I’m so confused 🙁
Hi,
Looks delish! I have a few questions about the process:
1.) For step 1, about how long does it/should it usually take for the sourdough starter mixture to get active, domed, etc.? (I have a fairly warm kitchen, I live in Florida lol). Do you think it would be fine to leave it out overnight or would it become over-fermented?
2.) In step 2, it says to “Add 3 cups of flour and mix with a wooden spoon.
Add flour, 1/4 to 1/2 cup at a time, to make a shaggy dough”…… Just to clarify, so this means you add 3 cups of the flour at once, and then the remaining flour in small amounts (so basically this all adds up to the 5-6 cups of flour total?)
3.) Do you think it’d be fine to completely halve the recipe?
Thanks!
Hi, Hannah.
1) It can take 8-12 hours depending on your kitchen. If your kitchen is over 78 then it will take less time.
2) Yes, add 3 cups at once and mix. Then add in 1/4-1/2 cup increments until you have a shaggy dough.
3) We have not halved it so we cannot say for sure how it will turn out.
~Danielle, TCS Customer Succes Team
How long does building the starter take? I have let mine sit for a couple of hours, and it doesn’t look ready.
Hi, Jeannetta: Several factors can impact the “peak” of your starter and when it occurs. How established is your starter? Have you had it going for at least three weeks? What’s the temperature like in your house? Your starter will reach its peak faster in warmer temps. How much are you feeding it? If you’re trying to build it up quite a bit (remember not to exceed three times its current volume), it will take longer for the beneficial organisms to work through the flour and water you add. Usually, a couple of hours is about right. You should see bubbles, and maybe some doming. —Sonya, TCS Customer Success Team
I tried making this today with whole grain einkorn. It was so sticky and frustrating to work with. Can we knead this in a stand mixer with a dough hook instead?
Also, I would love to see a video or more pictures of this process. I don’t know what “globby and gel-like” looks like, or what a “shaggy” dough looks like, either.
Hi, Kim,
The dough is typically sticky but not too sticky to handle. Wardee does have videos of this in her Traditional Cooking School. You have to be a member to see them. Here is a link to membership if you are interested: https://lp.traditionalcookingschool.com/lp/bible-based-cooking-program-direct/
~Peggy, TCS Customer Success Team
Looks great! What should I do if I choose to mix flours? I can’t get einkorn locally but we do have spelt. I’ve ground my own whole wheat in my dry container on my vitamix (not great but I love the idea of it!!) and I can never get a good log – the gluten must get cut by the wheat. I was thinking maybe I’ll mix my home ground wheat with spelt. What should I do for measurements? Go by the gloopy spelt recipe or the dry whole wheat? Thanks!
Hi, Liz,
Spelt behaves very similar to einkorn. If you have more spelt in the recipe than the other flours, I would lean towards a gloopy dough. Depending on your environment factors and floor, you will have to experiment, take notes, and see what works best for you and your home.
~Peggy, TCS Success Team
Would you please explain how to shape the dough for a loaf pan!
Hi, Candy,
Here is a post you might find helpful: https://traditionalcookingschool.com/food-preparation/recipes/shaping-bread-loaves/
~Peggy, TCS Success Team